
Every time I knit one of these stockings for a new family member I struggle with it because so much time has elapsed between stockings that I forget little tricks and lessons I've learned. Here is a general list of what I learned followed by notes for each color band of the stocking. It is a record for me and will jog my memory. Perhaps it may prove useful to those who would like to make one.
- Yarn used was Cascade 220 with size 4 needles.
- Make the stocking in a period of continuous time.
- One color band takes several hours. Plan one band per day otherwise mistakes creep in.
- Work in morning while fresh and undistracted – not while watching TV in the evening.
- It is easier to carry along threads than sew in yarn ends.
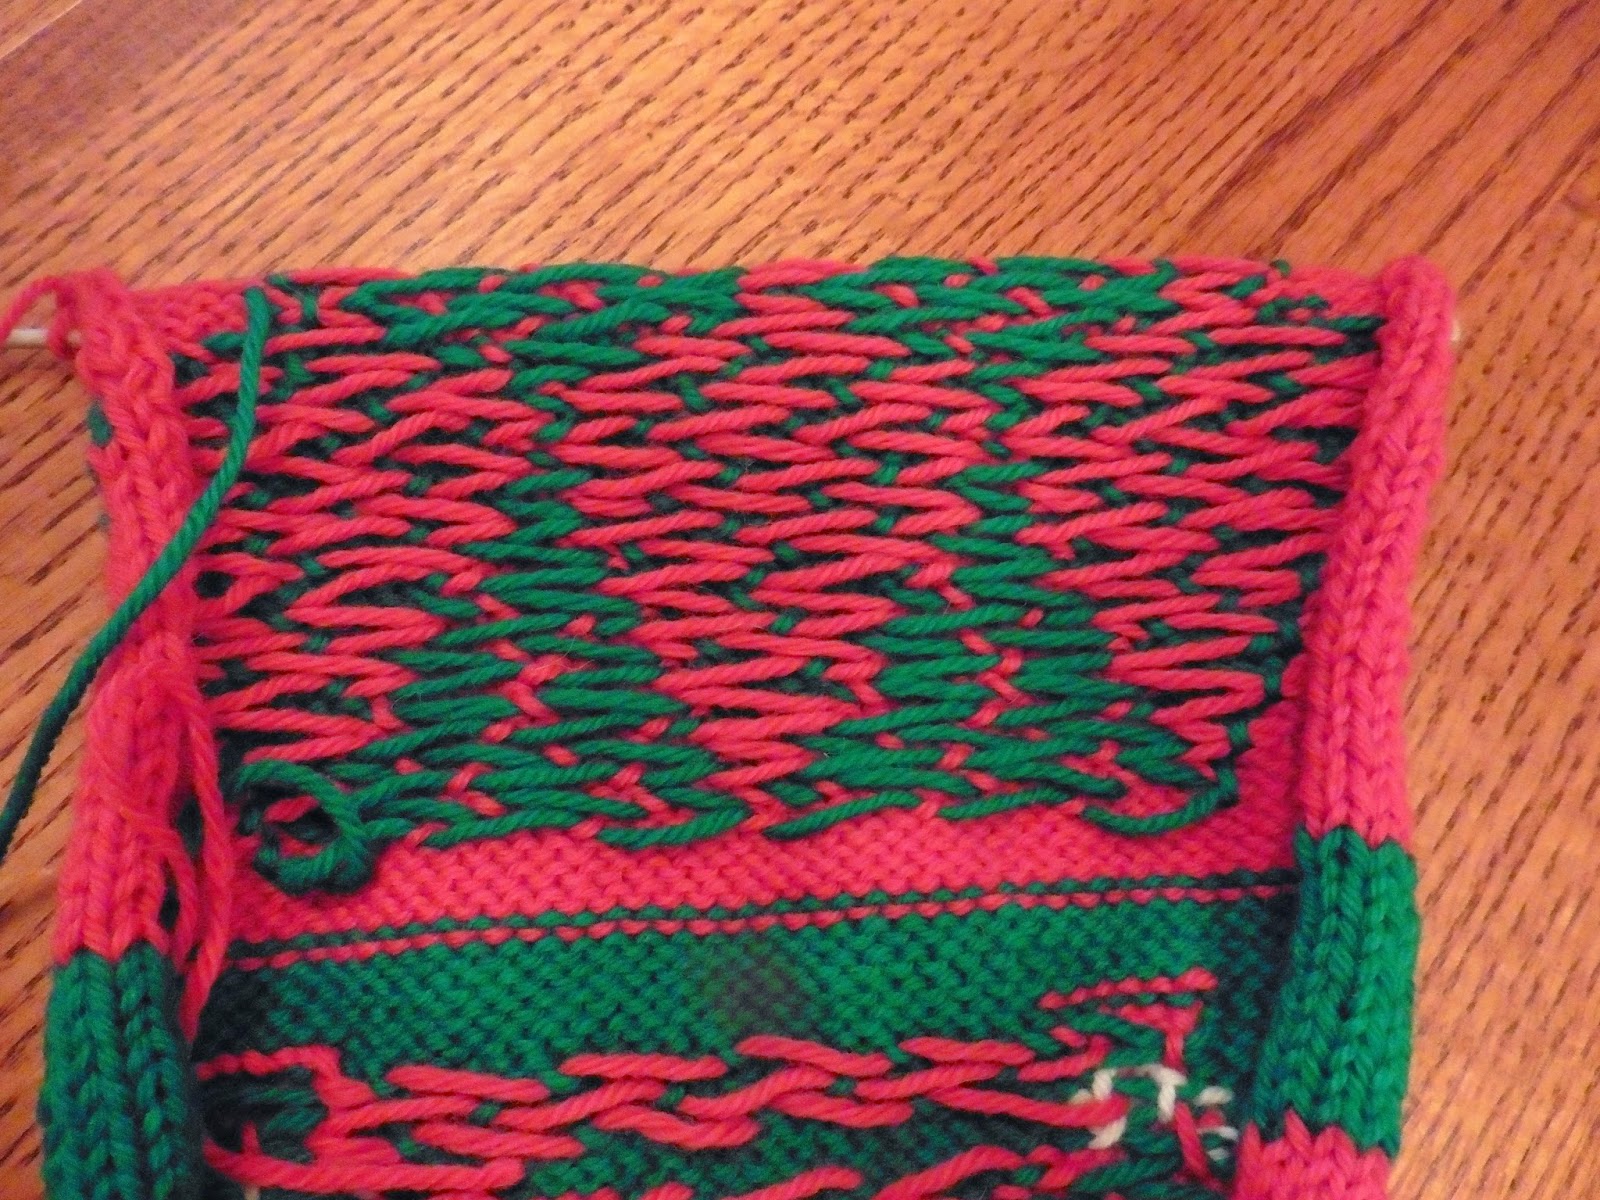
- Stranding yarn a span of five or less stitches worked best.
- Long loose threads were easier to work with than winding yarn on bobbins.
- Sew in yarn ends at completion of each color band. Do not leave it all until the end.
- Leave a long enough tail after each band to sew rear seam.
I completed the band with her name on Wednesday. I think this is the most fun part of each stocking because it is unique and new each time. Plus, you get to think about who it is for while knitting it.


I estimated how long a length was needed by the following method. I counted the number of stitches knit in a certain color and compare this to the number of stitches in the width of the stocking. For the green hats that was 52 stitches, four times thirteen stitches per hat. The stocking body itself is about 60 stitches wide so stitching those hats is about the same as knitting one row. I find that stitches take 3-3½ times the width they form so I will need just over three stocking widths of yarn to knit the stitches of those hats.
But wait. There is yarn stranded between those hats. If the yarn were just stranded along, it would stretch out three times, once for each hat row. So I need three stocking widths for stitches and three stocking widths for stranding. Being generous in what I considered a stocking width, I used the length of a knitting needle. For the hats I needed six needle lengths of yarn. This method worked surprising well with very little waste and not an excess of yarn length to deal with. I think I was short and needed to add a few inches (aargh...) of yarn only once. I did stick to my resolution and wove in the loose strands before proceeding to the Santa row.

I completed the Santa row on Friday. The Santa row is the hardest with sometimes three colors at once and carry overs to prepare for the next row. I had to be especially alert for his stretched out arm and the back pack that extended in the other direction. There is no way to put this nicely. The rows from his neck until below his belt are a pain. Be prepared to plan where that white will need to be to make his cuff and belt. After the belt, it is back to two colors, more predictable graphing, and an easier time of it.

I did the two pair of eyes with two separate strands and wish I had not. They would have been better with one length of yarn rather than having to weave in four yarn ends. Two of those ends could have been just one continuous strand carried along. I sewed in the ends before moving on to the tree row.

I did the Christmas trees Saturday afternoon. The tree row is a breeze. There was no need to count stitches and calculate lengths of yarn for the trees. I worked from two skeins of yarn at the same time since these rows overall are pretty much equal parts red and green. Twisting was not a big issue. If I hung in there across one row, it untwisted a fair amount on the way back the next row.

I only had two yarn ends of green to weave in for this band. Just the start and the finish. Nice.
It is best to pay attention to the off hand detail in the instructions that casually says to block your work after the tree row. I had not appreciated the significance of this sequence. The knitting is still flat at this point because it has not been converted to double pointed needles for circular knitting of the heel, instep, and toe portion of the stocking. On my previous stocking for Autumn I blocked when the knitting was complete and I had to juggle around the foot portion to pin the stocking flat onto the surface for steaming. And then I had to pin it again because I had used plastic headed pins and really wanted to use glass headed ones, just in case, because of the high heat.

I used one of my husband's handkerchiefs, wet and wrung out, as a pressing cloth.

Here are both sides of the blocked length of the stocking before the foot portion is added. See - I did sew in all the loose ends! The ones on the edges are reserved for sewing up the rear seam.


Working with only one color on the heel and instep is quite a relief after juggling all those strands with the intarsia portion. Even so I did only the heel and heel turning on Sunday morning when I was fresh. Heel turning is not difficult but please do not talk to me while I am doing it.

Monday I finished knitting the instep, tapered the toe, and sewed the toe tip closed.

I wove in the few short strands of yarn resulting from color changes at each band. By leaving long strands when cutting the yarn at the completion of each color band I could use that length of yarn to sew the rear seam in a matching color with a minimum of loose strands to sew in. I sewed the back seam from the heel up to the top, added a hanging loop and I was finished!

And the stockings were hung, on the railing with care,
In hopes that the yarn fairy soon would be there.
May her magical sprinkles drift down from above.
Each stitch in these stockings was made with much love!

I will be linking up now to this week's Freshly Pieced's Work in Progress for a bit more Christmas inspiration. My own quilting efforts are on hiatus until after the holidays.
Wow! What a thorough documentation of the process! But I do often find I wish I'd documented the oh-by-the-ways of a project, so this is a really good ieea for a post. and who knows - maybe it'll start showing up in google along with the pattern!
ReplyDeleteI like this post for so many reasons--the detailed instructions and tips (including the ones meant just for you such as knitting in the morning while fresh instead of while watching TV in the evening), your beautiful photography, the play-by-play of your week. I think you should write a book about your long-term project. The stockings are delightful (I may have said that in another comment), and I wish you many more opportunities to make them!
ReplyDeleteAah... many more opportunities to make them... what an intriguing way of phrasing more grandkids. I love it! Wishing you a Merry Christmas. I will be off to visit the granddaughter whose stocking says Autumn. Of course I will enjoy seeing her mom and dad as well.
DeleteBeautiful! Hopefully in a year in the not-so-distant future we all will be together on Christmas to see what goodies Santa leaves for all of us in those stockings!
ReplyDeleteMy grandmother made this stocking for me in 1948 out of wool in a really fine gauge. She made them for my brother, sisters, cousins, children, and husband over the years. I am so thrilled to find this patter and to try to carry on the tradition for the youngest members of our family. Thanks so much for the tips!
ReplyDeleteDo you make these for people?
ReplyDeleteThank you for asking but, no. These stockings are a lot of work and require that I concentrate intently, so unless I get another grandchild or an existing stocking meets a dire disaster, I most likely have made my last stocking for my youngest grandson William in my post
Deletehttp://dianeloves2quilt.blogspot.com/2018/11/williams-stocking-completed.html
Several of this stocking posts give links to the directions to these vintage stockings. I do not accept work on consignment or professionally. If you are looking for something simpler and quicker to knit you might try these Santa Top This hat kits from DMC I discuss in my post
http://dianeloves2quilt.blogspot.com/2019/07/christmas-in-july-race.html