Saturday, August 20th, my husband accompanied me to a quilt show in Brentwood, CA presented by the Delta Quilters Guild. The show was held at the Brentwood Community center. The quilts and vendors were on the main floor; the second floor housed a boutique. It is a moderate size show with 114 quilt entries this year – a reasonable quantity to enjoy without being overwhelmed. I like this show because the quilts are quite varied and the contributors very talented. At some of the international or national shows, I can get discouraged by seeing quilt after quilt of a complexity that is unattainable by only perhaps the top 1 out of 1000 quilters – quilts I could never, ever achieve, no matter how hard or long I tried. I can relate to this talented guild's quilts. They are real, not a fantasy, and yet still beautiful, fun, and inspirational. I am excited to take back and try some of the ideas in my own quilts.

1st Floor Quilts
I took photos of some of the quilts that caught my eye. I also took a photo of the card that "tells its story" to give credit where credit is due. Maybe because I am now working on a black/orange themed quilt that Pumpkin Patch demanded my attention. The patchwork pumpkins are whimsical and the gray is a great addition along with the tiny spikes of green leaves. The background quilting is awesome. I personally prefer piecing to appliqué, so that was another plus for me with this quilt.
Way Up There! made me smile, especially when I noticed the details: the 3-D leaves along the bottom of the top inner border, the fluffy mane on the first giraffe, the leaf being nibbled by the third giraffe, the bird on the head of the fourth giraffe, those long curly sexy eyelashes, and those tails with tassels on the tips. Once again, the background quilting is awesome.
Not only did I enjoy this
Meet the Clauses, but I also giggled at all the decor lined up at its base. The patchwork of fabric variations among the boy and girl figures of many skin tones, nationalities, and hair colors mirrors their uniqueness. No two figures are alike. I included a closeup of only one.
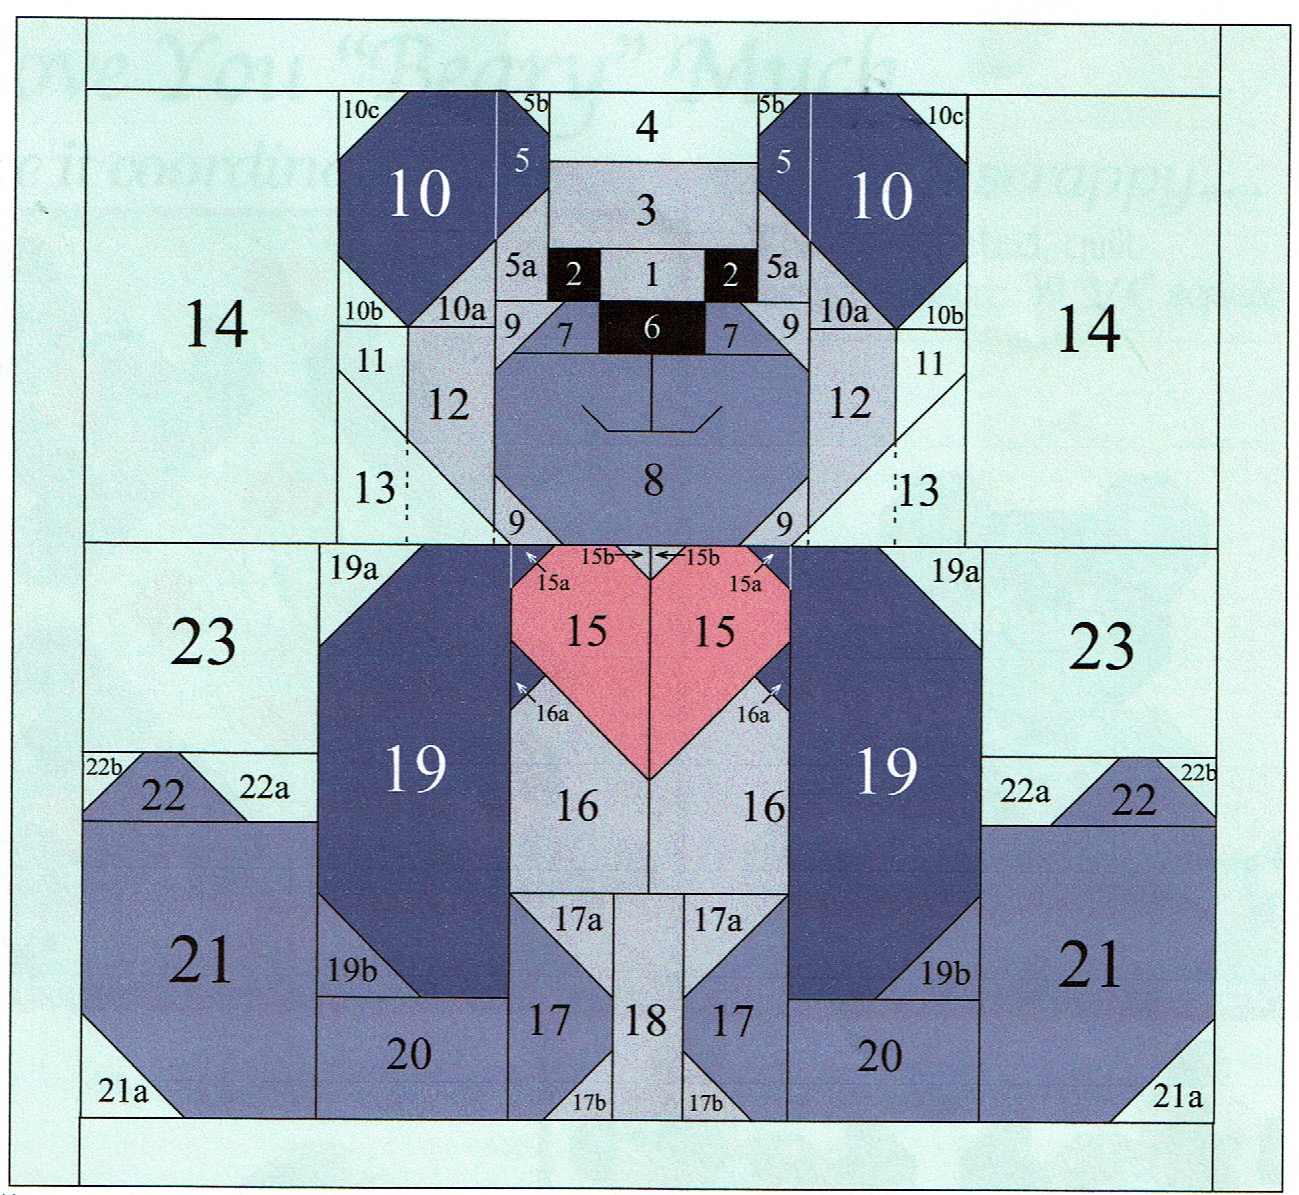
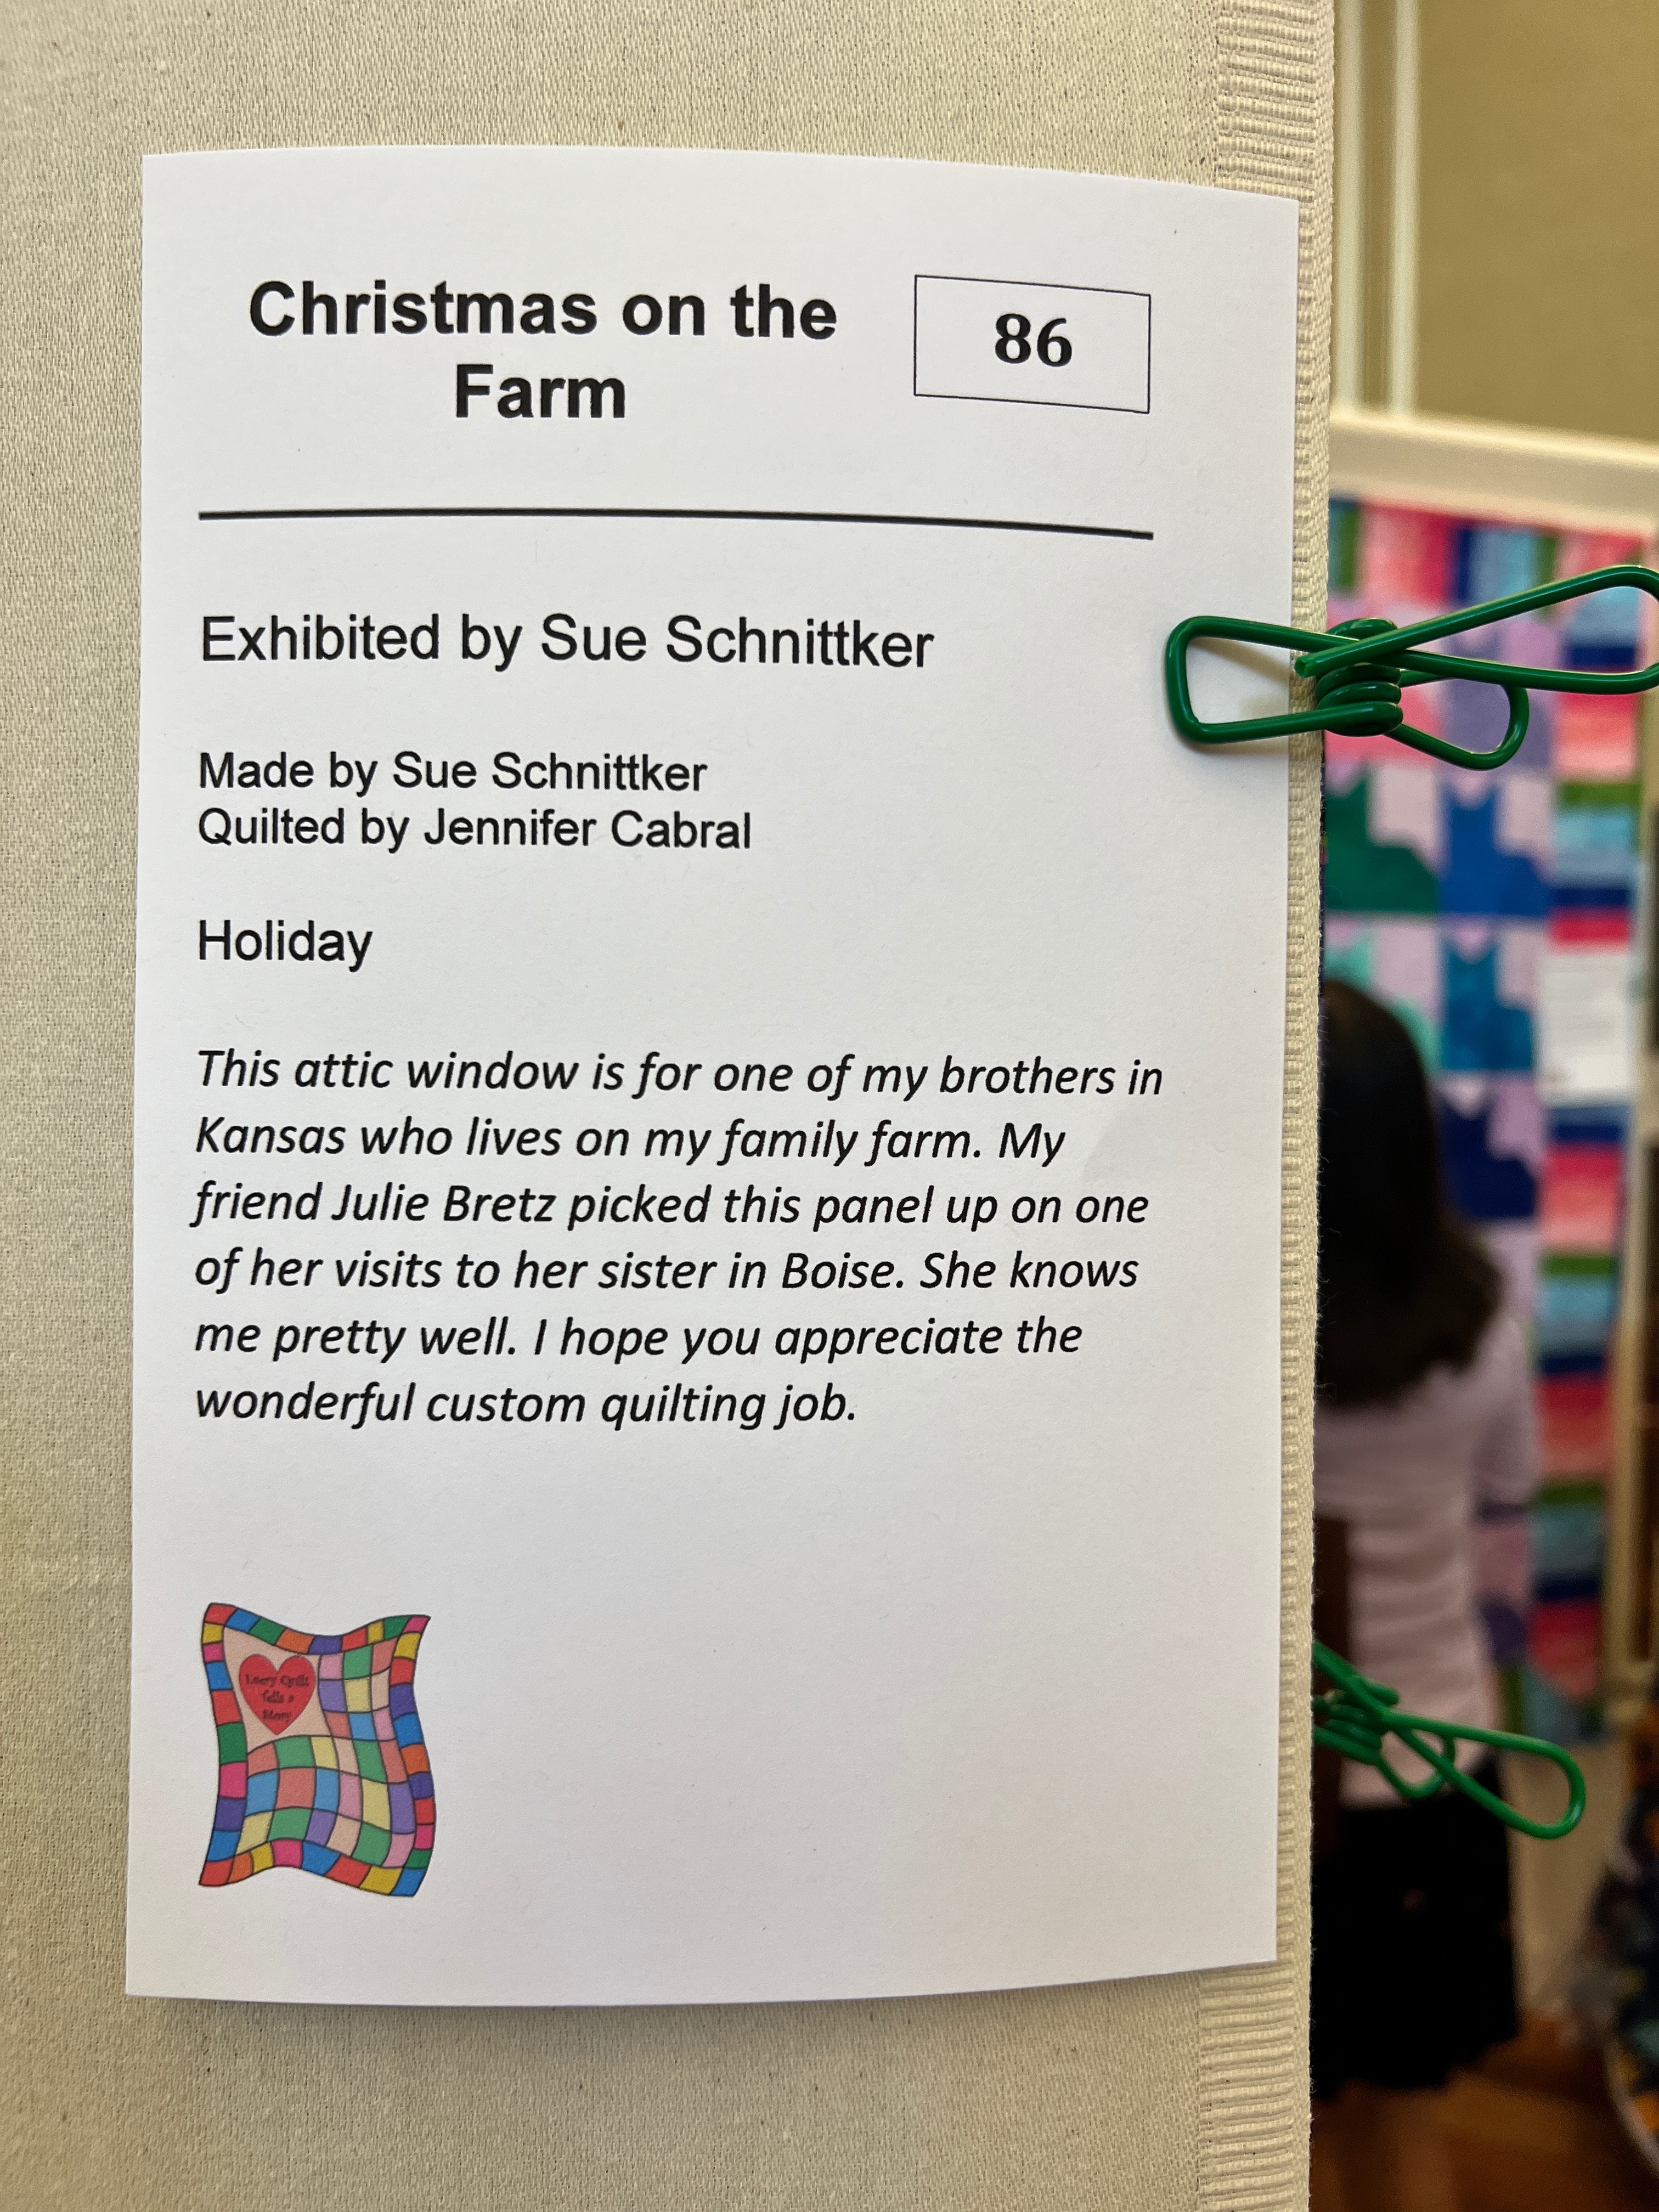
My husband really liked
Christmas on the Farm with its looking through a window charm. I too liked the effect and my mind began racing though images of all the panels I already own that would work well with this attic window treatment. There was another similar quilt, later on in the show, with no card associated with it. I also liked that one and began to wonder if it was necessary to have an outdoor scene to be effective. Hmmm. Maybe not. One could be outdoors looking in.
I thought an ottoman cover was a unique and clever addition to a quilt show and to home decor. This was made in lovely shades of teal. Gorgeous. I question if the lounger would be showing an appropriate amount of respect if he were to put his feet up on it.
I learn something new at every quilt show. Today I was introduced to Kimberbell, a company specializing in machine embroidery. This bench pillow with its twinkling lights first caught my eye. Then I noticed the detailed quilt
Red, White, and Bloom hanging above it. Look at a detail to see the innovation and creativity using a clear vinyl overlay to represent a glass lightning bug jar or lucite lemonade pitcher. I do not have an embroidery machine – sigh – but I am kept busy enough with my Pfaff domestic and my Sweet Sixteen Handi-Quilter machines. I did google Kimberbell, however, and there is lots of extremely intricate and whimsical eye candy to drool over.
The quilts are in two rooms. When I entered the second room I was struck by this
Marvel "The Shield" round quilt which my seven-year old grandson would love.
I was quite proud of myself that I held firm to my 2022 goal of little to no fabric purchases. From the vendors on the quilt floor I bought only one fat quarter because it called to me and cost only $1.25. It is a rather large scale print for a fat quarter but I am sure I can find a place for at Christmastime. The photo below shows the full ½ yard height of the fabric. At the least, it can be a pillow front or table topper or I can use it to wrap a gift.

From the same vendor, I bought a small paper pieced pattern that makes four 15 ½ x 18 ½ snowman quilts. A fat quarter is all that is needed for the backing.
Hanging high among the rafters above the entry tables was the winner for best of show from a previous year, 2021 I think. That is quite a colorful and eclectic neighborhood.
2nd Floor Boutique
Here I was less restrained with my purchases. Upon walking into the room I immediately spied a tote bag made from the same fabric line I had used for the quilt for my youngest granddaughter. Following are the 14" x 11" x 4" bag I bought at the boutique compared with my granddaughter's quilt from
my 2/19/21 post. How could I pass up such a coincidence? It was meant to be.
My younger son is a huge M&Ms fan. I bought this zippered pouch for him. It is made from an actual candy bag and lined with M&M themed fabric.
These fat quarter lollipops will make nice gifts. Surely I did not buy these for me and tempt breaking my 2022 fabric diet.
Then there was my bargain that I am most proud of... an AnglePlay book (©2008) and four booklets (©2006) by Margaret J. Miller complete with the entire set of all thirteen accompanying templates. These acrylic templates are replicas of the paper ones on the pages of the books and will sure save time and effort from having to make some of my own. The opening page of each booklet reads
Much of traditional patchwork is based on two shapes: squares and half-square triangles. These shapes are formed by only two angles: the 90 degrees of a square, and the 45 degree point of a half-square triangle. But if you add half-rectangle triangles to this mix, a vast new world of patchwork design opens up! Quilts designed from blocks with this new shape have a lyrical quality to them; curves and nearly circular shapes are possible over the pieced surface.
This technique may be over a decade old, but somehow it passed me by. Perhaps paper piecing took off as an alternative to the same look? I am curious to try out this angled template method. The template have the corners angled off appropriately to make alignment a cinch. The book contains
" 6 PROJECTS • 42 EXCITING BLOCKS • EASY, NO-MATH PIECING". I included a photo of some of the 42 sample blocks from the book.
Each of the booklets uses a subset of the templates: Angles Aweigh A, B, C; Angles Up H, I, J, K; Anglin' Along E, F, G; Angles on the Edge L, M. I bought the entire set for less than one third what they originally cost. Perhaps I will start out with a sample block first.
Oh, and just as I was leaving, I picked this up from the "Free" table. It makes a 39 ¾" square quilt with four bears, but even one block would be a fun, but not necessarily quick, project. Look at the number of pieces to make one bear.
I thoroughly enjoyed this day trip. My husband and I spent about three hours at the show and it was so refreshing to be out and to be inspired.


.jpg)


.jpg)
.jpg)