Friday, November 26, 2021

Gray Spiral Table Runner

I have made this pattern for a Spicy Spiral Table Runner several times before. It takes eight fat quarters and a wedge ruler, either 9° or 10°. In my first experience per my 11/4/2011 post (which was – yikes –  ten years ago) not only did I goof and need to add a ninth fat quarter, but "I bought the pattern twice and the ruler three times with trips to two quilt stores and a quilt festival." This time went much more smoothly. My daughter had just hung new dining room curtains and asked that I make her one of these spiral runners in shades of gray. These are the eight fat quarters I selected from my stash and cut each into four strips of the appropriate width per the pattern.


Since there is a range of lights to darks, I chose a variegated thread in grays. I know the thread does not really show in piecing but I still often do try to match. I then pieced together my strips in the dictated color/width order, until I had two light and two dark strata. 


I then cut these strata into wedges using a 10° ruler.  Sewing the wedges together, two at a time, then four at a time gradually formed one light and one dark half-spiral.


Joining the light and dark halves formed a full spiral. Those jagged edges would be trimmed off later to form a smooth curve.


Instead of binding, I stacked three layers in this order  – batting on the bottom, backing right side up, and pieced top right side down – pinned them together, and cut out the spiral shape. I splurged a few years ago at the 2017 Houston Quilt Festival and bought Handi Batting Scissors by HandiQuilter. They have a 5-inch straight-edge cutting blade and ergonomically designed handle for ease in cutting. When you have a tool you need to use it, right? These specialty scissors are offset enough that they cut around that unusual shape like a dream. I use them for every project that requires batting.


After sewing these three layers together I turned them right side out, pressed, and let the assembly mellow for a few days while I waited to be inspired by a stitching pattern for the quilting. I had quilted two quilts (Christmas Cars -12/18/20 in Dec 2020 and It's a Party - 2/19/21 in Feb 2021) with a circle template. They both had pleasing outcomes and so I wanted to get more practice with the larger BIG HQ Swiss Cheese Template. I chose the largest size circle, 2 ¼".


I had agonized over my stitching pattern decision and then tried to figure out how to space and line up those circles in a pleasing fashion. I inserted a photo of the spiral runner pieced top into PowerPoint and then overlaid circles to see how it would look. I wanted to follow the flow of the shape yet be reasonable about the work involved. Those jagged outcropping are ¾" before being trimmed off and I used them to scale my 2¼" circle diameter in PowerPoint. The blue line midway indicates where the light and the dark halves were joined.


Once I figured out a way to mark their placement by locating the center of each piece and then connecting the dots; the circles went in rather smoothly along the curve I had generated. The only problem was that those stitched circles did not show up! After minimal deliberation I chosen to quilt with the same gray variegated thread. All my stitching fretting had been for naught. I took a picture of each half in orthogonal lighting and with a good imagination you can see the circles. Wishful thinking, but perhaps they will puff up more after washing.


The circles show up slightly better on the back, which is the tape measure fabric. Following is a full runner photo followed by a closeup of those camouflaged circles.


These were the majority of my leftovers from cutting out those 10° wedges. Of course I could not bring myself to toss these out. I played with them and formed two "mini-somethings".


I quilted the "mini-somethings" from the back on my domestic along the lines of the tape measure print. I think this stitching pattern may very well be more effective than the circles; it was easier, too.


I do not plan to make a grosgrain ribbon label as is my habit for my quilts; instead I plan to write my initials and the year completed in fine-line fabric marker in an inconspicuous location on the back of the table runner itself and the two mini-somethings. The pseudo-labels will be short and to the point – DIC 2021.


I think picking out the fabrics was the messiest part. These are the options I spread out, considered and rejected, having to refold and put all of them away. Half-yard cuts are on the left and fat quarters are on the right.


Since the four strips cut from each fat quarter was 3" or less in width, there remains ~6" or more by ~22" or so half-fabric width from each fat quarter. Here those fat strips are folded neatly, ready for another study in gray. I suppose I could make a couple placemats but I am tired of these fabrics for now. My present challenge is to find an inventive place to store them so they are not forgotten. So for now my Eight Shades of Gray will be stashed away.
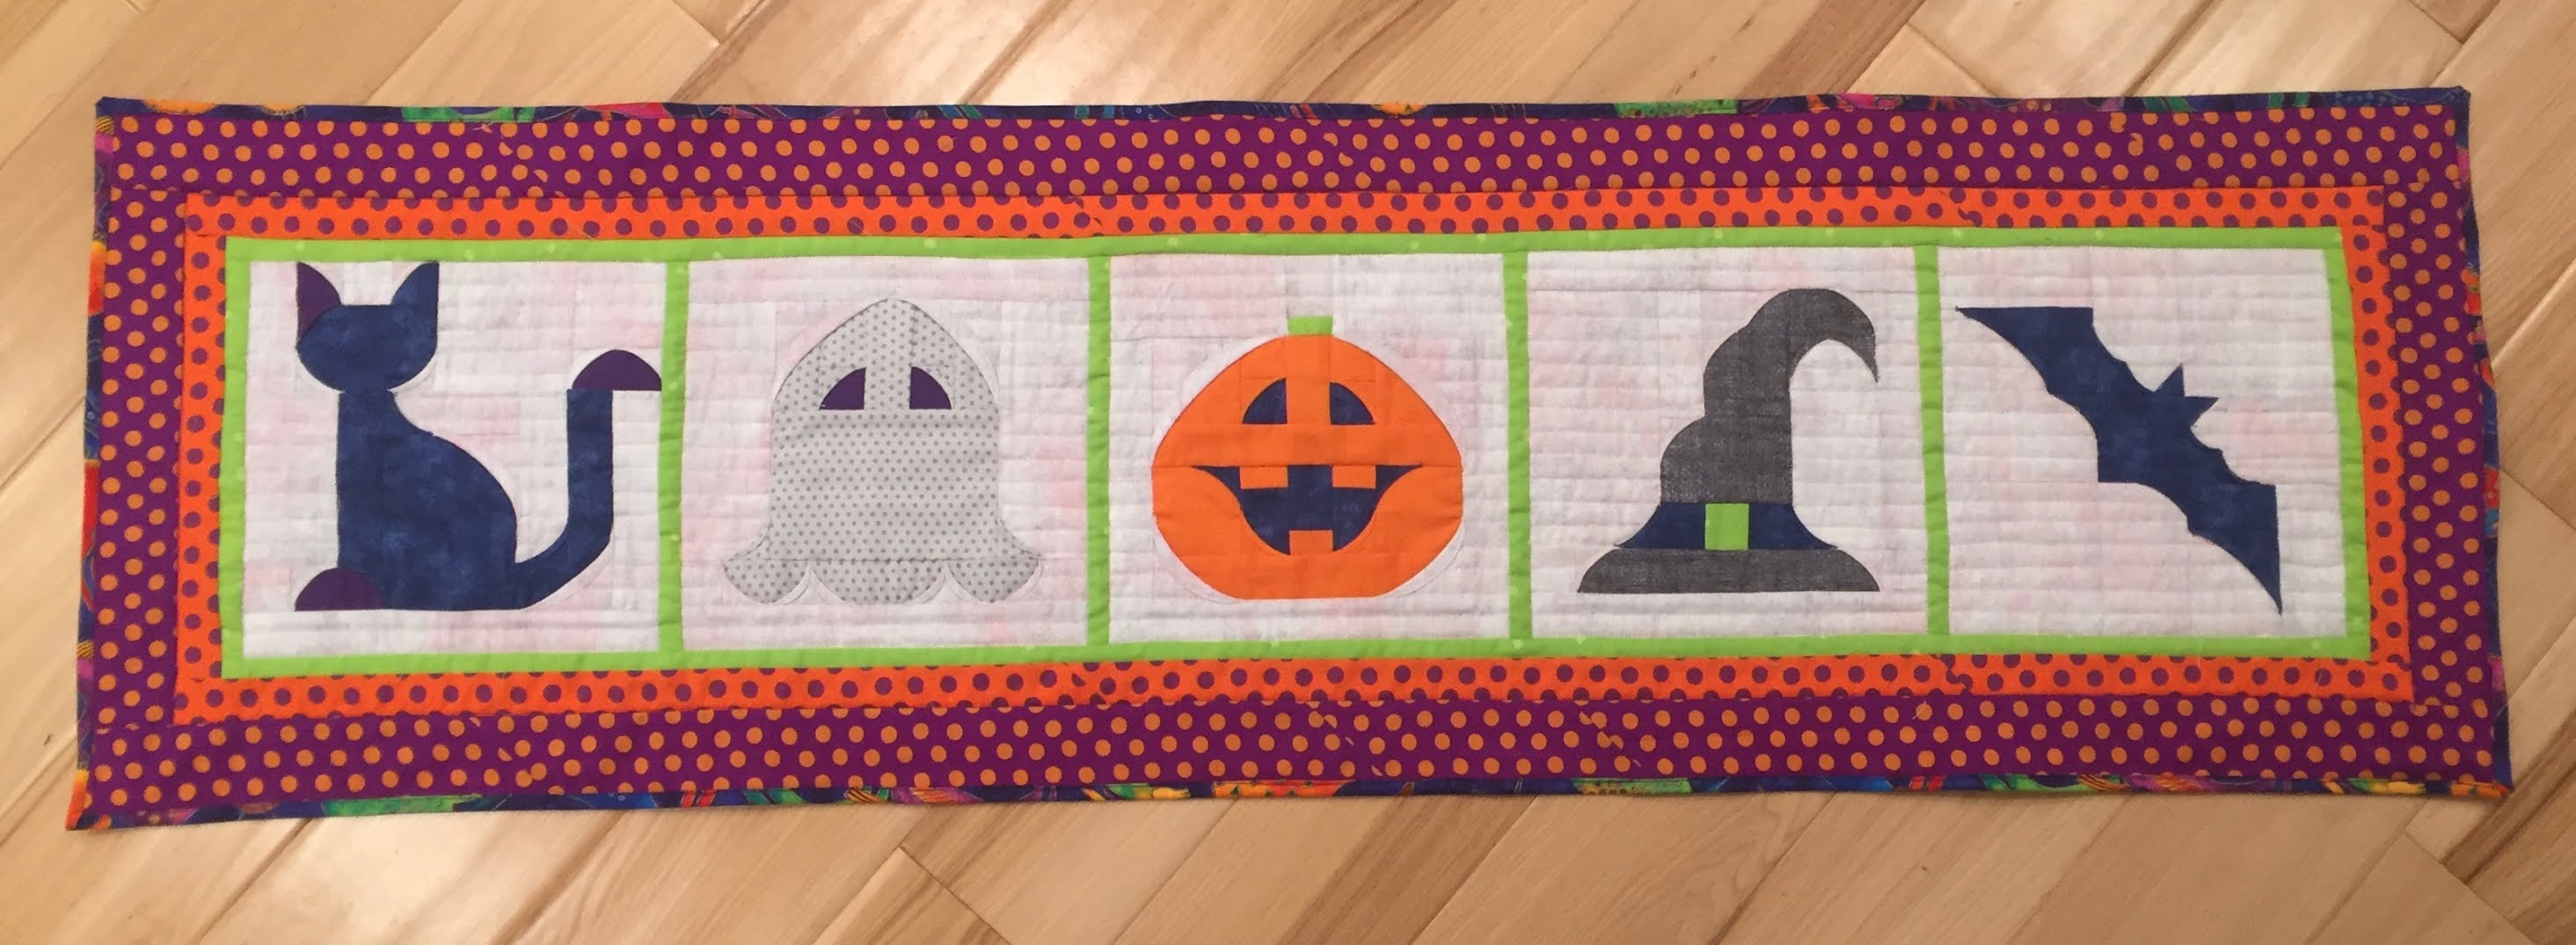
Saturday, November 20, 2021

Third Saturday of November 2021

For "Hang Your Quilt Day" this November, I cut back to displaying half the number of quilts I'd displayed for the Third Saturday of November in 2020. The two I did show this year are repeats, again echoing a Thanksgiving theme. 


The Pumpkin Time quilt hanging on the left measures 42" x 50" and was made from a several-year-old panel and some re-purposed checkerboard blocks from a previous project. The central pathway in each of the five images leads to a quaint home.  My post about sewing Pumpkin Time is dated 11/22/2020. The checkerboard quilt hanging on the right measures 40" x 40" and its title is Gobble. The nine Ohio Star blocks that make it up have novelties fabrics of turkey and Indian corn. My 11/8/2020 post gives closeups and more details. I took the photos again today when there was better lighting in the afternoon.


Beginning April 2020, my quilt guild members began a tradition of hanging quilts in the front of their homes on the third Saturday of the month as a source of enjoyment for the community and as a thank you for the essential workers during the pandemic. My initial post about this practice is dated 4/22/20. I have participated every month since then except this past October 2021 when we were away. Instead I blogged an alternative indoor October 2021 display, not as visual but still remembering the essential workers.

Tuesday, November 16, 2021

Surprise Fabric Acquisition

My husband and I were visiting our son's family in Southern California, approximately 400 miles away, a few weeks ago in mid-October. We were dropping off our seven and five year old granddaughters at school one morning when the grandfather of another child noticed the denim over-shirt my husband was wearing which has QUILTER'S HUSBAND embroidered in an arc across the back. The man, named Dano like from Hawaii Five-0, tapped my husband and asked, "Sir, is your wife a quilter? Would she be interested in some fabric my wife inherited from a guild member's estate. She is selling it for $1 to $2 a yard. Our house is a couple blocks from here. Do you want to come and look?" Well...YEAH!

We drove over in our car and Dano rode with us. His wife was a bit surprised but pleased with her husband's ingenuity and she opened the garage door to tubs filled to the brim with fabric, tidily folded in zip lock bags with the yardage marked. I reined myself in somewhat, but here is what I bought. When I brought the fabric lengths home I re-folded them per my system and labeled the yardage accordingly.

Four bowling themed pieces totaling 5 ⅝ yards ...


A dotted circle print, a Christmas print, a fantasy print, and a swirl totaling 10 ½ yards ...


Prints with balls of yarn, paw prints, purple lava, and Christmas windows totaling 10 yards...


A 60" wide stripe equaling 1 ⅞ yard ...


I happily walked off with 28 yards of fabric for which I paid $30. Some was from JoAnn's and I noted it on my tags so I knew to expect different shrinkage and color fade but certainly usable. I am most happy that my husband is a walking advertisement! He was bemused and glad 😊that we were driving 🚗and not flying ✈.

Wednesday, November 3, 2021

Third Saturday of October 2021 Alternative

We were away visiting with grandkids so this is the first time in over a year I did not hang my quilts outdoors for the third Saturday of the month. But today, as I switch out my indoor Halloween decorations for Thanksgiving ones I thought I'd share a few pix of the quilts I displayed in my house.

My post for 1/25/2012 tells of the finishing and binding of the Jack O' Lantern wall hanging made from Jason Yenter's In the Beginning Fabrics. It measures 39" square.


My post for 2/2/2013 has more details about the Jack O' Lantern quilt which measures 21" wide by 30" tall.


This pumpkin wall hanging was block of the month wind from my guild. It measures 31" x 39". My post for 10/31/2017 describes its completion and quilting.


Here is my newly completed banner (completed the day after Halloween) made for  a Halloween mini-mystery challenge sponsored by Annette Ornelas of Southwind Designs. The individual blocks in various stages of completion were deployed about the upstairs as I worked on it, The banner progress is described in my post for 11/2/21


Besides quilts, I also displayed pumpkins on the hearth, witch hat plates on the piano, and a cuddly, fuzzy, trick or treat throw tossed over the recliner.


Tuesday, November 2, 2021

Halloween Mini-Mystery Quilt

Normally I avoid mystery quilts. I have so many projects I want to do, some large scale, why introduce an unknown distraction? Plus, I like to plan how my quilts are going to look in advance. That being said, I still joined on online group to make a mini-mystery quilt for Halloween because it had several features that appealed and countermanded my pre-conceived objections.

  • unique technique
  • definite goal / specific theme  – not a total mystery
  • guidance on colors in term of light/medium/dark – again, not a total mystery
  • small (¾ yard background piece, 6 fat quarters, 1 piece less than fat quarter)
  • short duration – clues came out every Tuesday and Friday for 4 weeks

This mystery quilt was sponsored Annette Ornelas of Southwind Designs. Her signature style, as illustrated in her book Peeled-Back Patchwork: Curves without Piecing, has hooked me with it uniqueness so my curiosity was aroused. Annette gave suggestions for color choices for this mini-mystery –  Background, Black, Grey, White/light grey, Dark, Purple, Orange, and Green – alleviating my concern about utter randomness. Most of the required fabric quantities were fat quarters that could easily be gathered from my stash.  My picks are shown in the next photo. I specifically avoided halloween print fabrics and I decided to hold off for a while to pick the setting fabric between the blocks. Maybe that will be a print. Am I cheating to wait, or merely reluctant to give up total control?


There are four mystery blocks delivered at two clues per week in my in box. I can only guess at what they might be.


BAT: Clues #1 (9/21/21) and #2 (9/24/21)
That mottled background makes me think my bat is flying back home in the rosy/gray dawn twilight through a cloud cover. Those peeled back curves really are a nice added detail. They are the technique that coaxed me to join. The unfinished block measures 9½" square. I anxiously waited for the following week's two clues. Would it be a cat, a pumpkin, a witch...?


WITCH HAT: Clues #3 (9/28/21) and #4 (10/1/21)
One of our instructed fabric choices was medium and I picked the textured medium grey. That choice worked out well. The seams are barely visible and it picks up the grey in the mottled background. I initially did the peeled back curves in the same neutral cream thread that I'd used for piecing. I am glad I made the effort to pick them out on the medium grey fabric and dark blue fabric to resew each of them with a matching thread. I definitely like the contoured feeling the curves add and the contrasting thread was distracting.


JACK O' LANTERN: Clues #5 (10/5/21) and #6 (10/8/21)
I knew orange had to come up sooner or later! I usually make my quilts with prints but often thought quilts with solids look crisper. I decided to use textured solids in this mystery as an experiment. My purple and orange fabric choices, have no texture at all, as a non-print extreme. Frankly, the solid orange looks a bit flat to my taste, but I am glad I at least gave it a shot on something small. I do love his curvy, quirky grin, though. This block did not take long so I can always do another with a braver fabric. And I am glad I picked a textured blue for my dark option instead of a black print. I still need to use my purple and my white/light gray. I wonder what the fourth block will be? Hmm..maybe I will sub out the dark blue stem for bright green like in the witch hat...?


CAT: Clues #7 (10/12/21) and #8 (10/15/21)
I knew purple had to come up sooner or later! I used it as the contrast color for a black cat on one ear, the paw and the tail. There is not as much contrast as I would like but that is one of the drawbacks of a mystery selection of colors. My colors all do blend, but as a whole they are rather subtle. 


Here are all four blocks so far. I can spice it all up by picking a bright sashing fabric but then I am concerned that it will detract from the blocks. I know. I am overthinking it. There is a bonus block yet to be released and my guess it that it will use gray... also a subtle hue. Maybe I should start thinking in terms of a misty, foggy, spooky, Halloween night.


GHOST: Clues #9 (10/19/21) and #10 (10/22/21)... a bonus block!
Aha! Finally a use for the gray! It does show up with my selected background even though the contrast is not extreme.


LAYOUT:
I could have made a square wall hanging with four blocks only; but then what would I do with the fifth bonus block? Using five blocks I could add four blocks of a Halloween themed fabric in a checkerboard arrangement for an even larger square wall hanging. That would have meant more area for a backing and more area to FMQ. I wanted to keep this project, small, compact, complete and mainly function for a technique and pattern expansion. I chose to string all five in a row horizontally to be used as a table runner or a banner over a doorway. To spice up the subtleness of the background, I separated the blocks with ½" wide sashing, wide enough to add a splash of color but narrow enough not to steal the attention away from the pieced blocks but rather showcase them. To satisfy my yen for brightness, I added two orange/purple, and purple/orange polka dots borders in 1" and 2" widths respectively.


BACKING:
My selected fabric does not have a Halloween theme but the saturated colors matched the block images so well with the deep blue, purple, orange, and lime green that I used it. It is one yard of a horse fabric by Laurel Birch that I was saving because I love it so much.


QUILTING AND BINDING
After spray basting, I quilted parallel horizontal lines in the blocks in a neutral cream thread, breaking the stitch lines so as not to cross the lime green dividers. I also kept a neutral cream thread for the bobbin thread even though the backing was dark. I did not want to risk some random dots of dark popping up to the front if the my thread tension wavered a bit. Surprisingly, the light cream did make for an interesting pattern on the back; I can see this being used as a table runner on the horse side, also. After considering wishbones or a piano border pattern in the polka dots, I chose to stop at stitch in the ditch only so that the border quilting was not a distraction. 


For the binding I merely trimmed, then wrapped, the backing fabric around to the front, folding it over, and stitching it down so it was only ¼" wide. After all it did have all those colors. Being finished was more important to me at this point than being fancy. Last night, when I finished it, was, after all, the day after Halloween. The completed banner measures 53"x16". It was a very fun, focused, mystery challenge and I succeeded in NOT creating another UFO!