When I left off in my previous post, 12/12/20, I had the quilting in the background on Christmas Cars remaining to stitch. These expansive, blank areas are always daunting for me since there are no blocks to guide or inspire the design. I wanted 1) something subtle so as not to distract from the blocks, 2) something free-form that would not require labor-intensive ruler work, 3) something airy to reduce the amount of time invested in dense stitching, 4) something in keeping with the winter/Christmas theme, and lastly, 5) something within my getting-more-confident-beginner skill level. I thought about Christmas trees and snowflakes. Trees would be harder so I went for snowflakes. My bravery grew as I chanced using a contrasting thread color - white on gray. This is the lower right corner of Christmas Cars still in progress. Randomly-placing those differently-sized snowflakes took planning.

I was inspired by an online tutorial by blogger and quilter Lori Kennedy. Her snowflakes are uniform in size, on a regular gird, and are interspersed with spirals, which I omitted. But random does not come easily for me.
I cut out circles for snowflakes and laid them out to distribute them fairly evenly, although not too uniformly. A loosely pre-determined layout is helpful to me since I can only focus on one small section at a time as I am quilting, and so do not get an overview. I did keep vertical lines, a practical path to travel from one snowflake to another, and one less parameter I would need to decide.
Then I was concerned how to mark my decisions. I needed a tool that would leave a removable mark. This choice was another stalling point for me on this quilt. Many marking tools caution to check first in an inconspicuous place, leading me to fear these markers would leave something indelible. I selected a chalk that left only a faint line that I could readily brush off. I drew equi-spaced vertical lines with varying-spaced horizontal tick marks for the center of each snow flake.
Folding each paper circle in the center, I marked all the positions: first, those in the space above the car blocks, second, those in the space below the car blocks, and third, those in the triangles intermingled with the car blocks. The size of each snowflake I would decide spontaneously as I stitched.
I was pleased with the way the snowflakes at the top near the seminole patchwork turned out. They emboldened me to try something else.
It occurred to me that it would be fun to have some half-snowflakes, as if the gently falling snow was a backdrop to the vehicles driving about town. Serendipitously, this approach also eliminated me having to choose and decide yet another FMQ pattern within the gray triangles around the car blocks.
For the outer striped border, I did my old favorite of a piano key border. Yes, I did use a ruler to get the straight lines perpendicular to the edge; but, by going down the rough center of each white stripe only, I cut the number of lines in half. I placed and secured my labels in the two bottom corners before adding my binding outside those wobbly Suess-ian stripes. The dots and swirls on the gray monotone binding made me think of snow dancing about during its descent. The gray tied in with the background and the dots were a cute homage to the dalmatian spots on the backing.
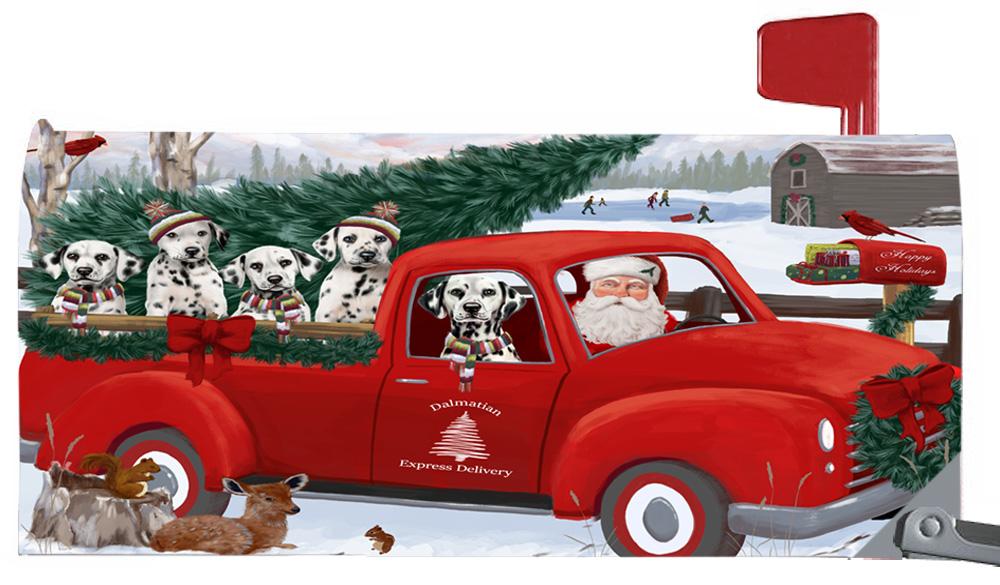
The dalmatian backing fabric is a whimsical touch, chosen mainly because its colors and scale were such a good fit. I will admit, the canines more commonly ride on fire engines or beer trucks, rather than Santa's sleigh. But the Father Christmas / breed combination is not unheard of as seen by this mail box cover sold by
Doggie of the Day website.
Here is the completed quilt in its entirety spread out flat, followed by a couple of my attempts at artistic presentation within my home.
For a year marked by staying at home and keeping safe from Covid-19, making
Christmas Cars brightened my mood and helped me imagine I was traveling after all.


No comments:
Post a Comment