Wednesday, January 27, 2016

Barstools, Whirligigs, Distractions

"Sometimes ya jus' gotta stop 'n think!" 


BARSTOOLS
I made good progress last week on those barstool covers, then lost a bit of momentum with having to stop and cut out more seat backs. I eventually located the misplaced cover fabric, cleared my cutting area – again –  and cut out the remaining backs.


Looking ahead, I started to think about adding the tabs for the Velcro. I realized their position is not as flexible as I initially thought. The Velcro from the Seat Back Back and the Seat Back Front both grip to the Velcro on the underside of the seat. I need to get the length just right so they can each reach and align with the mating strips of Velcro on the stool itself without interfering with each other. This is not a show stopper but, as I said "Sometimes ya jus' gotta stop 'n think!" Having to explain it by writing it here with photos helps.


There is a  lot of Velcro - 30 feet of it – so I need to think this through. I will measure the sewn barstool cover and compare it with the one I used as a model and use that dimension directly. That way I will not risk the two halves of Velcro failing to align due to accumulate offsets from the seam allowances.


While I was pondering the Velcro, I assembled the remaining four seat backs. The tricky part was rounding those upper corners and matching my registration marks but I went slowly and eased it in. Those red arrows in the next photo had to align. The top stitching took even more care to assure the seam allowance on the inside was directed toward the back while stitching around the compound curve on the two corners from the top on the outside.


All my top-stitching is complete and I next I need to joint the seat top to the seat back. The covers do not fit my dining room chairs at all, but I had to see what the five of them would look like. Since the amount of fabric was a limitation – as was the thinking capacity of my brain  – they are not identical in fabric matching. I  may play a few games with how I pair the seat tops with the seat backs before I sew the joining seams.


Even with a view from the back, I think the pattern is carefree enough in appearance that a formally aligned look is not necessary. Those dark starbursts and airy loopy circles look relaxed just scattered about. But I did pay attention so that all the dandelion heads on stems point up. Next to do are those four short seat-to-top seams and then the Velcro.


WHIRLIGIGS
My barstool progress was disrupted, although very pleasantly, by taking a class from Sandy Klop last Thursday. I could not resist cutting out a bit more of a grey neutral to lay out a whirligig block in dark on light versus my one in class that was light on dark. I call them whirligigs because to me a pinwheel has four arms and these have six. Besides whirligig is such a fun word! Here are the two whirligigs side by side. The left one has not been seamed yet and so looks larger. It really is bigger on the design wall and not just an optical illusion.


But this raises the question if both whirligigs should spin counter clockwise, if both should spin clockwise, or if there should be one of each? Here they are as one of each.


I like one of each better because the blocks that have non-neutral colors can be perceived as stars or whirligigs if you stare at them long enough. If viewed as whirligigs, color choice can make them appear to rotate either way. I am opting for similar variety in spin direction in the neutrals; but I had to think about that.


My fabric choices were directional so that leads me to more opportunities to think. This reminds me of a quote of anonymous origin, "You can lead a man to knowledge but you can't make him think". Directional fabric makes me think. (By the way, that barstool cover fabric was directional, too.) Both the white hearts and the grey crowns in this block are directional so I need to be careful how they are cut, stacked, and assembled. In the next photo all the crowns are consistent but two white heart fabric pieces in the lower left triad were cut with the hearts pointing away from the triad center and so must be swapped out before I sew this block.


The crown fabric was cut from a fat quarter and so I did not get as many pieces as I would have from a full width strip. Never the less, I layered three strips in the same orientation, stacked the cut pieces in like oriented piles, and at least will aim to be consistent within a block.


DISTRACTIONS
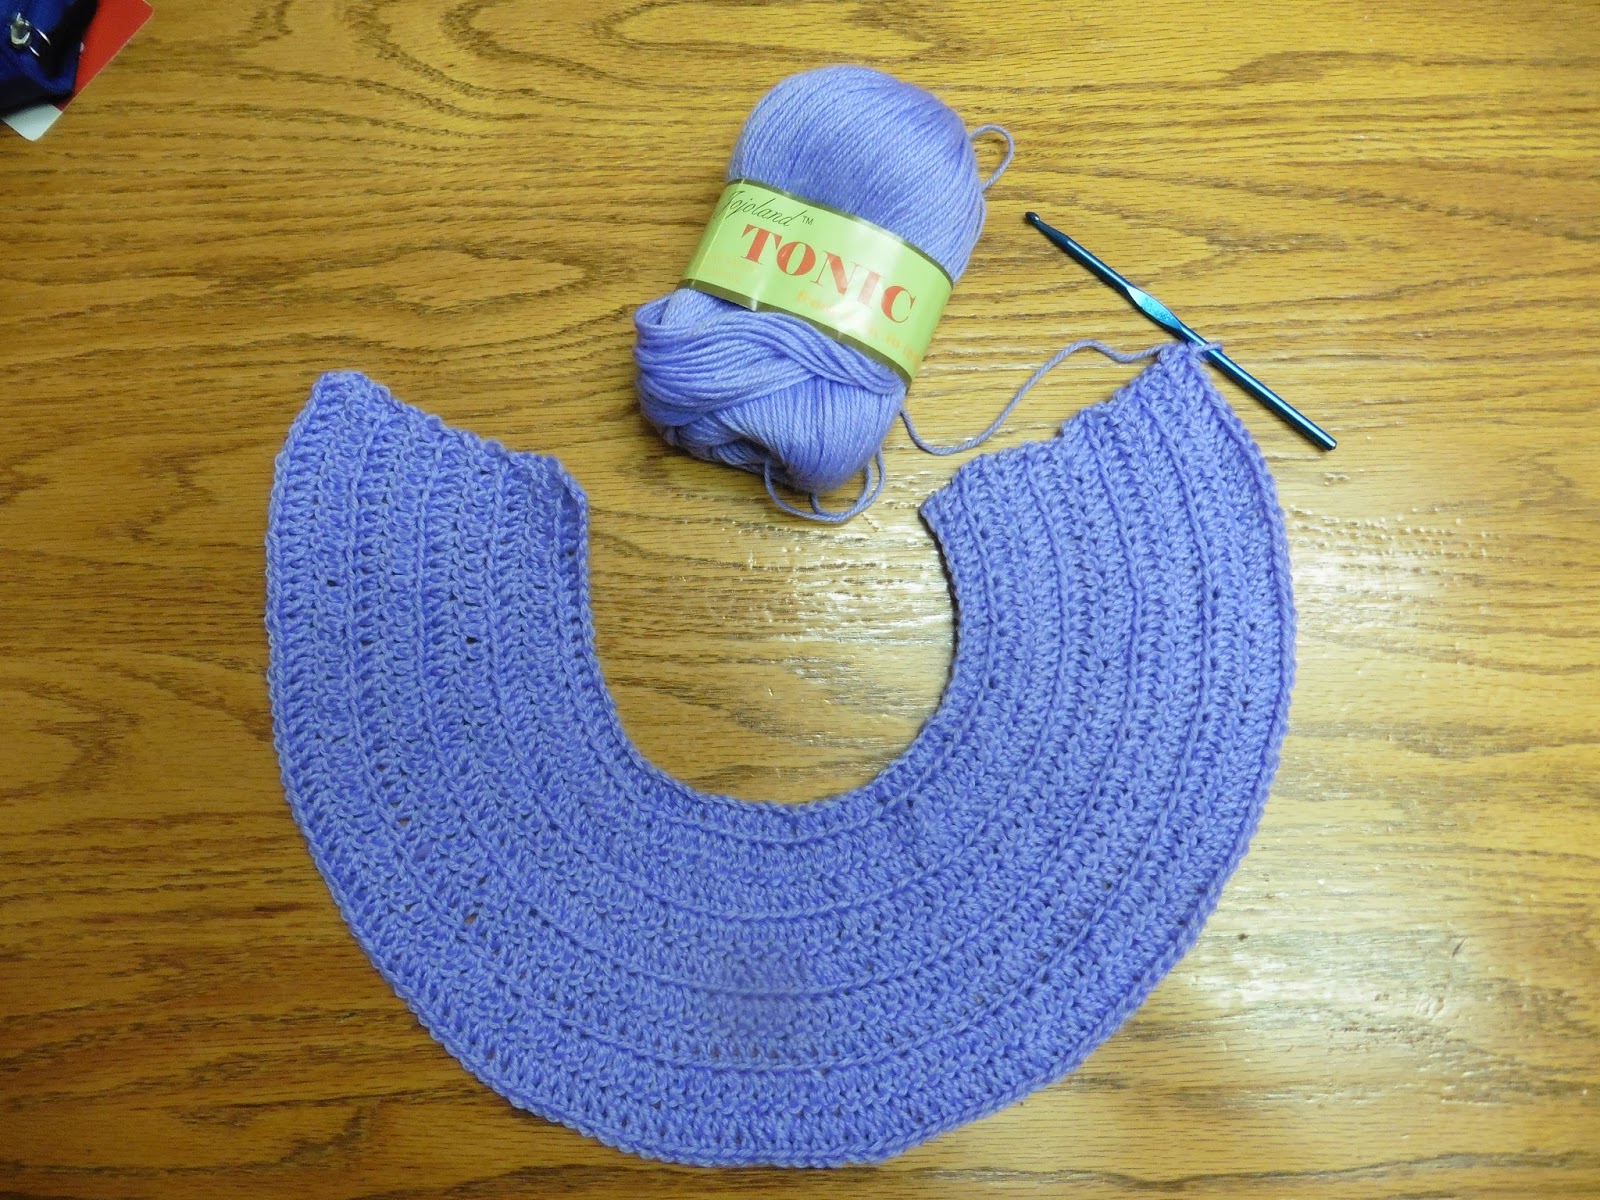
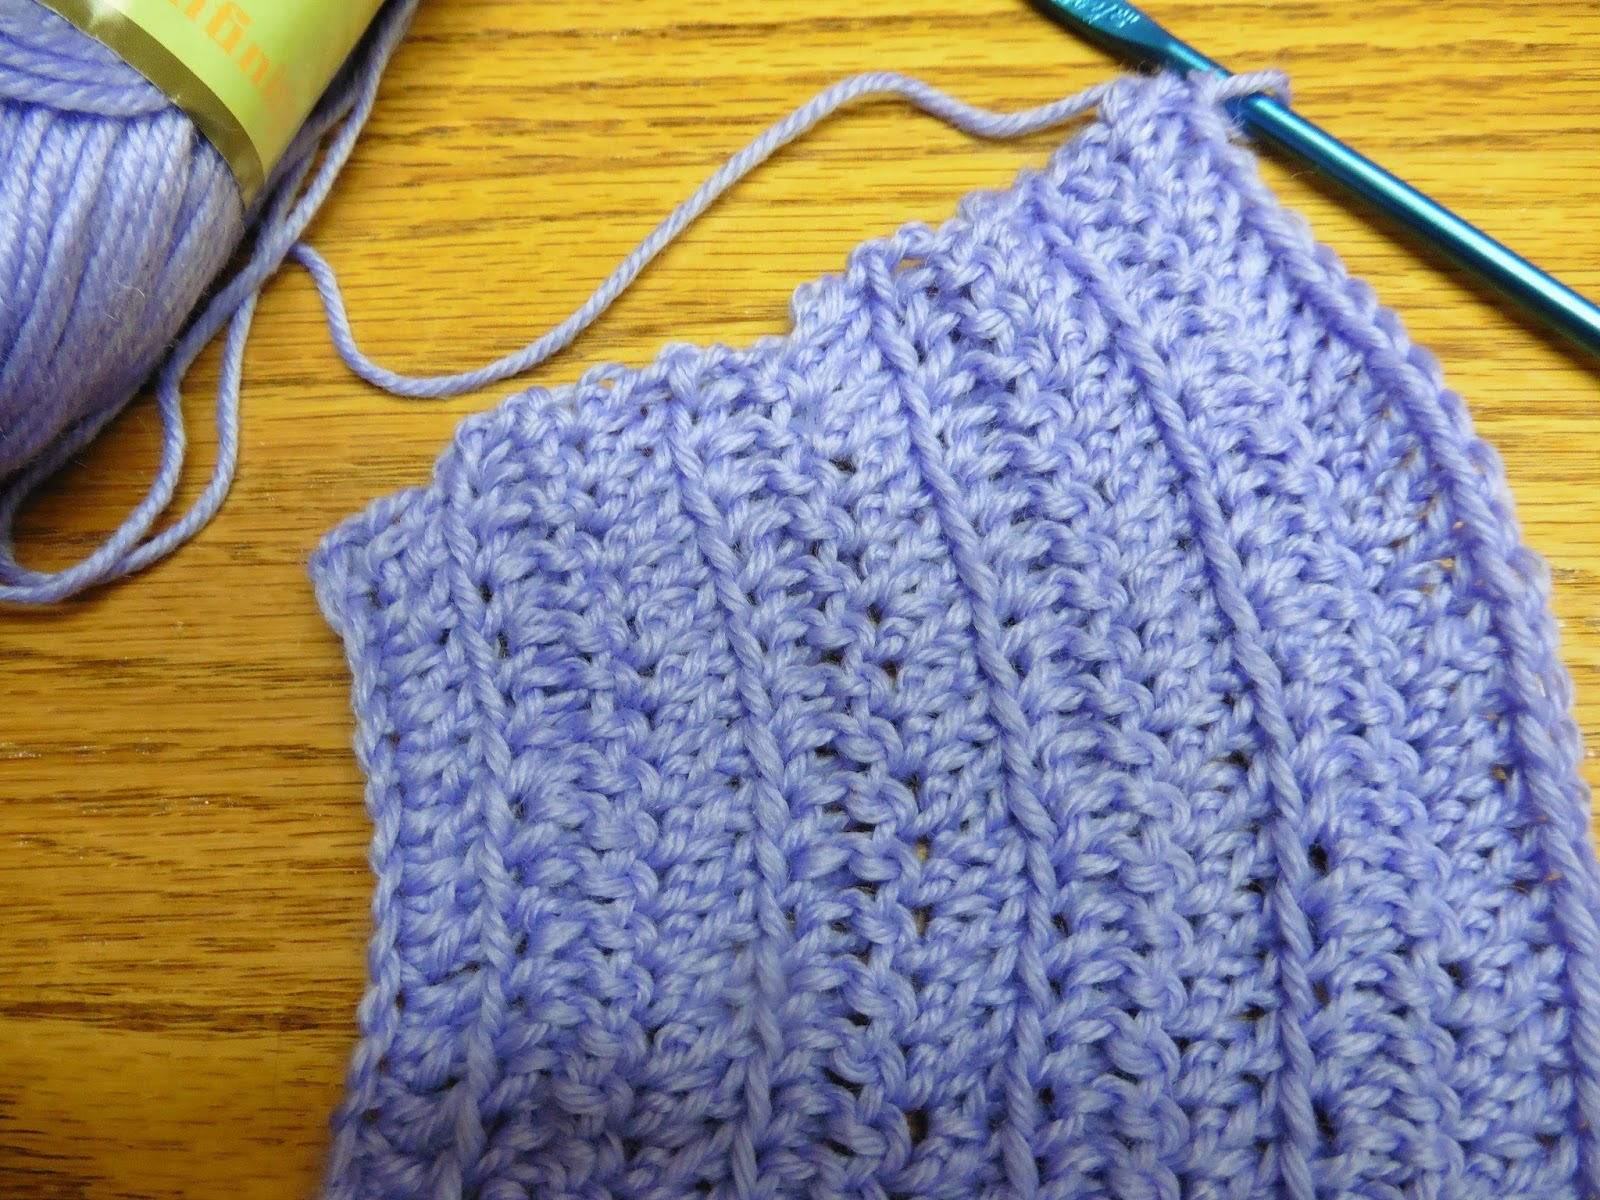
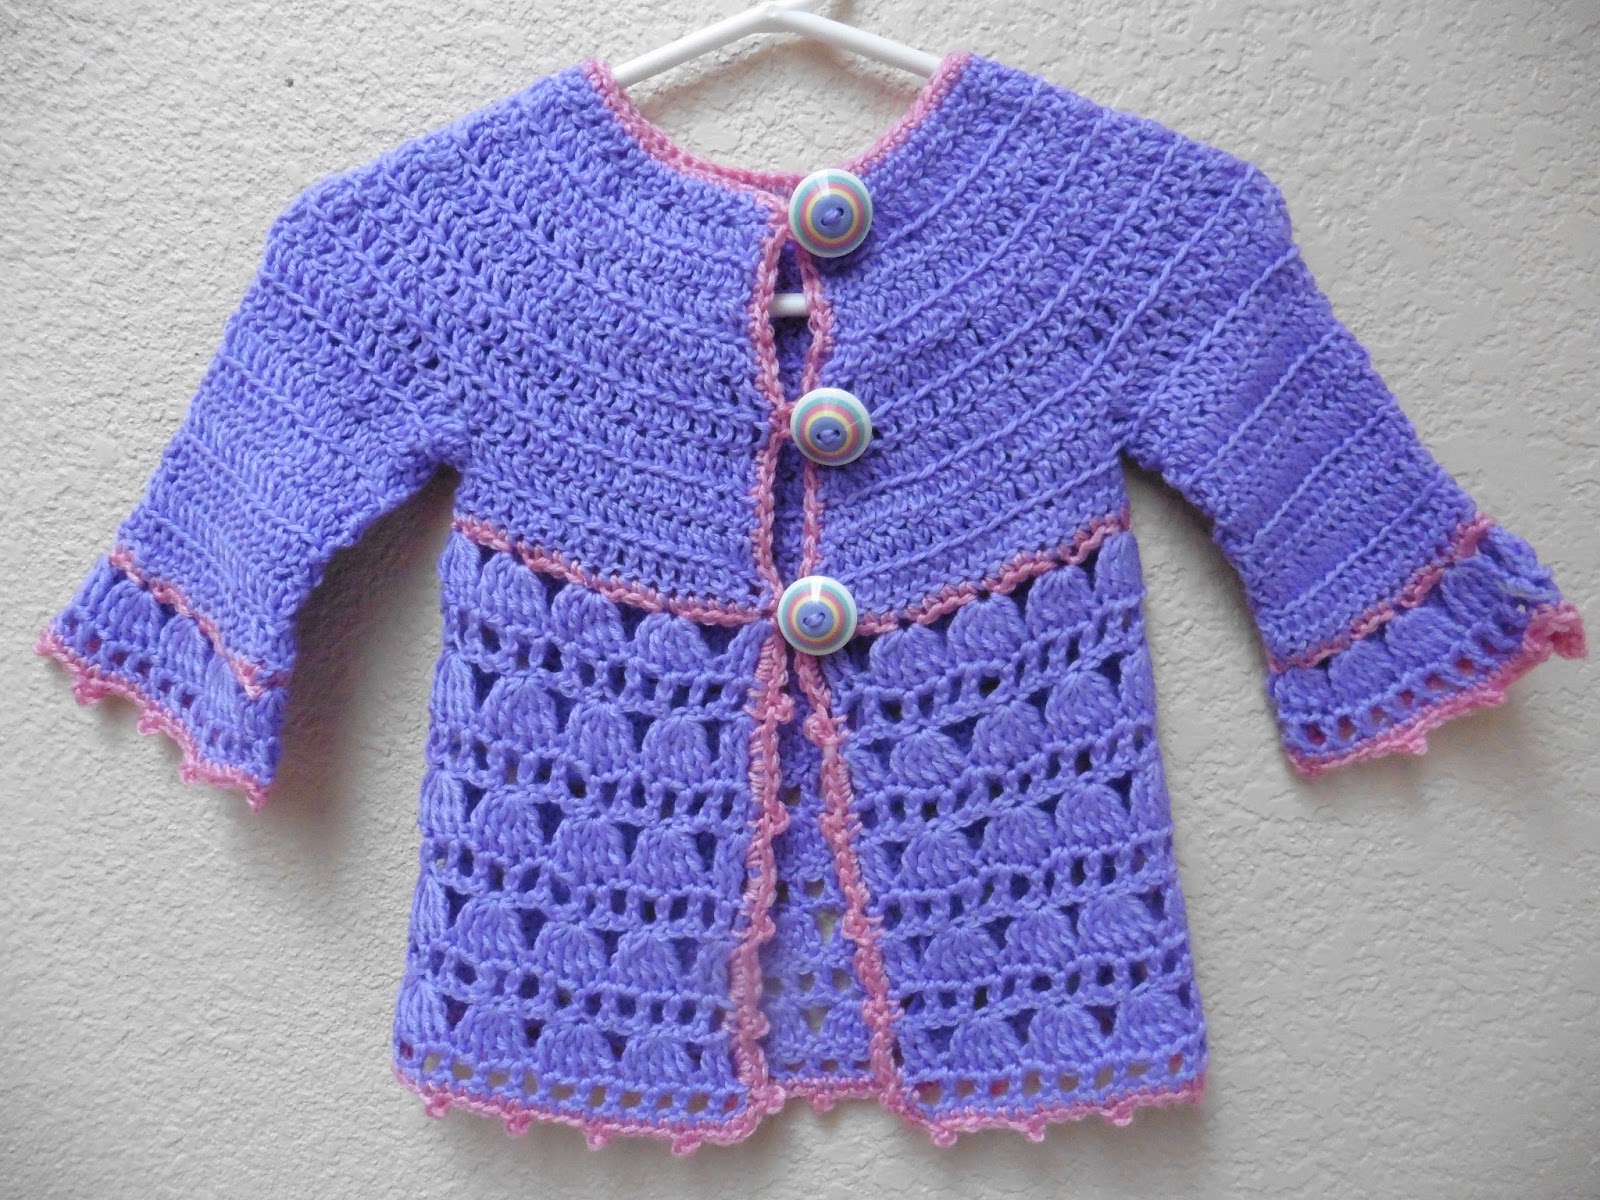
While I am thinking about sewing, and preparing to sew, I am also distracted by what I would love to to knit.  My daughter wants this Debbie Bliss designed jacket for her son, now six months old. I haven't started yet. I have not yet succeeded in finding the right weight, machine washable, yarn in a color combination that wows me.


I also just bought a book of baby knits and discovered this set of book buddies when I cleared my cutting table. These little sticky note are just too cute for words. You can write notes right on them and pretend those chubby, chatty kitties are whispering to you. In case you can not read their names in the photo, they are Benny, Henrietta, and Milo!


This trio makes it so easy to mark way too many items for future projects. I have a granddaughter due in May, so the wheels are turning and my fingers are itching.


Have you heard the phrase "His eyes are bigger than his stomach?" There ought to be a similar phrase and sentiment for wanting to quilt and sew and knit and crochet too many other things. I guess I will nurture that craving by cruising on over to this week's Works In Progress at Freshly Pieced and look at the work of others.

Saturday, January 23, 2016

Flying High in My Sandy Klop Class

This past Thursday I took a workshop from Sandy Klop of American Jane patterns and fabric fame. The pattern used in class was her Flying Circles. The title Flying Circles and reminded me of the phrase Flying Circus, conjuring up in my mind the concept of barnstorming and free-wheeling. I web surfed a bit trying to capture an image of barnstorming that appealed to me. I came across this work by artist Robert La Duke that captured my mood – flying high with bright, clear colors.


The description on the back of the Flying Circles quilt pattern states "Cart wheels, spinning tops, ferris wheels and polka dots all spell fun!" The fabrics, pattern, stories, and class were all fun. The class could be freeform with the relatively intimate number of eight participants. Sandy started by describing her teaching style as relaxed. From her view and experiences, students tended to fall into three categories - rabbits, turtles, and puppies - all equally enjoyable to her. Rabbits rushed through the lessons trying to accomplish as much as possible, very goal oriented. Turtles took their time, more concerned with process than results. And puppies? They just wanted to play, running from workspace to workspace seeing what others were doing and being social. Her introductory statements set the pleasant tone for the day.


A wall hanging for my living room is in the wishful thinking section of my 2016 goals, so I planned to use greys with the red, apple green, and pure medium blue of my living room color palette to make a quilt that will fly high and bright up on the wall. The large scale print is the fabric of the drapes in the living room. The solid colors beneath are of the blue couch and the red chairs with apple green piping trim. The wall hanging will echo this color scheme. 


The fabric requirements on the back of the pattern were very detailed and frankly a bit overwhelming to figure out, especially with my final dimensions still to be determined. I decided to just wing it and make those circles fly by picking different color combinations spontaneously along the way from fabric I've been hoarding saving.


I pulled coordinating colored fabrics from my stash – pure reds, true blues, apple greens. What a collection! I always lug too much fabric to a class. Hmmm. Looks like I’ve got green pretty much covered but could use some more reds. Red can be tricky. I want a bit of variety but not too orange or too pink or too brown. In looking at this picture now I definitely need to incorporate some of that linen look blue in the center; it really repeats the blue dots of the drape fabric both in color and visual texture. Instead of the cream and tan neutrals used in the pattern, I went for a scattering of greys. I will use some of the greys from the Moda fat quarter bundle shown in the upper right corner called Putting on the Ritz.


Here was my first circle. I like the way it came out. It is like an optical illusion. When you stare long enough, it can be a star or a pinwheel, and can flip back and forth between the two interpretations. And alright – you caught me. That cute blue check was not from my stash. I did purchase it additionally from Sandy Klop’s fabric line A la Carte.


Next up was making one of the neutral circles. Instead of using three colors it uses only two and the effect is totally different. Looking closely you can see that the white fabric has little hearts on it. I needed to be careful that they all faced consistently while I was cutting out. To add to the challenge, it is a white on white fabric and distinguishing between the right and wrong sides requires paying added attention. I do like the crispness of the block, though. That white will be a staple throughout, even if I do vary the greys.


This entire pattern is like the one block wonder concept. There is only one piece to cut out repeatedly. For the moment, ignore the circles that are appliquéd on afterward like buttons. Here is that one triangular piece. I cut out pieces for my next brightly colored star block. The red and white sort of chain link graphic is a Pezzy Print, one of Sandy Klop's fabric designs for Moda.


Sandy sold a template in her class to cut this triangular basic building block out, but instead I opted to use the Hex N More ruler I’d brought with me. (See, I do not travel lightly to class.) By taping off the correct height I could use it. This method lacks the handy-dandy hole at the point that Sandy's template had for marking where to stop the Y-seam. But I already had this larger ruler and I’d paid much more for it than Sandy’s so I’d better well use it!


I assembled my next three colors into another block but did not like it as well as the first. The blue with green dots and next to the medium green, although they went together, just seemed a bit too heavy for my taste, maybe because they were in equal proportions.


I tried rotating the blue and then the green to the outside instead of the Pezzy Print but that Pezzy was so graphic and cute it kept commandeering the attention. I set this block aside for a while.


It was niggling at me what those triangles with the central Y seam reminded me of. Some kind of business logo… a car logo, perhaps?.


When I got home I googled it and found out it was Mercedes Benz.


Here the logo and triangle block are superimposed. Why that car logo was familiar to me is a mystery. I briefly wondered, "If I did not spend so much money on fabric, could I own a Mercedes Benz?" It is a moot point. I would rather have the fabric.


The next day after class I put the blocks up on my design wall. I thought if I broke up that dark blue and green so they were no longer all clustered together, perhaps the block would look better. I liked both of the two fabrics, just not ganged up in the same area. I dispersed them out to the tips of the star block and the results appealed. Voila, I liked it!


As our group cut and stitched away we discussed sewing related topics: Y-seams, binding around odd-angles, loyalty to Pfaff sewing machines, seam pressing directions, assembly consistency in clockwise versus counter-clockwise orientations, being a fabric designer for Moda, being prolific in creating quilts, upcoming Moda fabric lines. But our topics also strayed to a myriad of common interest subjects: grandkids, wrinkles, flab, baby safety, sore feet, cats, TV remotes, and even Brussels sprouts.

At the end of class I asked Sandy, "Well, was I a rabbit, a turtle, or a puppy?" She hesitated and adroitly dodged answering. I do not know if she had not categorized me or if she did not want to risk offending me with an answer not of my choosing. I decided I was a lark - because I was as happy as one. The origin of the phrase "happy as a lark"  comes from the fact that some birds only sing in the early morning and in the evening, but larks sing all day long, and the song is pleasant and cheerful. I got to quilt all day long and it was pleasant and cheerful. ♬ I was a lark. ♬

Wednesday, January 20, 2016

Prototype Barstool Cover

After some serious sewing room cleaning earlier, I was determined to get some Pfaff-time in this week. First on my list is those barstool covers I have been promising my daughter-in-law since... well, so long ago I do not remember since when. The blog post for cutting them out was posted September 30, 2015 but I think she picked out the fabric back in July. I guess I have been chicken to do them in case they do not fit.  But this week I finally forged ahead. I have spent more time fretting about this than I think it will take me to make the set of five. At least I hope I have fretted longer than it will take me.

THE PIECES
  • Front Gusset 
  • Side Gusset
  • Chair Seat Top
  • Seat Back Front
  • Seat Back Back 
This is half of one cover which I left intact as a reference. The other half I disassembled to make my pattern pieces. As a reminder here are the pieces defined. The Seat Back Back is not shown but it is behind the Seat Back Front.


I want this project to go smoothly. Here is my assembly sequence written down for my benefit as much as any one else's who wants to tackle a project like this. The prototype is always more time-consuming as I figure things out.

CUTTING TO SHAPE
  • Trim each piece to shape, ½" beyond the seam line as marked by a Sharpie black line, using a ruler and rotary cutter. Cut one layer at a time except for the pieces that require symmetry and cutting through two layers.
  • Looking back at the cutting out post I see I had planned for ⅜" seams. It does not matter since I added the seam allowance based on the black Sharpie seam line I had drawn.
SEAT ASSEMBLY
  • Join Side Gussets to either side of Front Gusset. Finger press seams away from Front Gusset and then top stitch. Turn under raw edges at leg openings and stitch.
  • Join gusset assembly to Chair Seat Top. Press seam toward gussets and top stitch.
This seam between the joined gussets and the seat has a straight edge joined to a curve at front corners of the barstool seat. Yes, I want to get good at curved seams in my quilting but this has 3-D effect and involves a heavier weight fabric, so I struggled with it a bit. I've set in sleeves in garments before, but this was a much tighter curve with less pliable fabric - and I am out of practice. But I succeeded. Here is one corner. The seams are finger pressed before top stitching. Topstitching is more than decorative. The second row of stitching should add strength to the seam.


CHAIR BACK ASSEMBLY
  • Join Seat Back Back to Seat Back Front along the sides of the seat back and across the top of the seat back. 
  • This is the trickiest seam. It has two curvatures at the top corners that need to be eased in and the centers of curvatures are offset from each other as can be seen from the black registry marks. 
  • Remember to disengage the dual integrated even feed from the Pfaff to avoid fighting the ease-in process. 
  • Press seam toward Seat Back Back and top stitch along the Seat Back Back side of the seam.

Here is the serpentine seam line on the original beige linen.


And here is that serpentine seam on my print prototype, not yet top stitched. It will be interesting and challenging maneuvering into those two corners for the top  stitching. I think I will need to turn the pillowcase-like construction inside out to do it and just creep my way around those corners.


I think I illustrated the top right corner as you sit in the chair on the solid linen, and the top left on the print. The seat back wraps toward the front so the solid is looking from the front and the print is viewing from the back. Perhaps the catalog picture makes it clearer.


Then again, maybe not. By now I am so turned around from thinking in three dimensions and getting the lighting tolerable for a photo, that I am no longer sure. I am relieved that I did not introduce any tucks or pleats in that curvy seam that looks deceptively straight on the seat. When I take my technique class on curved flat seams in quilts it will be a piece of cake by comparison. I took my time and just eased my way along this portion of the seam matching the registry points I'd made on the pattern. My seam turned out smooth. Alleluia. I have a whole new respect for those factory workers somewhere who probably zip dozens of these out in a day.

JOINING CHAIR SEAT TO CHAIR BACK
  • Join Seat Back Front to Chair Seat Top, an easy straight short seam. 
  • Overcast or zig zag three edges of 2"x11" lightweight fabric tab that will hold a strip of Velcro. Remember to switch out needle plate to one that accommodates specialty stitches and not just straight stitches.
  • Add this tab to the Seat Back Front to Chair Seat Top seam on Chair Seat Top side. 
Here is the prototype thus far, draped over an ordinary chair from my sewing room. I decided to leave adding the Velcro tabs that are on all four edges of the chair seat until last. Sometimes sewing through that thick Velcro requires a different tension setting and heavier duty machine needle and I wanted to get all the covers assembled and top stitched before messing with machine settings or dealing with a dulling needle.


The next four after the prototype should go faster now that I know what I am doing (sort of ) and have these notes to look back on. I have four chair seats completed, except for the addition of Velcro, and I have four more seat backs to assemble. I will lose a bit of momentum because I goofed up cutting out and was able to cut out only four of five seat backs because I was short of fabric. I discuss my cutting slip in my post for October 7, 2015. Luckily I have the additional fabric now though, so I will need to go back and do that. I am sure glad I posted on the cutting out part of the process, too, to help jog my memory. I will link up now to view others works in progress at this week's Freshly Pieced.

Saturday, January 16, 2016

Turning Remiss into Reminisce

It has been hard to get back into my quilting groove since the holidays. My sewing room needed to be unearthed and I have been crocheting or knitting instead of quilting. Yesterday, I thinned out the surfaces in my sewing room by putting away yarn, instructions, crochet hooks, and knitting needles from the following needlecraft projects. I have had yarn as far back as a project from 2012 languishing in mounds on the counter or in bags on the floor. Yes, I have been remiss in final cleanup after project completion. But rather than beat myself up over it, I chose to reminisce instead. Here are some of those projects. Completed? Yes. But remainders and associated paraphernalia put away? Not so much.


Here are those projects followed by dated links to more detail about them.
  • Stockings for Autumn (12/10/2014), Vivian (12/17/2014), Isaiah (12/28/2015)
    (maybe it is a good thing I did not put the yarn away between stockings)
  • Circular Blankie (12/26/2013)
  • Tree Sweater (10/02/2014)  
  • Reindeer Olympic Hat (02/03/2012)
  • Baby Surprise Jacket (12/8/2014) (actually only directions and no scraps on this; sent remaining yarn with the sweater to the baby's mom, a knitter herself)
  • Crocheted Sweater/Hat Set (10/21/2015)
  • Crocheted Cardigan (01/15/2016),
The leftover yarn from a knitting or crocheting project is the equivalent of scraps from a quilt. The amount of remaining yarn from the preceding projects, shown in the next photo, sure seems like a lot. Often I need another skein and then just use a small portion of it. On the left in the upper row is the yarn from the vintage Christmas Stockings, Cascade 220. I think I will need more red for the next one. On the left in the bottom row is the leftover from the circular Christmas Blankie. I bought three 10.5 ounces skeins and only needed a small part of the third one. Bottom row middle is the Bernat Satin from the crocheted sweater set. I have more of this yarn in other colors from an afghan I knitted so there is hope for its use. On the right bottom is the leftover from the crocheted cardigan. Above it is more of the same Jojoland Tonic yarn. I originally intended it for a blanket of patchwork squares in different knit patterns. After a few squares I realized the yarn had enough of a heather quality to it that the effort of the fancy stitches did not show up so it is being dispersed and repurposed. The cardigan was one item as least in the Tonic lilac and pink. I have more of those colors plus a lovely coral to use up. In the middle of the top row is the yarn I first used for that cardigan that worked up too stiff so I ripped it out.


Here are the leftovers from the tree sweater. Ah, fabric scraps are so much easier to manage. They do not have the weight and the gauge to contend with, just the color. I say that now, but I have yet to attack my 2016 goal of fabric scrap management and organization.


I organized and put away the tools from those projects as well, gathering up the circular and the doubled pointed knitting needles and the crochet hooks, sorting them by size, and combining the like items in Ziploc™ bags. I now have all those implements stored in one location. I gathered the yarn remnant bags together, stripped out the instructions which I filed in a three ring binder on a shelf, and combined the individual Ziploc™ bags into one large tote bag. Another reminiscence here... I got the black and white swirly and polka dotted tote bag in Atascadero, CA as a gift from the shop owner of a Quilter's Cupboard where I bought my Simple Gifts kit in November 2011. (See post for January 14, 2015.) This generously-sized tote bag used for storage is tidy and compact. My leftovers are all in one place now instead of being scattered.


I dug out and reminded myself about knit items I want to do in the near future and I separated those into an organza covered, circular hat box. I'd like to do a Baby Surprise jacket out of the variegated yarn, a scarf out of the ribbon yarn to the left, and two hats from the Top This kits with the elephant head and the lion head. I picked the animal caps up on clearance in North Carolina. These items are all pretty small and so I hope each will give me a morale boost after its speedy completion.


I have fond memories of this round box. My daughter bought me a plush red velour robe many Christmases ago. Presentation is everything. The robe came prettily packaged in that round elegant sheer container. So I am putting my want-to-do-soon projects in it and leaving it visible in my sewing room.


I am reminded of that special mother-daughter bond when I touch that simple cylinder and use it - and when I wear that robe - which I still do today, at least a decade later. My daughter was spot-on with her selection of that gift. Red is my favorite color, the texture is awesome, and the skirt is a very full A-line so it covers my ample hips quite generously without tugging. Here am I wearing that robe Christmas morning of 2005 so it dates back to that year or maybe even earlier. Hmm. I think I may have been prepped for church underneath that robe. Why else would I be wearing a ruby crystal necklace? Aha, here comes another reminiscence. The necklace was my mother's.


Cleaning up may be a distraction but it also is a relief - and can be a pleasure. I have a yarn stash that needs to be whittled down and that, too, is a 2016 goal; but I was not going to get into that. It may be too much yarn but it is organized and accessible, so why tempt fate right now? I have enough cleared away to tackle my sewing. I've resurrected enough memories to keep me content. I have enough found and defined to do a bit of knitting in the evenings. Perhaps I may even have a work in progress to show by Wednesday.

Wednesday, January 13, 2016

Today, I'll Crochet

I just re-read my 2016 quilting goals. Whew! Whatever was I thinking? Instead of starting on them I decided to revolt and started a crocheting project. Why not! My daughter had seen this 2014 pattern by Sylvie Damey on Etsy and had requested I make it for her daughter.


The pattern reads well. Rather than just typing out a rote set of directions, the designer explains in general what is happening at each certain stage. I like this approach of giving an overview. It helps to orient me. The yarn I am using is Jojoland™ TONIC a 85% acrylic 15% wool blend in a lovely lilac color. The hand of the yarn is very soft. I am working with a U.S. size H crochet hook.

Sunday, January 10th
I started crocheting this Roseline cardigan and was surprised how quickly it worked up – or worked down rather since it starts at the neckline. The rows of double crochet have the increases spaced so evenly the piece forms a smooth semi-circle and lies flat.


These double crochets are worked in the front loop only of each stitch and I found out this variation really gives a softness and nice drape to the yoke of the sweater, better than when crocheting within both loops of the stitch. I'd learned more from the designer's Chez Plum blog post for February 21, 2014, a link provided within the pdf pattern.


Below the waist are alternating rows of a shell pattern and a mesh pattern. I completed the top, minus the sleeves, and three row pairs of the follow on shell portion below the waist. It went smoothly and was very engaging. Here is a closeup of that pretty shell and mesh sequence.


Monday, January 11th
I finished the final two pair of the shell and mesh sequence rows below the waistline. I like the spark of interest that the one row of single crochet in a contrasting color  gives at the waistline. I was quite pleased that I'd knitted this whole torso and skirt without a break in yarn. All that I had left from the 3.5 ounce (100g) skein is pictured at the left.


Before I crocheted the contrast trim border I needed to pick my button size, because loop closures for the buttons on the bodice are integral to the trim and need to be sized accordingly by adjusting the number of chain stitches in the loop. I had some buttons in my personal stock that I thought would go quite well but just wanted to check out if there was a better option at my local JoAnn's Fabric and Craft Store. There was not. I must admit that this is not rare. I think I have a collection of buttons that rivals the stores. When my mother passed away in 1979, my sister and I inherited all her sewing notions, fabric, and yarn.

When I buy fabric or notions now, I buy what appeals at the moment and often do not use them right away. Since colors change with the seasons, I can usually do better relying on my personal supply since I have several years' range of featured colors. The lilac in the stores now is much more of a pinkish orchid than in the yarn I am using. The lilac center and pink stripe of the button that I already had were spot on color-wise. The store had nothing even close to the hue of the yarn. My husband questioned if I was going to add aqua to the sweater because of the stripe in the button. I said no. There is yellow in the button also, but that just means there will be a wider range of outfits that will be able to be worn with this sweater. The conically shaped buttons feel very smooth and streamlined. Things have to have tactile appeal to me, too. I think these buttons were just waiting for this sweater. The scale may be a bit large but they make a statement!


I found the sales slip in with these buttons There were purchased in 2009 at a small yarn shop in Lake Forest, CA – a shop approximately 4 miles away I'd googled and sought out while visiting my son in Aliso Viejo. Sometimes nowadays I cannot remember what I went into the next room for; but, oddly enough I knew I had these buttons somewhere and I recall pawing through a bin of loose (and very unique) buttons seven years ago in that yarn store. Apparently I paid $1.00 for a "handful" of buttons. I'd saved the receipt in case I ever wanted to find the shop again when I was in the area. Coincidentally, my son just moved to Lake Forest in January 2015. Sadly, when I checked for the Yarn Lady, I learned this particular store had gone online in 2010 and is now out of business. It had been the premiere yarn source in Orange County. I'd only been there once but it had made an impression on me.


Here are some other buttons I bought that day. Those are little red cars that are zipping along the circular roadway on those blue buttons.


I also bought a clever collapsing yarn/knitting basket.


I use it to this day and it is one of my favorites. It is very flexible and with being as smooth as it is on the inside, nothing snags.


Dashing out to the store and reminiscing about buttons broke a bit of my crocheting momentum. I finished the contrasting trim border and broke into a second ball of lilac yarn to begin one sleeve. I think I could have completed the project that day but I have learned that pursuing late evening needle crafts, especially with a distraction of TV viewing, can lead to mistakes. There is always the following day to start afresh.


Tuesday January12th
I finished the sleeves and added the picot border edge to them, too. I sewed in the stray yarn ends. The way this garment was constructed there were no side or sleeve seams to slow me down and there were few yarn ends to weave in. And miracle of miracles! I did not procrastinate on the blocking. I was able to spread the body out flat to block it, but the sleeve shells were a bit tricker since they were double layered. I steamed one side of each sleeve, then flipped the two sleeves and steamed the other side of each. That seemed to work. After blocking, I sewed on those three buttons and here is the completed cardigan. I sure hope it fits!


Wednesday January13th
After adding a few photos and editing this blog post a bit I am linking up to this week's Freshly Pieced Works in Progress to explore other bloggers' efforts.