Wednesday, October 25, 2023

Mini Pillows from Extra Blocks

While working on a community quilt with some of my quilty friends, I had two sets of a four block quad leftover from the quilt pattern Open Options by Material Girlfriends. I could have made one two-sided pillow but it would have been rather large. Instead, I had two pillow forms that were each approximately half the square size of a four block quad. By placing a form on the diagonal and folding the quad block corners in to the center I could make two mini-pillows. I would remove half of one block and insert a zipper in that seam, carefully, since it was a bias seam and could stretch. Then there would be an access side to insert the pillow form.


I spent WAY too much time on this supposedly quick project intended to use up extra blocks, spare pillow forms, and short zippers -- all items already in my stash. I will not blog about it in detail, especially since I took minimal photos of my goofs to illustrate this trivial pillow task. In summary these are the mistakes I made:
  1. I thought I needed to add a strip to give more seam allowance and supply more fabric for overlap at the zipper. I did not. I wound up ripping it off.
  2. I underestimated the seam allowance size needed to make the pillow cover fit the form snugly. I re-seamed three times going from ¼" to ½" to ¾" before saying this is good enough. It could have been tighter still, but I wanted to declare this "quick" project done!
  3. I took the first zipper, the one in the aqua pillow, out twice and inserted it a third time due to the seam allowance change. You can guess how this warped that bias edge and how difficult it was to pick out stitches from the zipper tape. I had learned by the second grey pillow; I only inserted the 9" zipper once using the largest seam allowance.
  4. I should not have used zippers at all and just stitched the opening closed. These pillows are small enough at under 11" to be just tossed in the wash as is, without removing the covers.
When completed though, I liked the diagonal block wrap idea and was pleased at the way the edges of the pillows look with contrasting triangles peeking out.


Those triangles peek out differently for the front and the back of each pillow.


I also liked the four patch block effect on the pillow corners.


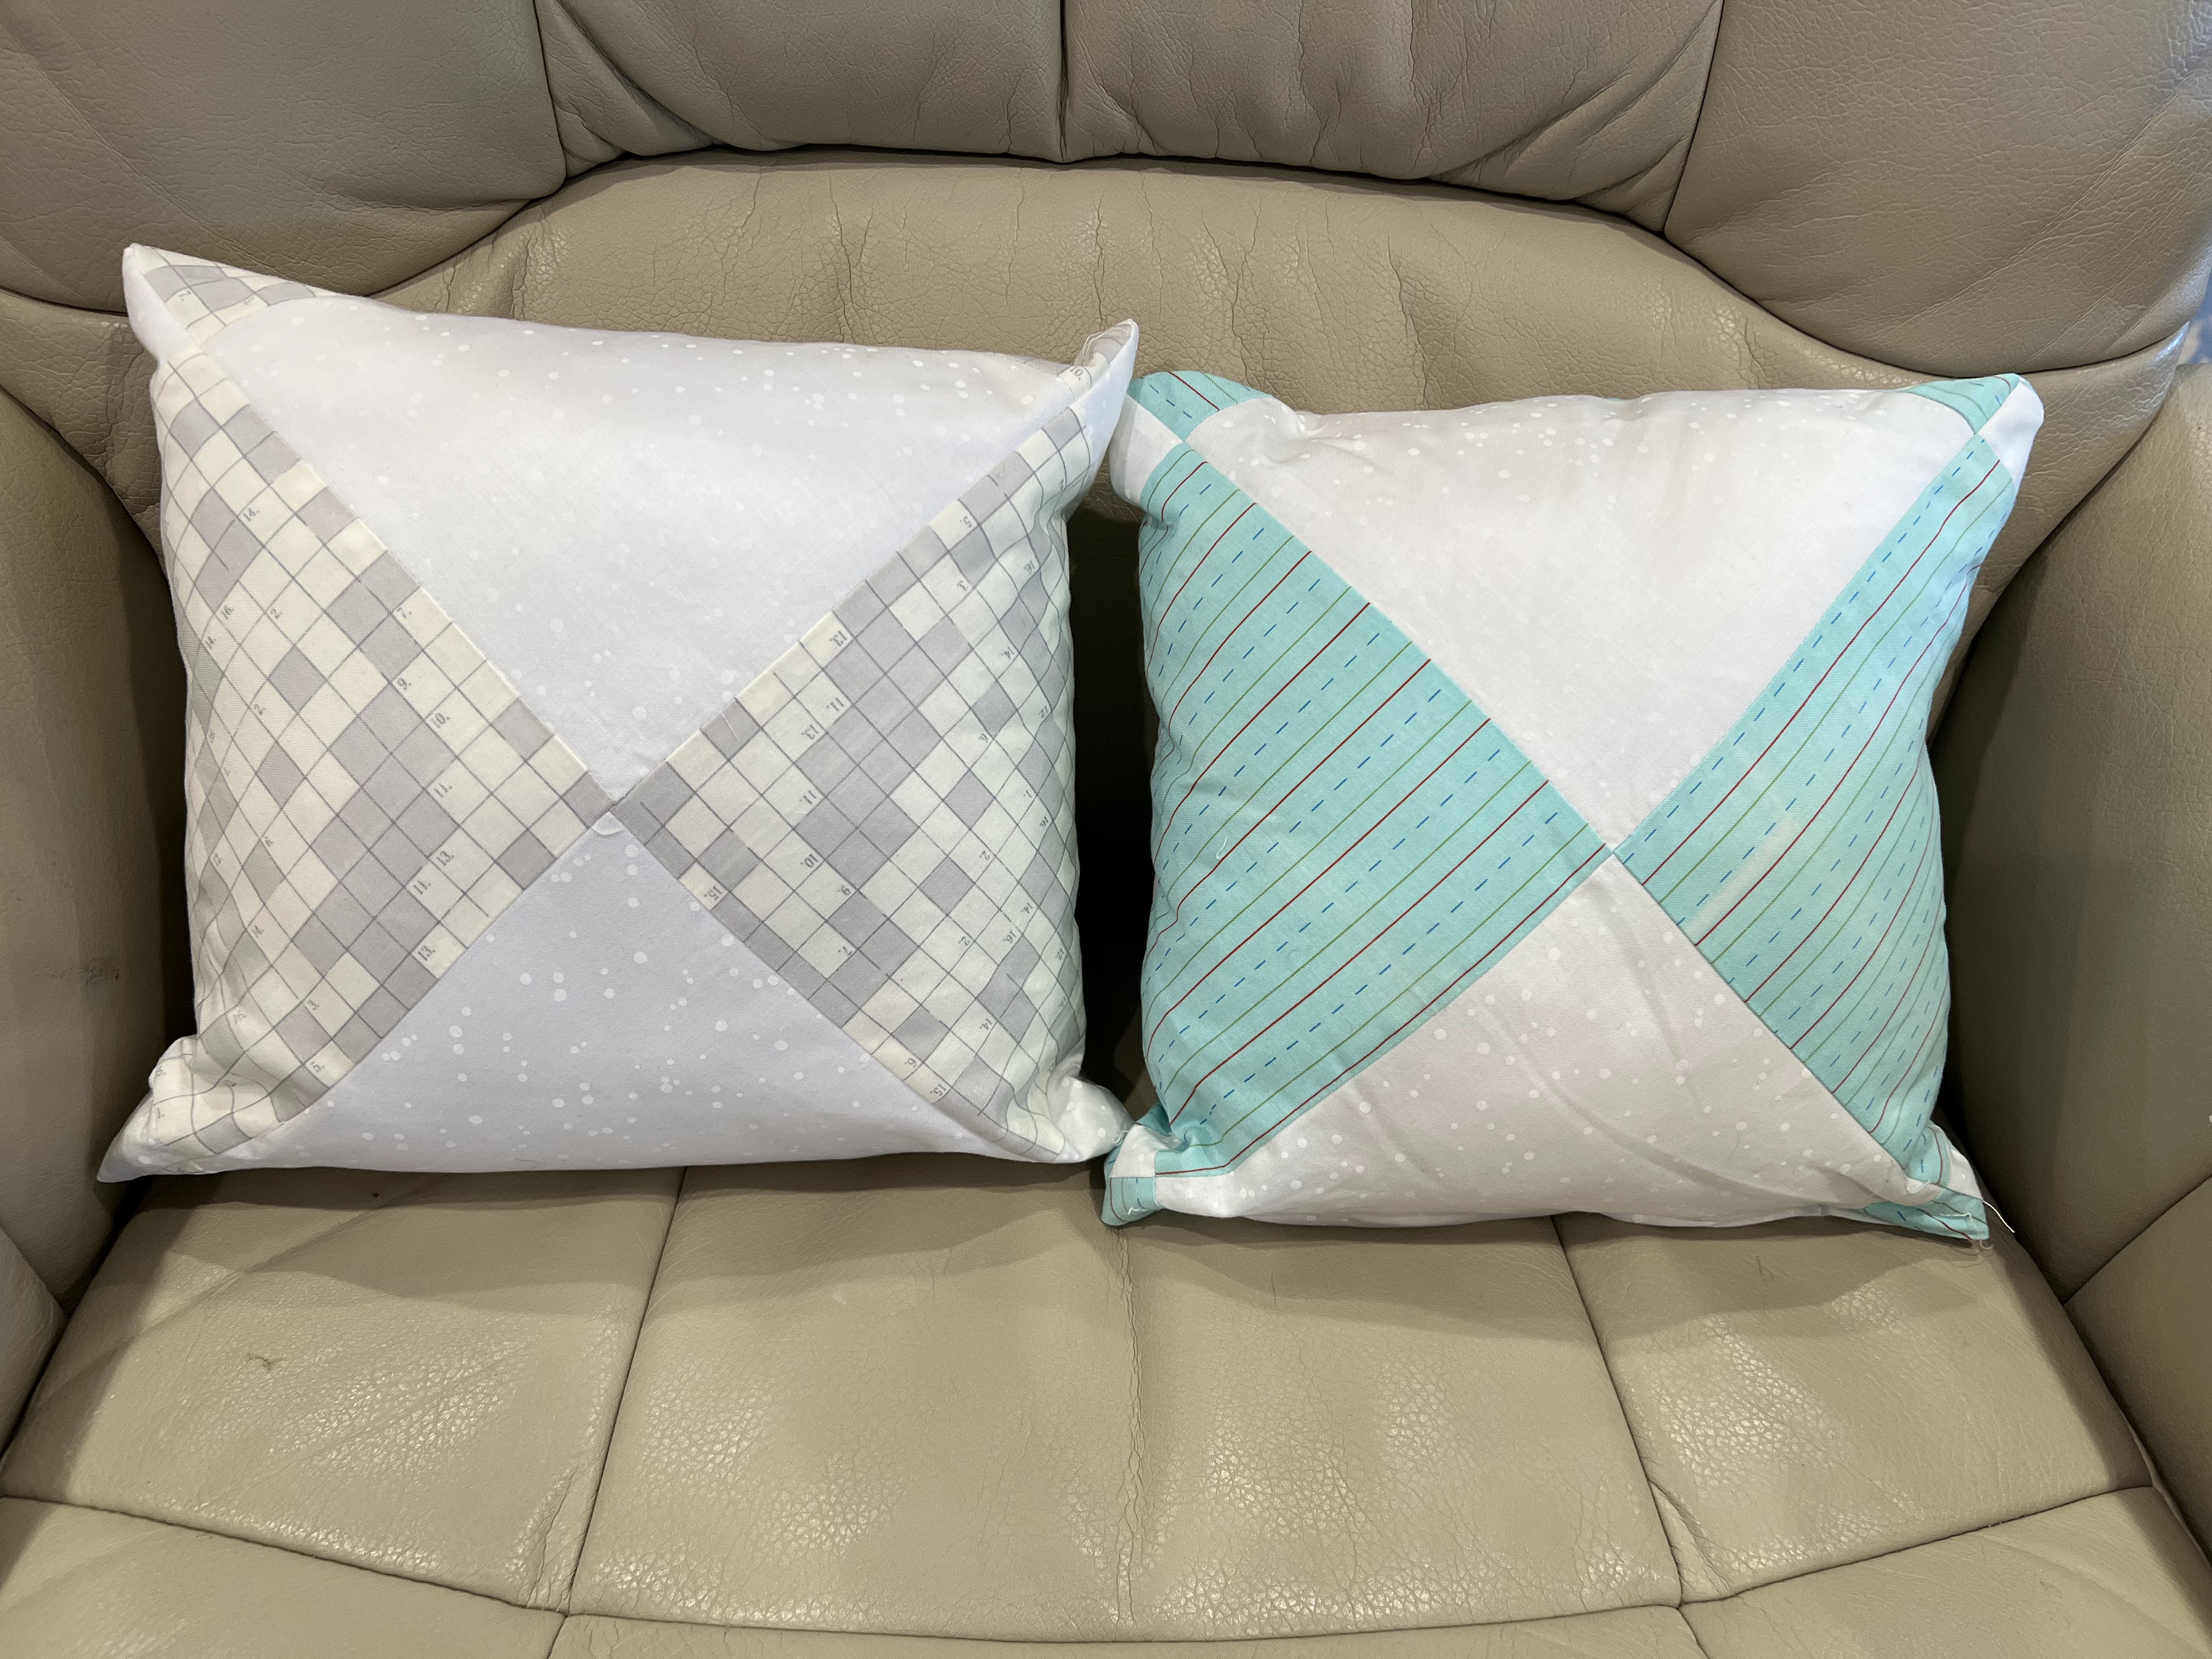
I still think this is a cute idea for leftover blocks. Remember the old adage, "Measure twice, cut once"? I need a new adage. "Measure once to avoid sewing three times!"

Tuesday, October 17, 2023

House Pillowcases

My friend Kathie and I get together once a month to sew a project or try a new technique. In October I was going to demonstrate, and she was going to learn, the burrito method of making pillowcases. My 5/27/19 blog post has a brief tutorial on the sewing portion of how I make these. She made one pillowcase at my house with my fabric selections and me coaching her. I just love that house fabric! I waffled between orange and brown as the color for the accent strip and then decided the brown would bring out the tree trunks.


Kathie loved the magic of how these come out and liked the additional bonus of making French seams. She went home that night and made a pillowcase of her own, adding a touch of decorative stitching to the accent strip. I liked that idea and added some itty bitty decor on my accent band, also. I first tried to find the correct brown color thread in my stash but was unsuccessful, having only brown options that were too dark (almost black) and brown choices that were too light (almost beige). Necessity being the mother of invention, I found instead a bright green like the border and used it to make decorative leaves. I like the way the "foliage" echoes the trees.

A couple days later, I got out my fabrics again to make the complementary partner to the king size pillowcase we had made that day as a learning tool. I had assured Kathie that after she'd made a few pillowcases and the technique was no longer new, she could whip out a pillowcase in 20-30 minutes. Confident I knew what I was doing, I sewed my second pillowcase up in short order, being careful enough to reverse the polarity of the band side. Then I went to photograph the pair for my blog and ... whoops! They were different widths. So much for cocky self confidence. At least I discovered this faux pas before deploying them on the bed.

In my blog post for 5/11/19 I had stated cutting instruction for standard, queen, and king size pillowcases for directional and non-directional fabric. I quote here, highlighting where I had goofed. 

With directional fabric for a king size pillow (20" x 36"):
Cut the main body 41"along the grain x 37" slightly less than the WOF. The 41" wraps around the pillow with only one seam along the length. Main body needs 1¼ yards to accommodate the 41".

I had absent-mindedly left out the step of cutting the 37" widthNo harm, no foul. I simply cut off the excess width from the completed pillowcase, leaving a ½" for the new French seam at the far end from the opening, and sewed the seam again.


Here is the finished pair of cases. They are folded for storage in my linen closet -- in half, and then thirds; but trust me, yes, the two pillowcases are indeed the same size now.

Thursday, October 12, 2023

Just a Pillow

This is "just a pillow" but it has a story behind it. It all started with a fat quarter I bought on sale at a neighboring guild's fabric sale. Although I do not normally tend toward a neutral palette, I loved the intricate line drawing in this architectural themed fabric. What to do with it? I know. I will make a pillow. I will find a coordinating fabric in my stash for the back.

If I sew ½" seams around two 18" fabric squares, the cover will fit snugly on an 18" pillow form. I have to buy a pillow form. Wouldn't the pillow look cute with black fringe trim around it? I have to buy black fringe trim. Off I go on a commando raid to the fabric store. This phenomenon is called scope creep and budget exceedance; both are always possible with even the simplest of projects. 

I trekked over to the trim department and the cheapest fringe I could find was $7.99 per yard. I needed two yards and a bit to turn corners so I was looking at over $16 + tax. I decided the fabric was striking enough. Fringe would only detract. This project, after all, had started with the piddly $1 for a fat quarter.  

Bins at the fabric store for 14", 16", and 22" pillow forms were full but the 18" bin was empty (of course). I finally located an 18" square pillow form but there was no price on it. "How much could it be?", I scoffed. Up to the register I go. When I was told the price was a mere $27.99, I let out a resounding "Yikes"! The clerk pointed out to me that the form was for indoor/outdoor weather conditions and therefore more pricey. She called for another clerk to meet me back at the pillow forms and the second clerk did locate one final remaining non-specialized 18" form at almost half the price and also on sale at 25% off. Whew! That's more like it! They had been sold out of the "basic" forms but I was willing to spring $11.99 for a "premium" form, especially after dodging that $27.99 cost. 

I did have a perfectly coordinating fabric in my stash, black and white dots on a background that was the exact beige of the focal print. It looked like the two were made for each other. I also happened to already have 16" zipper that I could insert in the bottom seam.

Here is the front and back of the completed pillow. It took me less time to make the pillow than it did to buy the form, decide against fringe, find the zipper, and write this blog post.


It goes great on my husband's recliner. It is kind of manly, too. However, it is still "just a pillow". And to think... it all started with a $1 "bargain".