Showing posts with label KarateKidKwilt. Show all posts

Wednesday, September 9, 2015

Mini-Tips for Mini-Crib Sheets

I got back my sewing mojo on Labor Day and generated some simple projects - two crib sheets and some burp cloths. A few months ago in June I'd made a dinosaur crib sheet using the set of instructions, {Tutorial} Quilter's Crib Sheets by Stitched in Color. This was for a standard crib mattress which typically measures 52.5"x 27.5"x 5.5" thick. My daughter requested some crib sheets for use at daycare. Her daycare has smaller than standard mattresses in the infant room measuring 38"x 24"x 3" thick, so I adapted the pattern.

For standard crib mattress:  cut fabric 70" x WOF with 8" cut-out corners and 80" elastic
For a smaller crib mattress:  cut fabric 50" x 36" with 5" cut out corners and 60" elastic

On crib sheets there are two long edges and two short edges that need to be turned under 1/4" and 5/8" to form a casing for elastic. This is really the only tedious part about this project. Even the Dritz Ezy-Hem Gauge was not as convenient as I would have liked and, since it was metal, it did get heated up by the iron. I started out using it last time when I made a dinosaur sheet this past June but was not thrilled with it. I wanted to find a method simpler than measuring and pressing, measuring and pressing, inch by inch around the edge. Instead I let the throat plate on my Pfaff do the measuring for me. To turn an edge under 1/4", I ran a stitching line a scant 1/4" from the edge. I then went to my ironing board, folded over the edge so I could see the stitching line and pressed.

The fabric cooperated by bending near the stitching line. But I just discovered a great product that protects my fingertips while I do this. Dritz makes Thermal Thimbles. These are great for holding edges turned over when ironing. They sure helped me avoid the sore, singed, fingers-tips  – if not actual blisters – I usually get when I am too intent on holding fabric in place just so while I press. I tend to zap myself with a burst of steam, over and over again.


I normally hate thimbles and have never been able to adapt to using them. When stitching I would rather stick my fingers than lose the dexterity thimbles seem to snatch away from me; but I do not need a lot of finesse when steaming something so these shield my fingers without encumbering me. In fact, when I went back to my sewing machine, I'd forgotten they were on three fingers of my left hand. With the 1/4" turned under and pressed, I then stitched a line 5/8" inch from the folded under edge. The thermal thimbles even added a bit of grip when feeding an the fabric under the pressure foot. They come three in a pack, a thumb-sized one and two smaller-sized ones for the second and/or third fingers.

After I had run that second stitching line 5/8" in from the 1/4" folded under edge I did not even bother going back to the ironing board to press it under. I folded the edge over a second time on the stitching line as I stitched along a second track to close the casing. Not steam pressing first worked fine.


After the casing was in place, I needed to thread in the elastic. It is a long, long way around and I would like to do this only once. On my last attempt with the dinosaur sheets, I lost the elastic out of the threader and had to start again. Then I lost the free end by pulling it too far in and had to try a third time. Here are two tips from my new, improved, do-it-right-the-first-time method.

Yes, a safety pin will suffice, but Dritz makes elastic threaders that are very useful and do not cause fingers to cramp up like a small pin does. The elastic is threaded in and out two slots at the base and normally I find this sufficient to hold it in place. But when threading about two yards of elastic into a casing that is almost twice that length, the elastic does tend to work itself out of those slots with all the pushing and sliding. I put my machine on its longest stitch length and just ran a row of stitching down the length of the doubled over elastic.  Since the stitch was long it was easily removed once the elastic was threaded. My crib sheet was yellow so the yellow thread in the next photo is barely visible on the centerline of the white elastic but it is there and did its job.


I also made a point of safety pinning the opposite end of the elastic, the free end, to the casing so it did not snap inside as I stretched and pulled. It only took me one time, instead of three, to elasticize the casing for this crib sheet!


I inserted a 24"x36" rotary cutting mat inside to give an approximate idea of how the sheet will fit a 38"x24"x 3" mattress. Looks good!
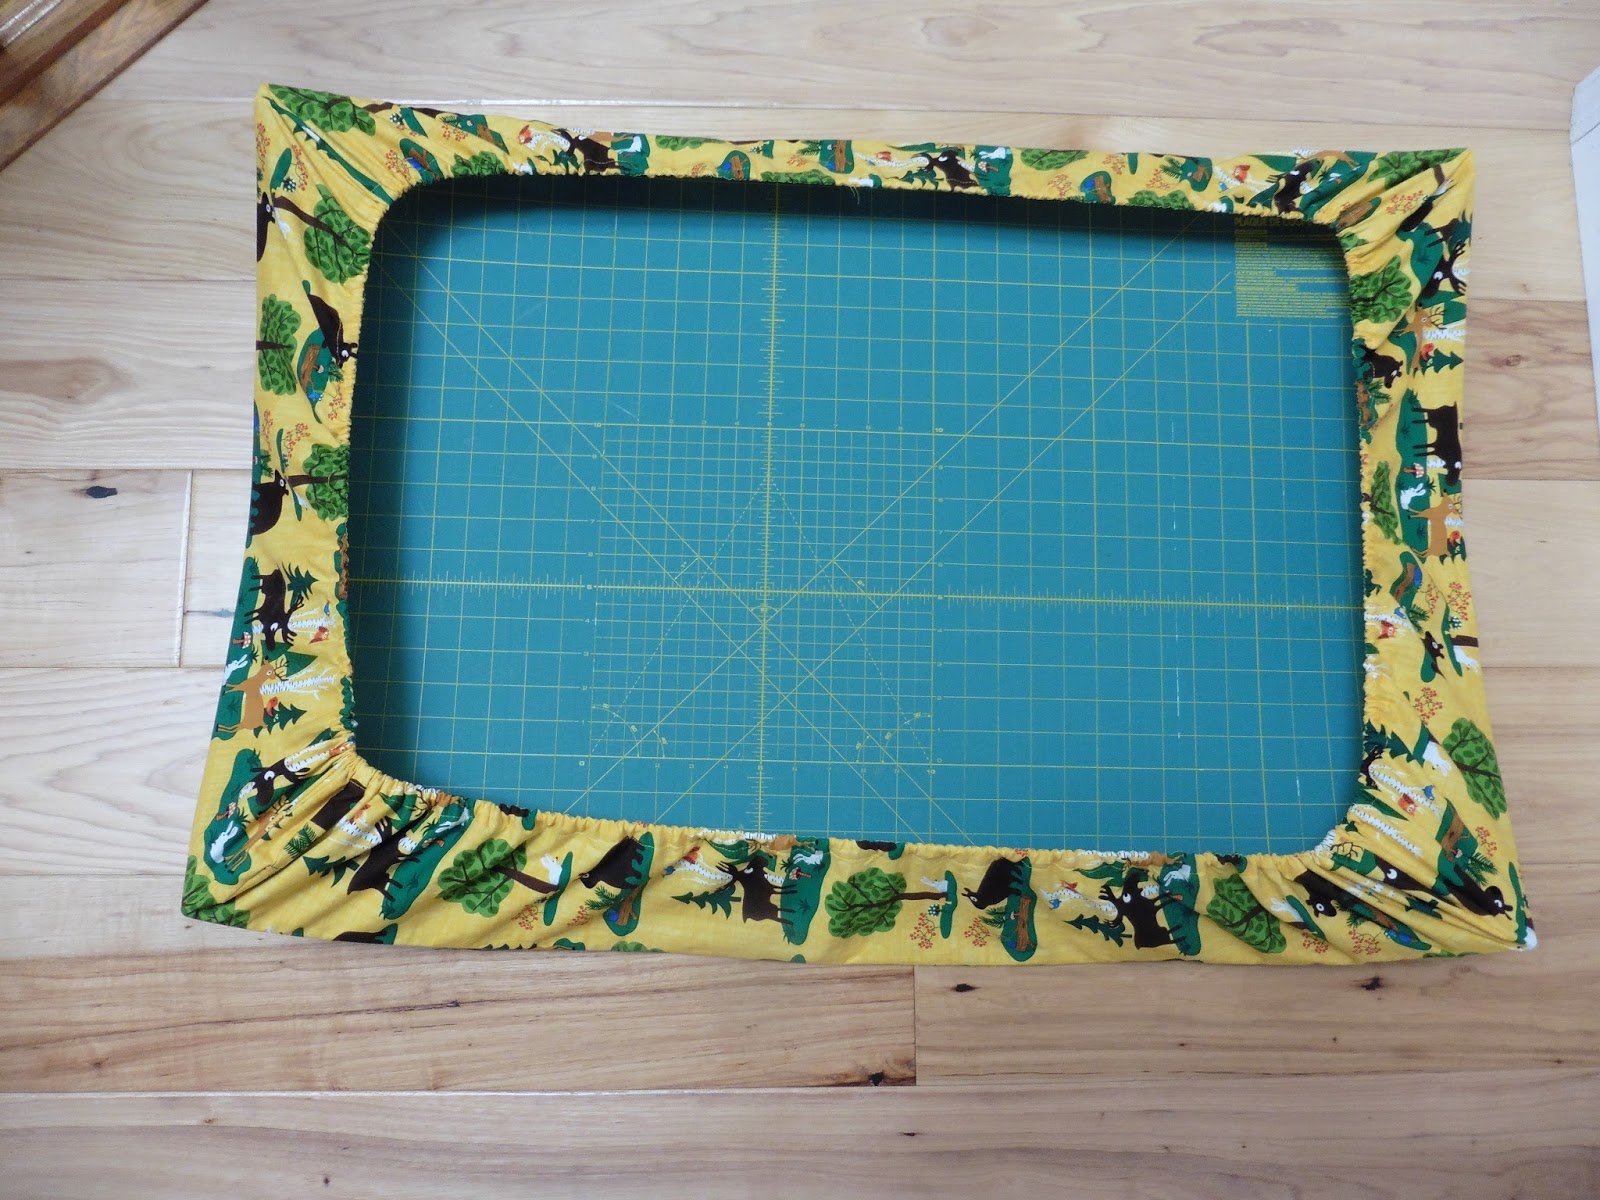

Here is the crib sheet from the top. I love that camping bear and moose print. I would not want to make a whole quilt with it though, so this is a nice compromise to satisfy the sense of novelty without a large commitment.


The improved process went so quickly and smoothly I made a second crib sheet in red. It has the same fabric leftover from backing the Karate Kid Kwilt. I had to wash that red fabric three times until I was satisfied that the Shout Color Catchers were sufficiently pale to indicate the excess red was out. Look how red the first one was! Even the suds in the washing machine water were a bright, rosy pink! I hope the Karate Kid Kwilt is washed with those color catchers, too, the first few times at least.


Here is the red mini-crib sheet stretched over my rotary mat. I originally did this just to take a photo but found out doing this helps to evenly distribute the gathering of the casing around the elastic within.


Here the mini-sheet is in a top view like where the baby will sleep. Gee, it just occurred to me. I hope this bright color does not keep him awake! Call it wishful thinking but perhaps those undulating paisley waves will put him to sleep. They actually make me a bit dizzy if I stare at them too long.


I also made a pair of burp cloths to add to the package when I mail the sheets off.


I have some more burp cloths cut out to sew for another young couple and two standard crib sheets to make up for my daughter. I am so glad I've gotten out of my sewing slump. It feels great to get back to the zzzip of the rotary cutter, the whirrrr of the sewing machine, the shoosh of the steam iron, and the feel of the fabric. Aaah ... my form of yoga!

Linking up now to this week's Freshly Pieced's Work in Progress ...

Wednesday, May 14, 2014

WIP: Monkey Quilt FMQ Status

Last week I did the piano key borders on the Monkey quilt with an orange peel pattern and liked the way it came out. It can be seen in my previous WIP post dated May 7th, 2014. This week I started out by FMQ'ing the corner blocks.

I did not want to quilt the corners too heavily, following the rule of thumb that quilting density should be kept pretty equal throughout a quilt top. I circled each brown dot in brown thread. When I was done the dots did not really stand out. Perhaps if I had done the white and orange dots as well, the puffs would have shown up more. I was too lazy to change to white thread for the white dots and orange thread for the orange dots. Plus, it was tedious lifting up the pressure foot and moving from dot to dot even doing just the brown ones. So I decided to use brown thread and repeat the honeycomb type ring pattern about all the dots, using continuous quilting.

I did not like the results of the honeycomb approach. Here are the before and after pictures. The brown lines printed on the fabric (left) look like whimsical scribbling but brown stitching lines (right) look sloppy on the quilted block. And the dark brown on the turquoise was overpowering and showed every glitch. Of course I did not firm up this conclusion until I had completed the four corner blocks. I moved on to the center panel portion of the quilt, planning to re-visit the four corners at a later time.


The water section, with the fish, and the grass section, with the frog and alligator, came out much better. In the water section, I did not want to change color for each fish so I used the background blue color and went around each of them, even each little bubble, using a non-continuous quilting pattern. It was not as onerous as I thought it would be. On the grass section I was emboldened to do each tuft of grass individually. Cutting all the connecting threads was a bit pesky but well worth the results.


I like that the critters, water ripples, and tufts of grass give added dimension. Here is how flat the green section looked before the quilting.


And here is how the water and grass sections looked after the quilting. I followed the same "rule" when I quilted in green around the bicycle section in the grass.


Next up was the upper beige background section where the monkeys and giraffe and trees are. Taking my cue from the blue water and green grass sections, I did this in beige thread like the background. I outlined the leaves, bicycle, and animals. Yay! They came out great. So technically my FMQ on this quilt was finished. Here is the upper left corner of the panel.


But now I became convinced those scribbly corner blocks looked awful by comparison – way too densely quilted and unforgiving of crooked quilting. Hmmm. Perhaps I should go back and re-do those corner blocks with blue thread (camouflages goofs better) and circle just the colored dots (less quilting density).

PROS:
  1. Those scattered round puffs of color would look really cute raised up.
  2. I will not be reminded of my poor scribbly decision every time I see the quilt.
CONS:
  1. The blocks are in the corners, not center, of the quilt and not that noticeable. 
  2. I would risk tearing a hole in the quilt.
  3. It would be very time consuming and tedious picking.  
I decided to try picking out the brown thread and see how it would go. I started on some of the obvious brown wobbly stitch lines, but like peeling sunburn or wallpaper, once started I was suckered in. It is an awful lot of picking out. As a novice FMQer, my stitches were tiny due to my poor coordination between the speed control with my foot and the fabric movement with my hands. Not only did I sew slowly with tiny stitches but I did each row of circles by doing the top half on the way across and completing the bottom half on the way back. This meant each circle had a region of overlapping stitches in two places, making those places in particular very, very, difficult to pick out. The tools of my torture were some curved thread snips, a sharp pointed seam ripper, and a pair of tweezers. Even so I left a few brown lines at the edges and a couple double stitched circle overlaps so as not to risk ripping a hole in the quilt itself.


Four hours later I had one corner block picked out and ready to re-quilt with puffy individual dots only. Here it is re-quilted. I tried to photograph it at an angle so you can see the puffs at the colored dots. They will puff more when the quilt is washed. They really do look happier than those angry brown scribbles did.


But now I am committed to many more hours of anti-progress, picking out the stitches in the other three corners. I got up this morning and in 1.5 hours I had picked out a little over half of another corner block.  The stitches were not quite so tiny on this one so score a few points for inconsistent stitch size in the correct direction. My revised estimate is three hours per block. The lower "with" and upper "without" scribbles version, seen side by side really do convince me that my decision to pick out was the right one, as tedious as it is.


My FMQ on the quilt was "done" until I got picky – picky in more ways than one. This week I started no new projects and worked exclusively on this monkey quilt. My project count and progress stats are unchanged from my previous WIP post.

For now I am going to take a break and re-engage my feed dogs to do some straight stitching in the frame of the center panel and to attach my binding.  Once I get to hand-sewing my binding I can always alternate between putting stitches in as I attach the binding and taking stitches out as I remove the quilting lines in the corner blocks. I will channel my inner self (and fingers) like in that 1984 movie The Karate Kid with a minor difference. Instead of "Wax on, wax off," I will be reciting "Stitch in, stitch out."


During my picking break I will also visit Freshly Pieced's WIP Wednesday for this week. Perhaps I should nickname my blog Freshly Picked.

Thursday, January 9, 2014

2013 in Review

It appears that I was not as productive quilt-wise this year as I was in 2012. I claim that the turmoil of two retirements, more travel, and home remodeling were the handicapping culprits. I made only two quilts, start to finish during 2013. They were gifts, one of which I free-motion quilted myself. Two of my five claimed 2013 completions were started before January 2013. Other quilts that I started earlier than 2013, but have not yet finished, are not listed here. There are many. One of the five quilts I did not even make at all, but won in a raffle. 

But I did make other smaller items. Here is my completions list for 2013, followed by pictures and headings only. Details are in my past posts. Scroll fast! If nothing else, it's a nice browse of fabrics. At the very end (maybe no one will read that far) are my 2014 quilting resolutions.
  • 5 quilts
  • 3 pillow cases
  • 2 child dresses
  • 9 holiday items
  • 29 burp cloths
  • 4 cloth books
  • 12 miscellaneous items
  • 1 knit blanket
  • 2 hardcover blog books
5 QUILTS
Doll Quilt that was started before 2013 (See March 13, 2013 post.)


Karate Kid Kwilt (See June 18, 2013 post.)


Quilt won from OKC Modern Quilt Guild raffle (See June 29, 2013 post.)


Color Play of the Day  (See July 19, 2013 post.)


Sunny Spring Frost (72" x 72") that was started before  2013 (See July 24, 2013 post)


3 PILLOWCASES
Fire engine pillowcase (See September 25, 2013 post.)


2 CHILD'S DRESSES
Forest friends print dress (See September 10, 2013 post.)


Airplane print dress (See September 10, 2013 post.)


9 HOLIDAY ITEMS
Seven Christmas ornaments (See February 20, 2013 post.)


One scarecrow wall hanging and one bonus toy for fall (See April 30, 2013 post.)


29 BURP CLOTHS
Six burp cloths (See February 20, 2013 post.)


Four burp cloths (See March 13, 2013 post.)


4 CLOTH BOOKS
One cloth bunny book for Easter (See March 24, 2013 post.)


One baby animals cloth book (See November 25, 2013 post.)


Two Christmas cloth books (See November 25, 2013 post.)


1 KNIT BLANKET
One knit blanket with accompanying poem (See December 26, 2013 post.)


12 MISCELLANEOUS ITEMS
Two floor pillows (See March 13, 2013 post.)


One cover for changing table pad (See March 13, 2013 post. No picture available.)

Four critter napkins (See August 21, 2013 post.)


Five quilt blocks for college commemorative quilt (See November 12, 2013 post.)


2 HARDCOVER BLOG BOOKS

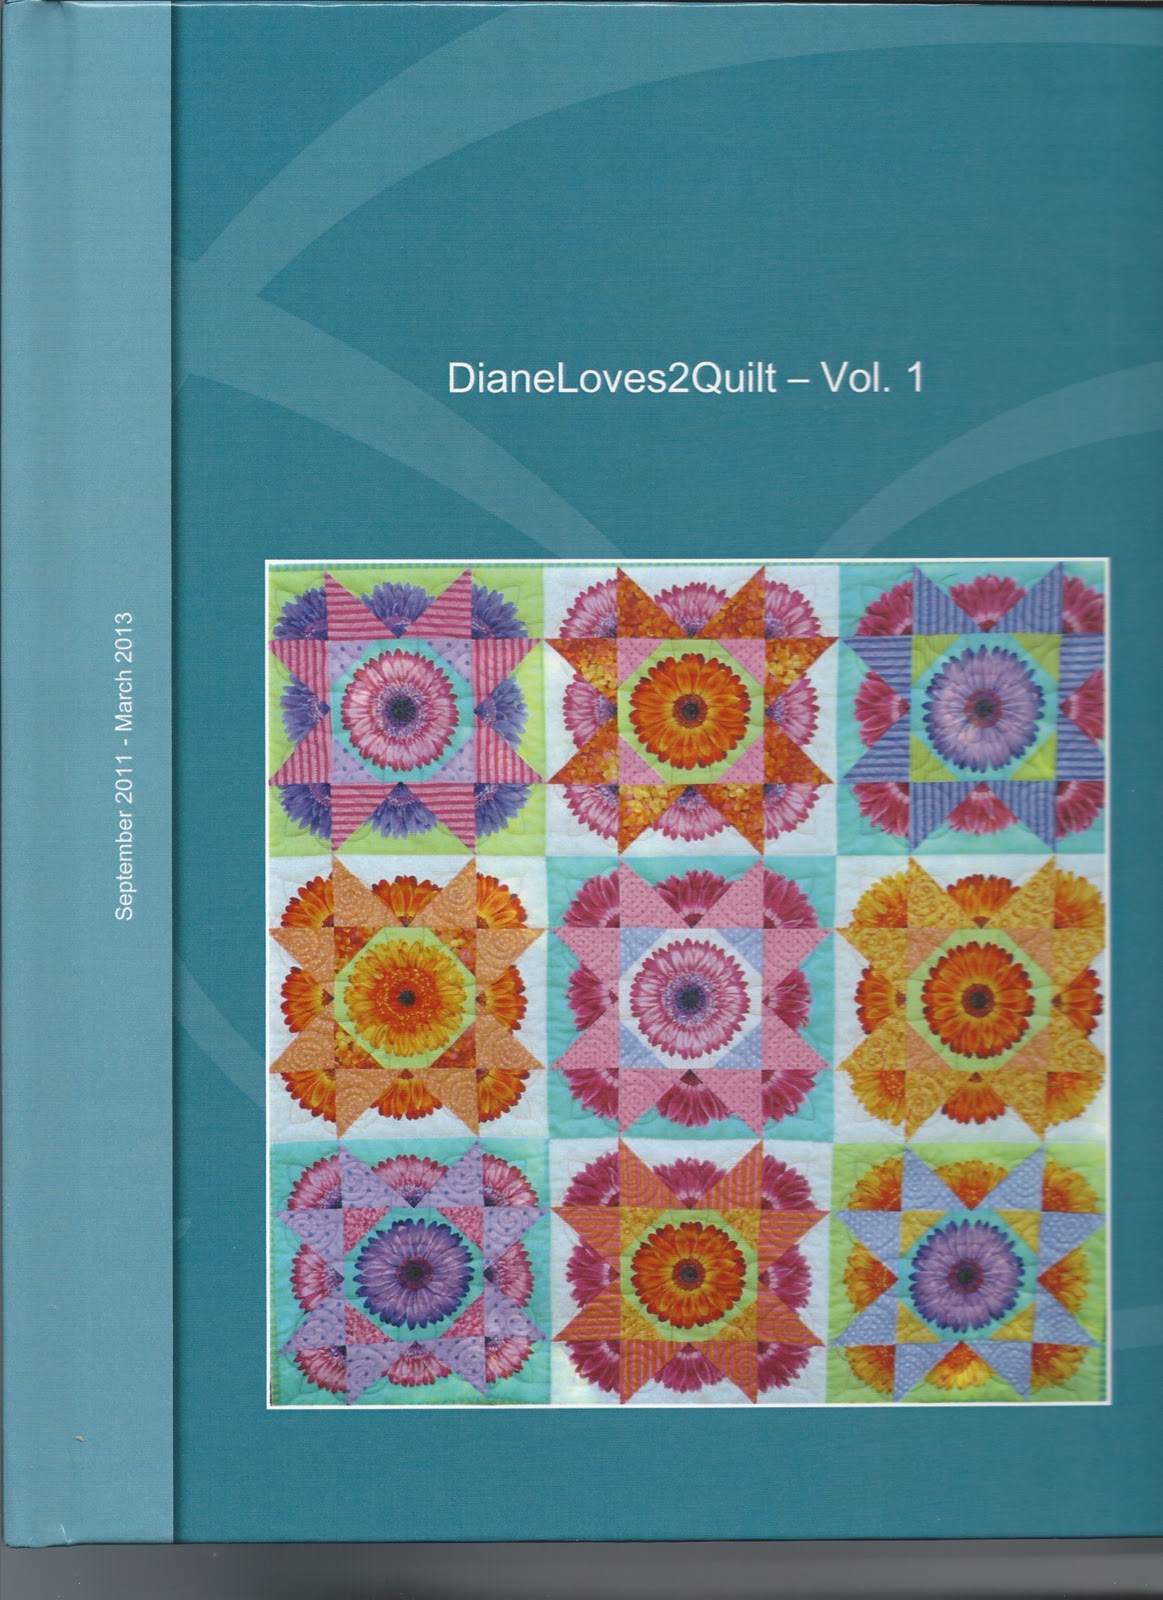
DianeLoves2Quilt – Vol.1 (See April 17, 2013 post.)


Color Play of the Day (See July 19, 2013 post.) 


2014 Quilting Resolutions
  • Generate hardcover blog book DianeLoves2Quilt  – Vol. 2
  • Finish Grinch Quilt before next Christmas
  • Knit a vintage Christmas stocking for each granddaughter
  • Free-motion-quilt at least three quilt tops (any size) on my Pfaff
  • Rent time to long arm quilt at least one quilt
  • Assemble at least two pre-purchased quilt kits
  • Keep a running draft of my "2014 in Review" post as I complete items
  • Remember to add labels to blog posts so I can find them more easily
  • Get real... I know I will start new projects before finishing old ones!