Thursday, March 31, 2016

Pink and Green

My son and daughter-in-law are expecting a second daughter in May and I have started a quilt for her. I asked my daughter-in-law if she had a color preference in mind and she said "pink and green". The girls will be sharing a room eventually so that is the color theme. Here is the first daughter's quilt, created in response to a request for "green and brown with enough pink to know it's girl". I named the quilt Paisley Pearl (February 8, 2014). I wanted the second daughter's quilt to be distinguishable but set the same sort of quasi-modern mood.


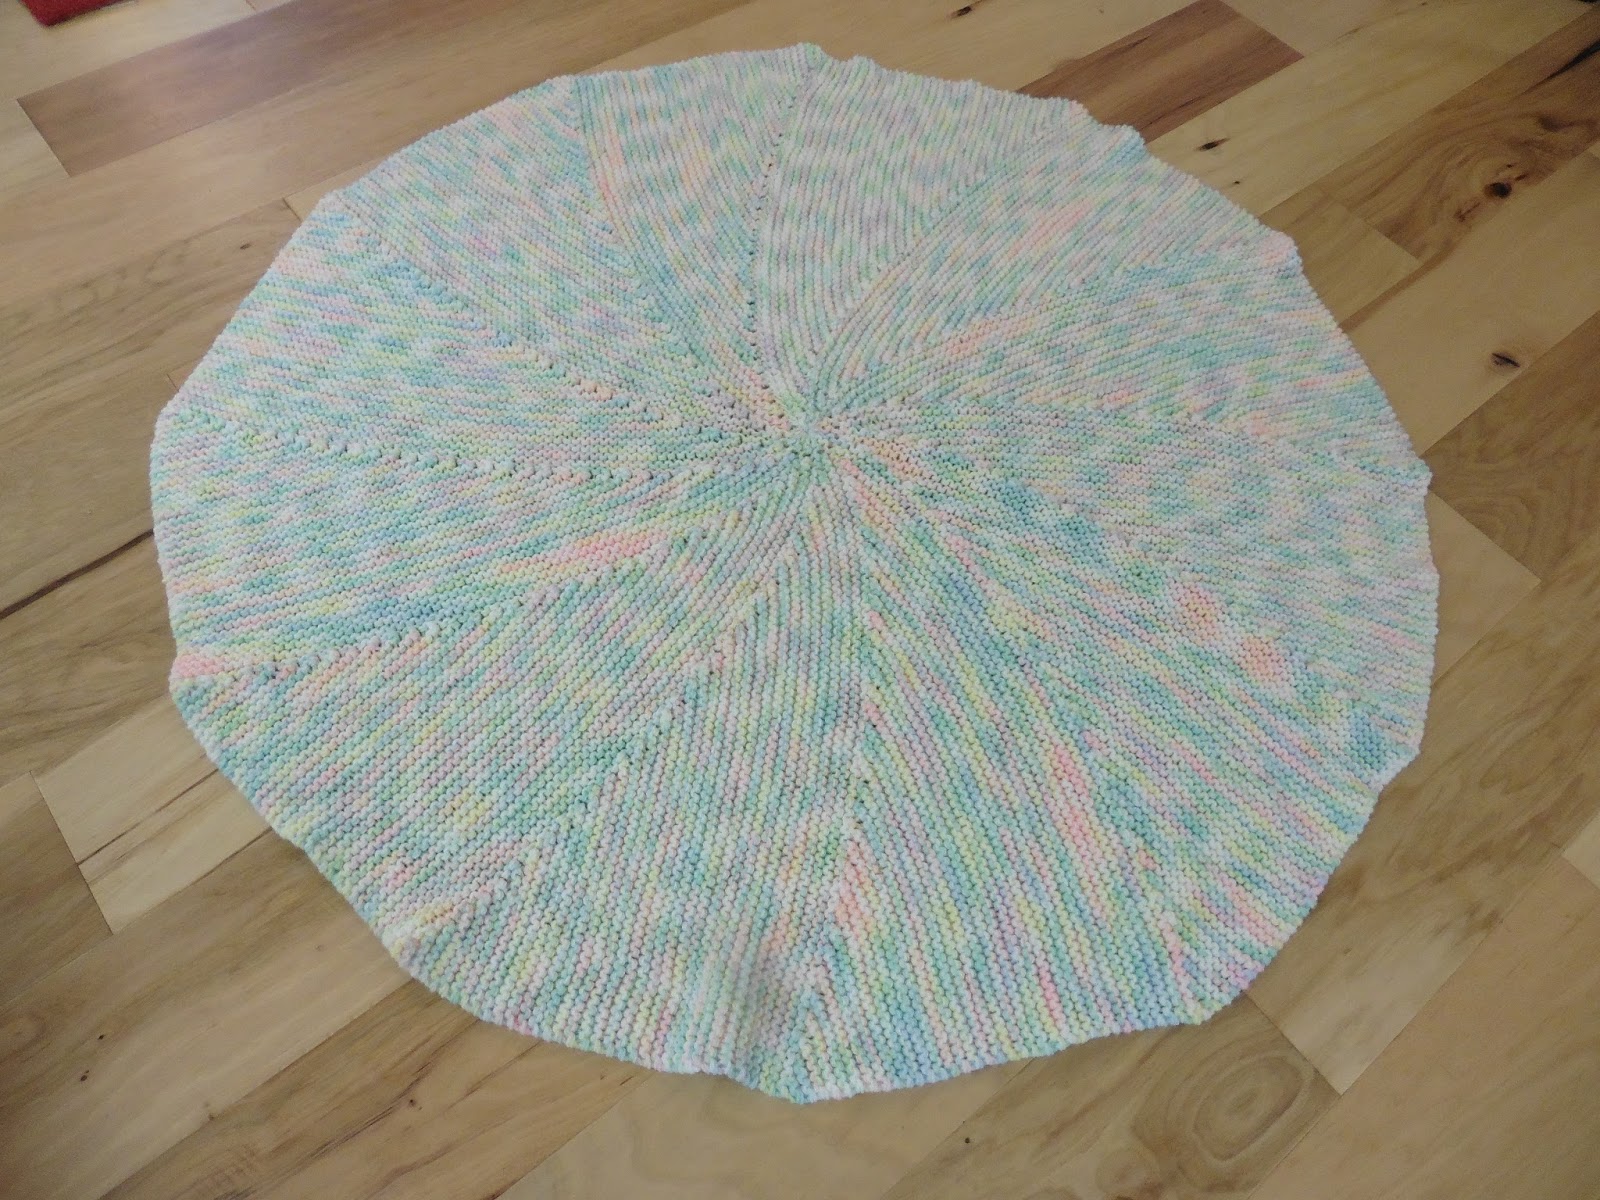
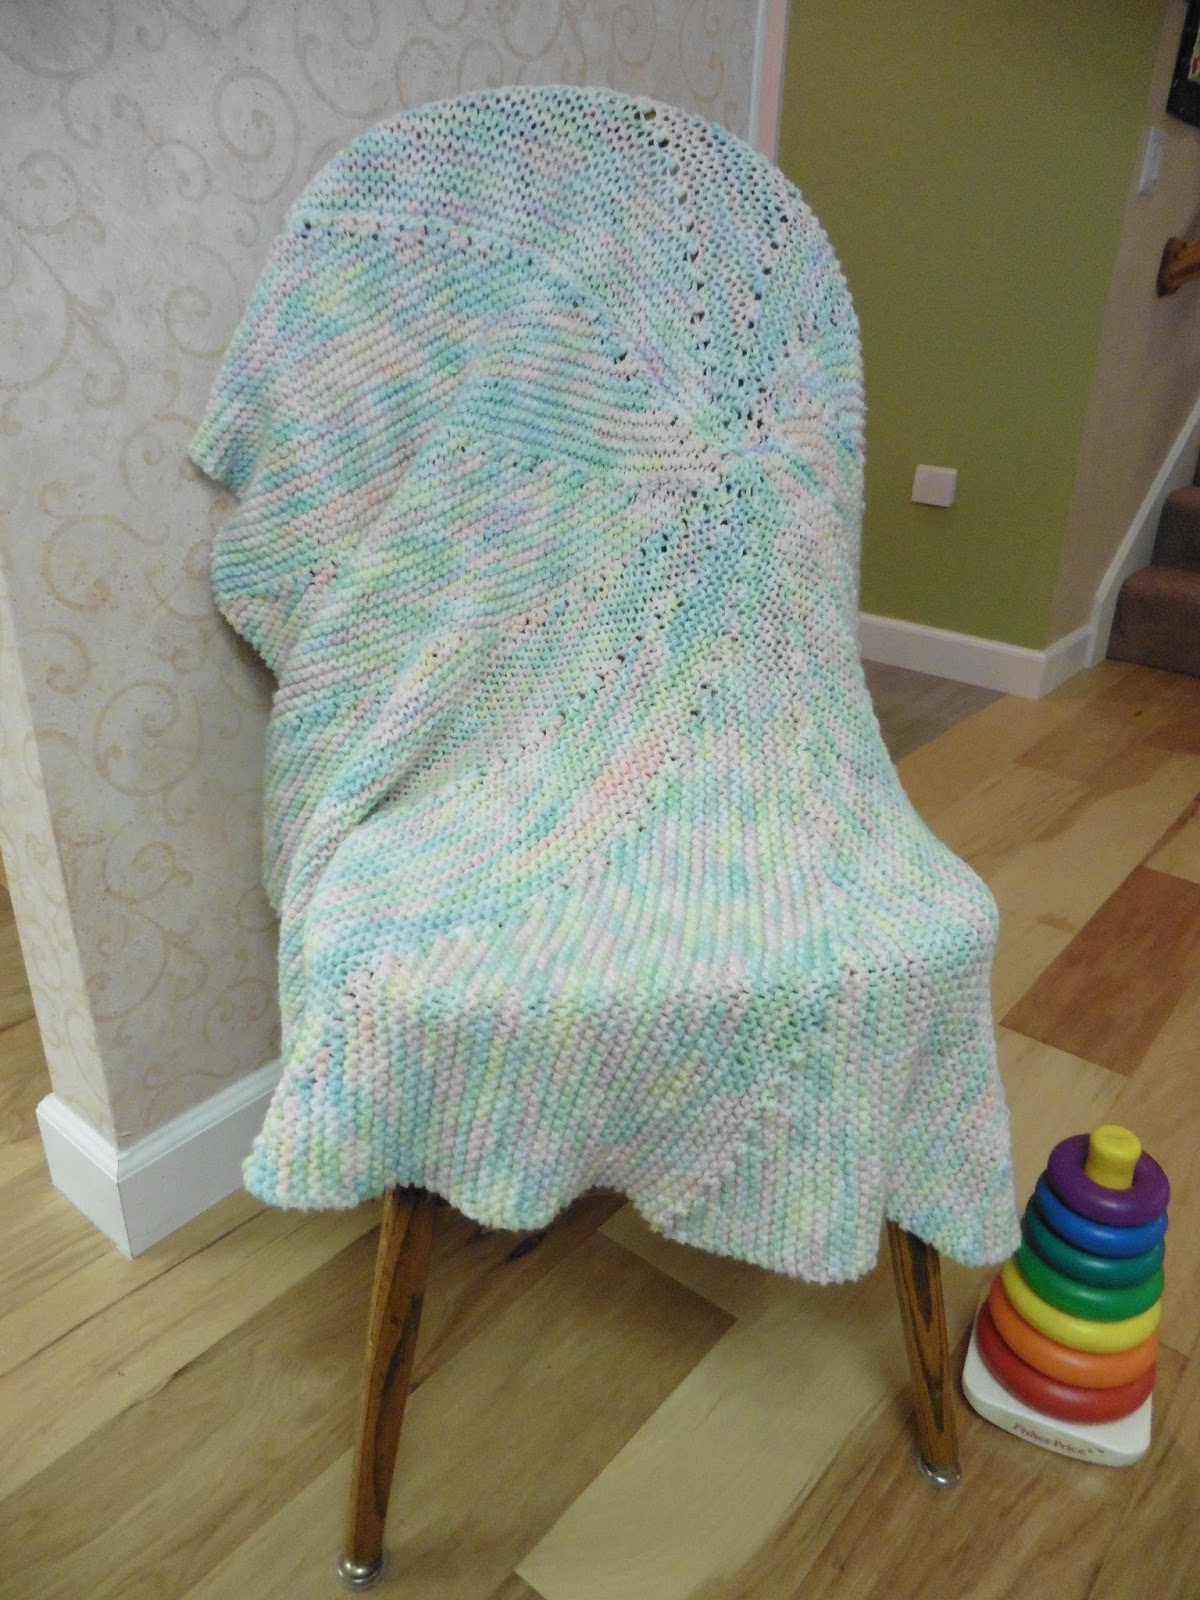
I must confess, in an odd niggling sort of way that I cannot explain, I'd envisioned working on a turquoise quilt. To me turquoise is a girl color, where as true blue speaks "boy" to me. You will notice I snuck a bit of turquoise into the first daughter's quilt in some corner diagonals and the border. The second daughter's knitted blanket (3/21/16 post) had a bit of blue in it, also. But I dutifully went to my stash and started pulling pinks and greens for the second daughter's quilt. I love this stage of starting a new project. My sewing room looks like a fabric cyclone hit it while I am playing, but I love this stage.

I came across this piece of Tula Pink paisley owl fabric that I'd been saving for something special. I wonder if I subconsciously was thinking about it and it influenced my preconceived color inclination. The paisley swirls of it echo the swirls of the feature fabric of Paisley Pearl, but it is predominantly turquoiseOn closer inspection, it does have pinks, greens, and browns in it, though so "Bingo"! I pulled the subtle ombre stripe too just because it seemed to blend well.


I started pulling pinks and greens from my stash using the Tula Pink fabric as my inspiration and jumping off point. Here are the fat quarter pairings I pulled. In the bottom row, the pale pink with turquoise dots may be a bit weak and the broad stripe has all the right colors but the wide bands may be too strong. Nevertheless, I have not removed them from the mix just yet. That green in the upper right is just the perfect green but when I opened it up, alas, it was only a partial fat quarter.


I had used part of it, ironically on a pillow for the two little girls' daddy, my son. It was the background for a 14"x14" deer pillow (December 30, 2015) commemorating his first hunting experience. I am trying to find alternate greens and so far I am not completely satisfied. They need to be brownishly-olive in tone and not too brashly yellow. I am exploring some brownish greens and greenish browns. The rightmost brown shows promise, a good tone but perhaps too dark. The middle green is the right hue but somehow the plaid, even though tiny, just seems too masculine. The stripe is a good bridge fabric with the right colors but it may be too graphic and distracting. The taupe and beige on the far left do not excite me but neither do they clash.


The pattern I am using as a starting point is made from pairs of fat quarters so the ones I pulled are an experiment. I will make up the blocks from several of these pairings and omit the blocks that are too weak, too distracting, too graphic, or yes, too turquoise. Stitching up two fat quarters is not a lot to sacrifice, neither in time nor fabric, and sometimes I just need to see things made up to be decisive. I have shown a sample of some blocks stitched up and posted on my design wall. I do not want to reveal the entire pattern just yet - especially because I do not know how much I am going to deviate from it. I plan to feature that large scale print paisley owl fabric, fussy cut in some fashion, embedded amongst mostly pinks and greens as requested. That strong pink swirl tone-on-tone definitely needs to be in the quilt because it is a statement pink and goes real well with the paisley owl. I am curious to see how it all comes together.


In making those square within a square blocks, the pattern calls for an array of various sized rectangles. To keep them straight I use two notions called Alphabitties and Clover Wonder Clips.
I found that yes, I could make my own labels from paper, but these little sturdy plastic squares are reusable and show up on light or dark fabric. They are great to use in conjunction with the wonder clips to stack and keep organized various similarly sized pieces. I just clip my fabric pieces together with the defining letter on top.


I have discovered a small time saving tip when using these Alphabitties and clips. I used to store the clips in one container and then alphabetize, stack, and store the Alphabitties in another container. I then realized the Alphabitties are harder to pick up and stick together when stored in a stack. I now leave a clip on each one and store the clip/letter pair that way. When scattered on the table top or cutting board it is far easier to spot the letter desired and pick it up. Those are the individual letters with a pink clip. The blue clips still hold a stack that is pre-sorted and clipped together in numerical or alphabetical order. If you do not have them yet, these, stacking, interlocking, Lock-Up containers (see 8/23/13 post for more info) are great. I buy mine at the Container Store.


That is enough ramblings for now. I will link up with Let's Bee Social #118.

Friday, March 25, 2016

Elephant Burp Cloths

It is ironic that with a blog title of DianeLoves2Quilt the topic of my last four posts has not been quilting. This post is no different. But I am working up to quilting. I typically stretch my quilting muscles and revive my quilting mojo by making burp cloths. Today I made a half dozen burp cloths inspired by an elephant print flannel that was just so darn cute that I had to buy it yesterday from my local quilt shop. Here are the fabrics. I already had the green, turquoise, and pink in my stash - how fortuitous.

 
Two fat quarters make a burp cloth. I like to use a half yard of two fabrics and make them in complementary pairs. My instructions on how to make these are in my post for June 10, 2014. It was the end of the bolt of the elephant fabric and I could only get 1⅓ yard instead of 1½ yard, but the burp cloths are essentially the same, generous size. I just divided that ⅙ yard difference among the six burp cloths. Here are the three pairs. The backside is the same as the edge stripes. The central section is triple thick for extra absorption.


Here are the backs. Three of them are the elephant print and three of them are the tonal pastels. The mom-to-be has a thing for elephants so I hope she likes them. The new moms I've given these flannel cloths to say that they are their go-to burp cloths.


I still have to pre-wash them before gifting, but here they are rolled up as they will be before I tuck them into a lilac polka dot gift bag.


I am linking up to Sew Fresh Quilt's Let's Bee Social #117, just under the wire, I might add.

Monday, March 21, 2016

Circling a Blanket Tradition

My son and daughter-in-law are expecting a baby, their second daughter, in May 2016 and I wanted to knit her a circular blanket as I had done in 2013 for her older sister, Vivian. When I wrote this, it was January 2016 and I'd just completed the knitting, intending to delay publishing the post until after the baby was born. I could contain myself no longer. My daughter-in-law just texted me this cute picture of almost-two older sister with her blankie. So I am releasing this post for the second blanket now. Don't ya jus' love the tip-toe stance?


For the poem and blanket back story for first daughter Vivian, born in April 2014, check my post for December 26, 2013. Here she was last October holding up her green, yellow and white variegated yarn blanket like a pair of wings. Other views of the blankie (and of darling Vivian of course) are in my post for October 7, 2015. I made the new baby's blanket similar to her older sister's but not exactly alike so they could be told apart.


For the next little girl I chose the same brand and weight variegated yarn again, but this time it had a bit of pink and blue in the mix. For this second blanket, I was not as adamant that it have yellow, green, and white only to be like her Daddy's original from the mid 1980's, a color fixation that is explained in my post for December 26, 2013. The yarn was Michael's Loops and Thread Snuggly Wuggly, which comes in large 10.5 ounce skeins. I bought three skeins.


I used it double stranded with 10½ size needles, pulling from two skeins at once. I was partly through the tenth wedge out of twelve when I needed to start the third skein. I wound it into two balls, weighing them to be equal and continued on.


As on the first blanket in 2013, I found I could complete one segment per day, about two hours worth of knitting. This time schedule allowed no contingency for mistakes and tear outs. I kept up this schedule for the first five days, doggedly staying up at night until I'd completed a wedge. There are twelve segments and I thought, "I can be finished in less than two weeks!" Then I told myself that this was not a marathon. Knitting this blanket does take time and just because I squeezed it in impulsively among other projects that had been pre-planned, did not mean it deserved any less pleasure and anticipation in the making. I slowed my pace, being mindful of the baby-to-be as I knitted. I'd written a poem to accompany big sister Vivian's blanket. Little sister needed a poem too.

BLANKET OF MUSINGS
Spring 2016

As I sit here and knit you a blanket so round,
My thoughts also spiral around and around.
I hope you will use it, for sleep and for play.
I hope it gets tattered from lovin' all day.

Will you tug it and hug it, all out of shape?
Will you drag it around, pretend it's a cape?
Perhaps you'll ignore it and that's OK, too. 
I can't wait to see who is you, shining through.

Will you be a tomboy? Or coy little lady?
Will you wail all the night? Or sleep like a baby?
Adore your big sister? Or will you compete?
Be chock full of mischief? Or maybe real sweet?

What will your name be, mysterious one?
I don't have a clue; the surprise will be fun.
I do know however as I'm sitting here knitting.
Hugs and kisses from Grandma are oh, so befitting.

Que sera, sera. 
Purl and knit. Knit and purl.
Whatever will be, will be. 
Know my love, little girl.

I think being mindful is a maternal thing. My own mom used to knit one of her own hairs into each article for her children and grandchildren so her love would be with them when they used it.

Even at a more relaxed pace, and letting my imagination stray with possibilities about the little girl to be and her poem, I completed the blanket in less than three weeks of mainly evening knitting. Once I seamed the final row to the first, it finished at a diameter of 50".


The combination of 10½ size needles with a double strand of the Snuggly Wuggly soft worsted weight resulted in a very soft drape.


The scale of the garter stitch was pleasingly big enough to give good textural interest but not so large as to have holes. Using two strands of a variegated yarn, along with the change in row lengths, gave a soft tweedy, subtle heather-like variation in the colors.


For those interested, I repeated the pattern here. The idea is to knit partway across a row toward the center of the circle, then all the way back on the next row toward the outside. On the next row toward the center, knit two more stitches, then reverse back again and knit all the way to the outer edge.

Cast on 70.
Knit 2, TURN, knit back over those 2.
Knit 4, TURN, knit back over those 4.
Knit 6, TURN, knit back over those 6.
Can you see a wedge developing?
Continue this way. Two short rows of 8, then 10, then 12, then 14, etc. up to 70.
Once you've knitted across 70 stitches, turned, and knitted back you've finished the first wedge.
Do 12 wedges and you have finished your blanket. Just sew your last row to your first cast on row.


I had to backtrack and re-do some partial wedges twice on this blanket, even though I'd learned to be careful after my experience on the first one. The pattern sequence repeats and is not very complicated. The trouble was, when I was watching TV or talking and not paying attention, I'd overshoot and knit too far in toward the center. If an overshoot is not caught while on that row, there is no way to recover but to rip out the few rows beyond to get back to where the mistake originated. (There is an image of this type of mistake in the post for December 26, 2013.) Enjoy working on this project but stay alert. Knitting this round blanket is easy-peasy but prone-to-groans.

Friday, March 18, 2016

Knitting Queries, Quandaries, and Quiescence

I am knitting a letter-jacket style sweater for my grandson in Oklahoma. The tri-color scheme I chose is made up of very rich colors in a fine weight yarns by Ewe So Sporty merino yarn in the saturated tones teal, saffron, and orange peel. Thank goodness my local knit shoppe Knit This Purl That allows for an even exchange of yarns, because I changed my mind on the color assignment not once, but twice. The pattern I am using is Debbie Bliss's Baseball Jacket.


Next, I needed to decide what size to make. I had my daughter measure my grandson. She sent his measurements along with this picture of the process. I texted back, "Does a tape measure give an accurate value when it is saturated with drool?"


Originally the sweater-jacket was to have a teal body (3 skeins) with saffron sleeves (2 skeins) and orange peel accents (1 skein). Then I found some buttons that were not only a masculine style but also a perfect match to the saffron. They would look better on saffron than teal so I decided to reverse the colors for the main body and sleeves. I exchanged a teal skein for a saffron one so I'd have the correct yarn proportions to make the main body saffron, still keeping orange peel an accent color only. I planned to avoid orange as the dominant color for the body or sleeves out of rivalry sensitivity. Although a graduate of OSU (Oklahoma State University - loyalty color ORANGE) my son-in-law currently works for their arch sports rival, OU (Oklahoma University - loyalty color RED). I did not want my daughter to bring their son on campus dressed in the wrong color to support his daddy.


Casting on 165 stitches in the luscious teal, I began knitting the body of the two fronts and the back all at once so there would be no side seams. With a gauge of 25 stitches and 34 rows = 4"  and knitting needles US size 2, it was slow going but I made steady progress. The hand of the yarn worked up nicely and, after two evening sessions in front of the TV, I'd completed the 2" of deep, K1, P1 ribbing at the waist. I loved the contrast of the orange peel accent stripe midway up within the teal. An orange peel stripe within the saffron would not have been nearly as crisp. I began the stockinette stitch body in saffron and liked the color combination and contrast; but then, as I was admiring my handiwork, it dawned in on me. The accent color in the ribbing would become the main color of the sleeves. I certainly wanted the ribbing on the sleeves to match the waistline ribbing so, unless I ripped out all my work and started again, I would be stuck with orange sleeves. Plus I'd really grown to like the teal with an inserted orange peel stripe. An orange waistband or wristband with a teal stripe insert did not appeal as much to me.


I phoned my daughter in dismay. She assured me, "Mom, Isaiah will wear the sweater other places than on campus. Plus we are a house divided anyway. Jeremy may have switched his allegiance to OU But I am remaining a fan of OSU since he was there before we were married. In fact, we just went to an on-campus basketball game at OU and I rooted for OSU. Jeremy has told his boss that we are a house divided. It is OK! Knit what looks good to you." I was glad of her reassurance. I'd been sensitized to that orange color. I remember how chagrined I'd felt when I'd attended his December graduation from OSU several years ago. It had been the holiday season and I'd wore a bright red coat. I remember taking one glance around the gymnasium at the sea of orange. I'd quickly taken off my coat, so I could fold it and sit on it! Despite my faux pas back then, I decided to stick with the color scheme that would entail orange sleeves. Back to my knit shop I went, this time to exchange a teal for an orange. I wanted to have all my ducks in a row and all my supplies ready to knit on the plane flight from California to Oklahoma.

While I was at my knit shop exchanging yarn, I asked to buy a circular needle in size 2. Circular needles are much more conducive to knitting in the restricted seat space of an airplane. The shop clerk asked me if I wanted 2.5 mm size 2 needles or 2.75 mm size 2 needles. I gave her a blank stare. How can size 2 have a choice for the diameter? According to the needle portion of the Knit Picks website

"The metric sizing system is more precise than the US sizing system. We offer two US size 1 - equivalent to 2.25mm and 2.50mm and two US size 2 - equivalent to 2.75mm and 3.00mm".

I guess you learn something new every day. I wanted whatever was closest to the needles I had been using and so bought one of each size 2 to measure them with my husband's micrometer once I got home. The 2.75 mm was closer to my straight needles and I switched with no noticeable gauge change. This package is labeled for US 2 (3.0 mm)


My straight  knitting needles were from a Bernat Aero set my mom bought for me at the time of my college graduation in 1975. She and my sister and I were all together then for a few days in my college town of Cambridge, MA. My mom also bought a set for my sister and herself at the same time. I cherish this set of needles and the fond memory their purchase stirs up. We three also looked at fabric and went down in the bargain basement of the shop to paw through bins of sale buttons. This set of needles is over 40 years old but that little snippet of shopping camaraderie among my sister, my mom, and me still lingers.


Before leaving on my trip to Oklahoma I wanted to get the knitting to a stage where it would travel better on the plane. I knitted the ribbed cuffs with my straight needles and put them on stitch holder so I would not need to take those long needles from my set with me. Usually the person in the adjacent airline seat does not like needles invaded their space and waving under their nose. Once I'd reached the armholes on the sweater body, I put the back on a stitch holder and knitted up the two fronts. I wanted to be sure to knit them at the same time so they would be even with each other and did not want to deal with two active balls of yarn while on the plane or in the airport. On the flight out I finished knitting up the back and had only the stockinette stitch portion of the sleeves remaining to work on during my visit.


While in Oklahoma I completed each of the sleeves. Yes, they are very definitely ORANGE.


I was very close to finishing the second sleeve, progressing in the raglan shaping where a decrease is made near each edge on every other row, when I noticed I had an odd number of stitches instead of the even number I should have had. I checked and re-checked and could not find where I had forgotten an edge decrease. Puzzled I knitted on a bit more. After all what does one stitch matter on a gauge so fine? Unless it is dropped of course... I inspected again. Nope no dropped stitch. Then I spotted IT about 2" inches down, smack dab in the middle of the upper part of the sleeve. I'd knitted two stitches together leaving a visible tiny stitch overlap. I knit a couple more rows trying to ignore the inadvertent decrease but that little, overlapping, centrally-located, inverted V kept glaring at me. I conceded defeat and ripped back to the spot, immediately wishing thereafter that I'd taken a picture of the glitch first for the blog. Oh, well I did not, but here is the yarn from the progress I undid.


Despite the setback, I finished the knitting part on both sleeves while in Oklahoma. I need to block all the components and add the front band in saffron.


The neck band will be ribbed in teal with an orange accent like the waist band and wrist band. All that could wait until I got back home. While there it was more fun holding the intended recipient.


Knitting reminded me of this Fraggle Rock song about the Doozers knitting instead of building. You knitters out there might enjoy it. Here is a sneak peak of the lyrics to the chorus.

Well it's knit one pearl two
What's a Doozer gonna do
With a gol-darn
Ball of yarn?
It's stitch three drop four
Pitch that knittin' out the door right now

On that note ♪, I am linking up now to this week's Let's Bee Social...

Tuesday, March 8, 2016

Lil Red and Bit O' Pink

In the last two days I made a Little Red Riding Hood doll with accompanying cape, skirt, belt, pillow, mini-quilt, and pet wolf from a Moda panel by new designer Stacy Iest Hsu. I added some baby ric-rac in red for decorative trim on each item. It is on the outer edges of the pillow and mini-quilt and on the bottom edge of the wolf. It is repeated on the top edge of the doll's skirt, on the underside of her cape, and in her hair buns as ribbons.


I used a soft draping batting in the mini-quilt. I put no interlining in the cape but the ric-rac on the edge helped it stick out a bit. For the ties on the cape, instead of ribbon I fussy cut the decorative edging that came with the panel, sizing the strip 1" wide, and capturing the pink scallops. I drew it through my bias tape maker to fold the long outer edges in to the center, and then pressed it in half and stitched it for the cape ties.


I was bemused that even for so simple a project I whipped out an arsenal of tools. From top to bottom, I used my sliding hem gage to check the width and find the center of the belt that passed through a casing on the upper edge of the skirt. Next is the bias tape maker for the cape ties. I could not be without my needle threader for when I whip-stitch closed the opening of the stuffed items.  I used the DRITZ EZY-HEM to turn over and press the top and bottom edges of the 'Lil Red's skirt. I used my white, smooth, somewhat feather-shaped tool on the cape to coax out the corners and smooth out the curve along the outer edge when I turned it right side out. I also used this tool to coax out the ears of the wolf, the buns in the doll's hair, and to smooth the seam shaping the top of her head.


The doll's accessories, despite the number of convenience tools, were the easiest part of this project. Turning and stuffing the doll was the hardest part. It is fortunate I made the accessories first. If I had done the doll first I would have become disheartened at the effort and might have given up. With all the accompanying doo-dads completed, I had no choice but to forge ahead. First, after sewing the front and back of Lil Red together, right sides facing, I had to turn her right side out. Easier said than done with those long slender arms and legs. Luckily I had a tool for that, a pair of turning tongs. Here is how they help.


Insert one long arm of the tongs inside the item to be turned, into a corner or in this case down into the toe. Clamping the tongs closed, work that part right side out up the length of the opposite arm of the tongs.


Once the right-side out tip emerges, you are home free. Remove the tongs and pull the rest of the part right side out.


I repeated this for the other leg and both arms.


Once the doll was right side out I smoothed those seams with the white smooth tool and a tool called That Purple Thang.


Now the stuffing part begins. It is not easy to get the fiber fill down into those long appendages. I suppose experienced doll makers do it all the time but I struggled. I pushed and stuffed with a variety of implements. In the center of the photo That Purple Thang was great. The flat edge could act as a paddle and push in one orientation or I could twist it 90° and it was slim enough to fit along an inside surface and smooth out bumps. I also resorted to the tubelike body of a yellow highlighter and the back end of a seam ripper.


At one point I even used a wooden spool holder that was just the right size to fit down an arm and be a stuffing pusher.


When I made the pillow and the wolf, I'd first cut out a rather thick, somewhat stiff, batting piece for each of them. It gave a bit of shape and substance to these accessories. In retrospect perhaps I could have done that on the doll, too and saved having to stuff the legs. But then turning them with that thick stiff batting within may have been more difficult. The following picture shows two pillows and wolves. Why? Two granddaughters, of course! Hence the reason for the ric-rac. One set is accented in red and one in pink so they can tell their sets apart when they play together.


The cape ties on the two dolls are also a bit different. The two dolls look cute side by side, just as I think the cousins will playing together. Actually, the cousins will look way cuter than the dolls.


The mini-quilts, like the skirts and capes, are also differentiated by the red and pink, ric-rac near the edges and red or pink quilting lines between the blocks.


The complete sets came out adorable and were well worth the effort. Now what will I do when the younger cousin has a little sister...?


Linking up now with this week's Let's Bee Social.