Showing posts with label inspiration. Show all posts

Monday, October 20, 2025

Halloween Ornaments

I was tidying my sewing room and found eight ~4" squares with a Halloween theme in one of my many piles. They were leftovers from Raven and Pumpkin Placemats panels designed by Andrea Tachiera for Northcott Fabrics. I'd made the placemats five and six Halloween seasons ago as described in my blog posts for 10/24/20 and 10/23/19. Four squares on each of the two panels were intended for coasters, which I do not think are needed when there is a placemat. Anyway, I intended to repurpose those "coasters" as ornaments, and yet, they lingered on for years.


It is still Halloween, but even if it were not, I decided to stop shifting those squares around between piles and sew them up. My inspiration was a thought that kept trailing through my brain like an ear worm. The phrase "Give your self the gift of getting this done" is from a YouTube video of Just Get It Done Quilts by Karen Brown. Within the first 3½ minutes of the video Karen showed items she'd been pleased to complete that fit this "gift" category: a pin cushion kit, a decorated tray, a heating pad insert, a small kit she'd been given, and a notebook cover. Sewing something fun and quick is indeed a gift to yourself.

When I cut the images out of the panel, I stayed an ⅛" beyond the outer edge and used a ¼" seam to sew them face to face. Initially, I futzed around in my stash to find a suitable backing a material. I did find black and white checks, like one of the pumpkins, and a few other golds. (I could not help noticing, though, that I had created more piles to clean up.) Then I talked some sense into myself. Just make four ornaments; you do not need eight! I cut 4½" lengths of black grosgrain ribbon to use as hanging loops, centering each at the top between two face-to-face images.


Once I'd sewn along the edges, leaving an opening at the bottom, I turned the ornaments right sides out. I pressed the ¼" seam along each side of the open edge before starting to stuff. That crease makes it easier to whip stitch the opening closed afterward. The spider and bats squares are shown clipped in preparation for the whipstitch phase.


Here they are — SPIDER, BATS, PUMPKINS, and RAVEN — ready to be hung on the china cabinet near the placemats. PUMPKINS is my favorite. SPIDER is my least favorite... ewww!


Today, I should have been using my time to read my book for book club, which meets three days from now. Instead I discovered, cut out, sewed, stuffed, and whipstitched these ornaments and published this blog post. The experience was a guilty pleasure that was indeed a gift I gave myself. I will undoubtedly have to lose some sleep to finish that book before the club meeting, but today was worth it.

Tuesday, May 27, 2025

An Afternoon Unraveled

After sitting at my sewing machine, I rolled back and saw a piece of thread trailing from one of the casters of my chair. When I bent over to remove it, it fought back. I then noticed that a whole lot of threads had wound around each axle of all four casters, on both sides of each mid-support, intertwined and compacted amongst themselves, making removal a time-consuming challenge. Realizing the extraction procedure was going to take a while, I would need to flip the chair over so I could sit and have better access to the casters than I would sitting on the floor. Before upturning the chair though, I had to empty its two drawers, yet another time sink, contents to be reviewed later. 


I started picking away with fingers, tweezers, and thread snips; then I enlisted the help of my husband. After just a few seconds he left my sewing room to return with a whole slew of tools — a man's solution to everything. There were needle nose pliers in various sizes, a dental pick tool with a straight end and a right angle bend end, finer snip scissors, and special angled tweezers used by stamp collectors. Both of us went to work diligently, heads bent over in concentration, for well over an hour I would estimate. Frank sat in the chair, slaving over the upper (back) casters while I sat on the floor, attacking the lower (front) casters. Perhaps, "A couple that picks together, sticks together?" (We mark our 50 year anniversary this September.) Adjacent to the upside down chair is a wastebasket filled 2" to 3" deep with the removed thread scraps. The tooth brush is there for scale but later turned out to be a useful addition as a loosening and scrubbing tool.


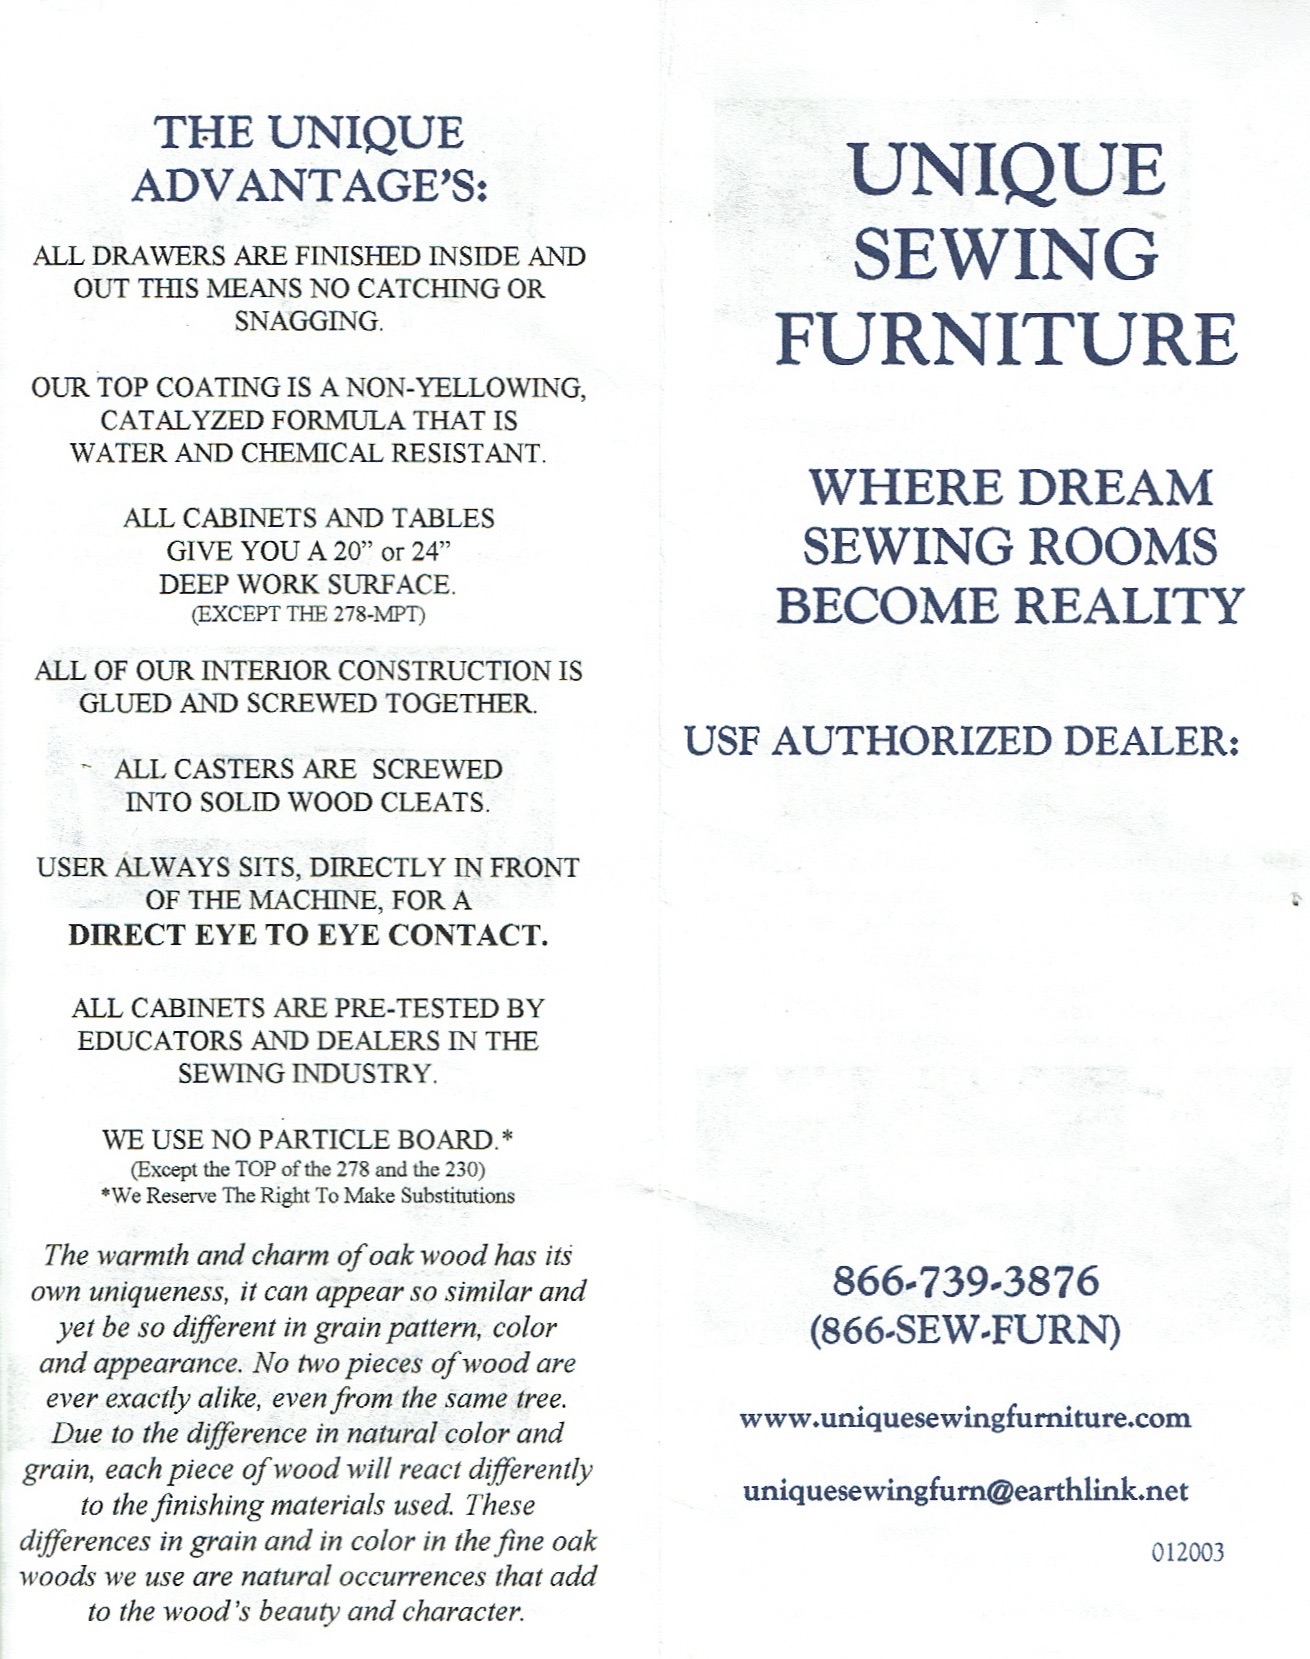
I had never cleaned the casters of my chair before so I wondered how long it had taken to accumulate so many snippings. How old was this chair? One of the items unearthed in the drawer was the original purchase order for the chair, sewing cabinet, and cutting table. The sales order and invoice were dated 2003 and so had been serving me well me for over twenty-two years! They had been made by Unique Sewing Furniture, a then family business. I had the original sales brochure from where I learned of them. Great quality really held up well. As an additional perk, I recall the family was visiting relatives in California where I live and so they delivered and set up my furniture for free. I checked and Unique Sewing Furniture is still in business.


Here is that cutting table I got at the same time as the chair and sewing cabinet. The nearer leaf, that is flipped down, can really extend the surface size when flipped up. Those two drawers pull out in both directions, which can be so handy. I however do not use that particular dual-direction feature. I prefer to push my cabinet into a corner so that it does not roll when I cut. I however am grateful for those casters when I do wheel it out into the center of the room for larger tasks. I store a whole assortment of rulers in those two conveniently long drawers. I assessed the collection in my Rulers and Templates blog post for 3/30/20.


What else was in the two drawers from the chair, aside from historic paperwork? Aha! A collection of small tools that I have never used; but now that I know I have them, I can either A) start using them or B) feel guilty about having bought them. I am going to strive for option A. The forgotten tools in the drawer collection are described clockwise from the black cord at the lower left.

  • black cord goes that goes with the pink mini-iron just above it.
    I need to remember to use this for paper piecing.
  • an easy threader, an especially long flexible "needle" for fixing the lost cord in pants casings.
    That could be very handy.
  • a spade shaped Clover 9103 large tip for use with a Clover Mini-Iron II "The Adaptor" #9100.
    I do not even own a Clover Mini-Iron II "The Adaptor" #9100 and I am not a fan of appliqué. I probably got this on sale or clearance or on a free item table. It can go.
  • a12" flexible curve ruler.
    Perhaps someday when I make one of those quilts with a series of flying geese curving gracefully somewhere I may use it. Cautiously keeping.
  • a set of marking chalk in various colors.
    Now that I can use. I am so glad I found it! Now, to store it where I will use it.
  • a SimFlex expanding equal measure tool
    I used to use this a lot to space buttonholes evenly when I was making clothing. Now that my memory that I have it is refreshed, I will find other uses. Keep.
  • three comfort handles way up in the upper left 
    They make carrying paper handle bags more gentle on your fingers by distributing the weight. When was the last time I carried heavy packages with string handles for any distance by myself? Even Julia Roberts in the 1990 classic movie Pretty Woman did not use these on her shopping spree. I can part with these... but they are so clever...

As an afterthought I will point out that the chair still rolled fine, carrying along its cargo of threads. I am just anal enough that once I knew those threads were there, I wanted them banished. Then my husband suggested I blog about the event. So there I went, down the rabbit hole. Anyway, the motto of this blog post is:
Pull one thread and your whole afternoon unravels!

Thursday, April 17, 2025

Free Fun Bonus

In my previous post I assembled 64 right triangles in a red/white colorway from a zip-loc bag I picked up at the free table of my April guild meeting. There were 16 other triangles in that same bag in an assortment of aboriginal type prints. I intended to restrain myself from playing with those, telling myself I should return the favor to some other quilter, giving her the opportunity to also have some fun. Alas! I  could not resist. I caved. They were looking at me, calling. Here are the two 6" blocks I assembled. A source photo of the original triangles is in my previous post.


Maybe these will become a pair of coasters or maybe they will just keep my other orphan blocks company in a bin in my closet. Sometimes I wonder if orphan blocks are capable of breeding. Maybe not quite as prolifically as the scientific data provided by Jonathan Lemon in his comic strip Rabbits Against Magic. Hundreds maybe, but certainly not billions...

Wednesday, April 16, 2025

Free Fun

From the free table at my last guild meeting I picked up a zip-loc bag containing precut triangles, predominantly red and white but with enough tiny flags on the white print with to be patriotic. There was no pattern or notes of any kind in the bag. I was on my own. The first thing I did when I got  home was count and sort the pieces in the bag. There were 24 red triangles, 24 white triangles, 8 red triangles tipped with white and 8 white triangles tipped with red. The tipped triangles were a curiosity and I pondered what to do with those. I calculated I could get 8 blocks total out of the 64 pieces. If I paired solid rectangles among themselves, I could get 6 blocks of those, and if I paired tipped triangles among themselves, I could get 2 blocks of those.


But what if I intertwined those two populations? I tried pairing a solid triangle with a same color triangle tipped in the opposite color and learned that four of those units could assemble into a cute central pinwheel. I was able to make 4 mini-pinwheel blocks, 2 red and 2 white.  That meant I could make 4 more blocks out of all the solid triangles. The 8 block total I could make was 4 pinwheels and 4 mini-pinwheels. Since the mini-pinwheels were either predominantly red or white, I took care to make 2 large pinwheels of red/white polarity and two pinwheels of the opposite white/red polarity. Next up was how to assemble these 8 blocks.


At first I tried a light to dark vertical theme grouping similar blocks together for more impact  as seen in the first two images on left. Then, still keeping the light-to dark algorithm, I interspersed small and large pinwheel blocks as seen in the  right most image, liking this slightly better.


But I was really quite fond of those mini-pinwheel blocks and still wanted to group them together for more impact. I followed my desire to place them in the center as I tend to do with my favorite blocks. I placed the large pinwheel blocks in the top and bottom rows. All that remained to decide was how best to situate those large pinwheel blocks in order to best take advantage of their two different polarities. The top and bottom diamond formations in the next image were interesting but not really my cup of tea.


I was most content with the following placement where the top and bottom rows followed a high contrast checkerboard of triangles pattern instead of forming a central diamond. Also this arrangement does not have a top/bottom orientation based on dark/light and can be used horizontally as well as vertically. The blocks are a 6" finished size and this assembly so far is 12½" by 24½".


So what will I do with this creation? Shhh... do not ask that question! Perhaps it will be short table runner. Or perhaps it will become a wall hanging for a small space. If inspired, and if the right fabrics float my way or tumble out of my stash, I may border it for a community baby quilt. The possibilities are endless. At the very least, it will keep my other UFOs company in my closet/drawer/box. I enjoyed thinking this through, like solving a puzzle. That technique with the tipped triangles forming mini central pinwheels caught my attention and I may try to use this newly-learned trick again somewhere. My afternoon was spent in low stress bliss.

By the way, also in that zip-loc bag were other triangles in super cool prints and striking colors. There were 4 white triangles, 8 print triangles, and 4 white triangles tipped in 4 of the colors of the 8 prints. What can be made of this? Adding a white would surely stretch it further. Or maybe, this pleasing combination may find its way back into the zip-loc bag and onto the free table at the next guild meeting. I should not have all the fun!

Monday, December 18, 2023

Boudoir Bathing Tote

As a quick gift for a friend recently having surgery I whipped up this tote bag. It is the second one I have made. The first one, in a knitting theme focus fabric, was for my sister and is shown in my post for 9/30/23. The pattern I used was Turn It Into a Tote, a one-page set of instructions designed by the shop owner of Back Porch Fabrics in Pacific Grove, CA. The pattern takes only ½ yard of a theme fabric and 1 yard of another coordinate. It is fast becoming one of my go-to patterns especially for gifting.


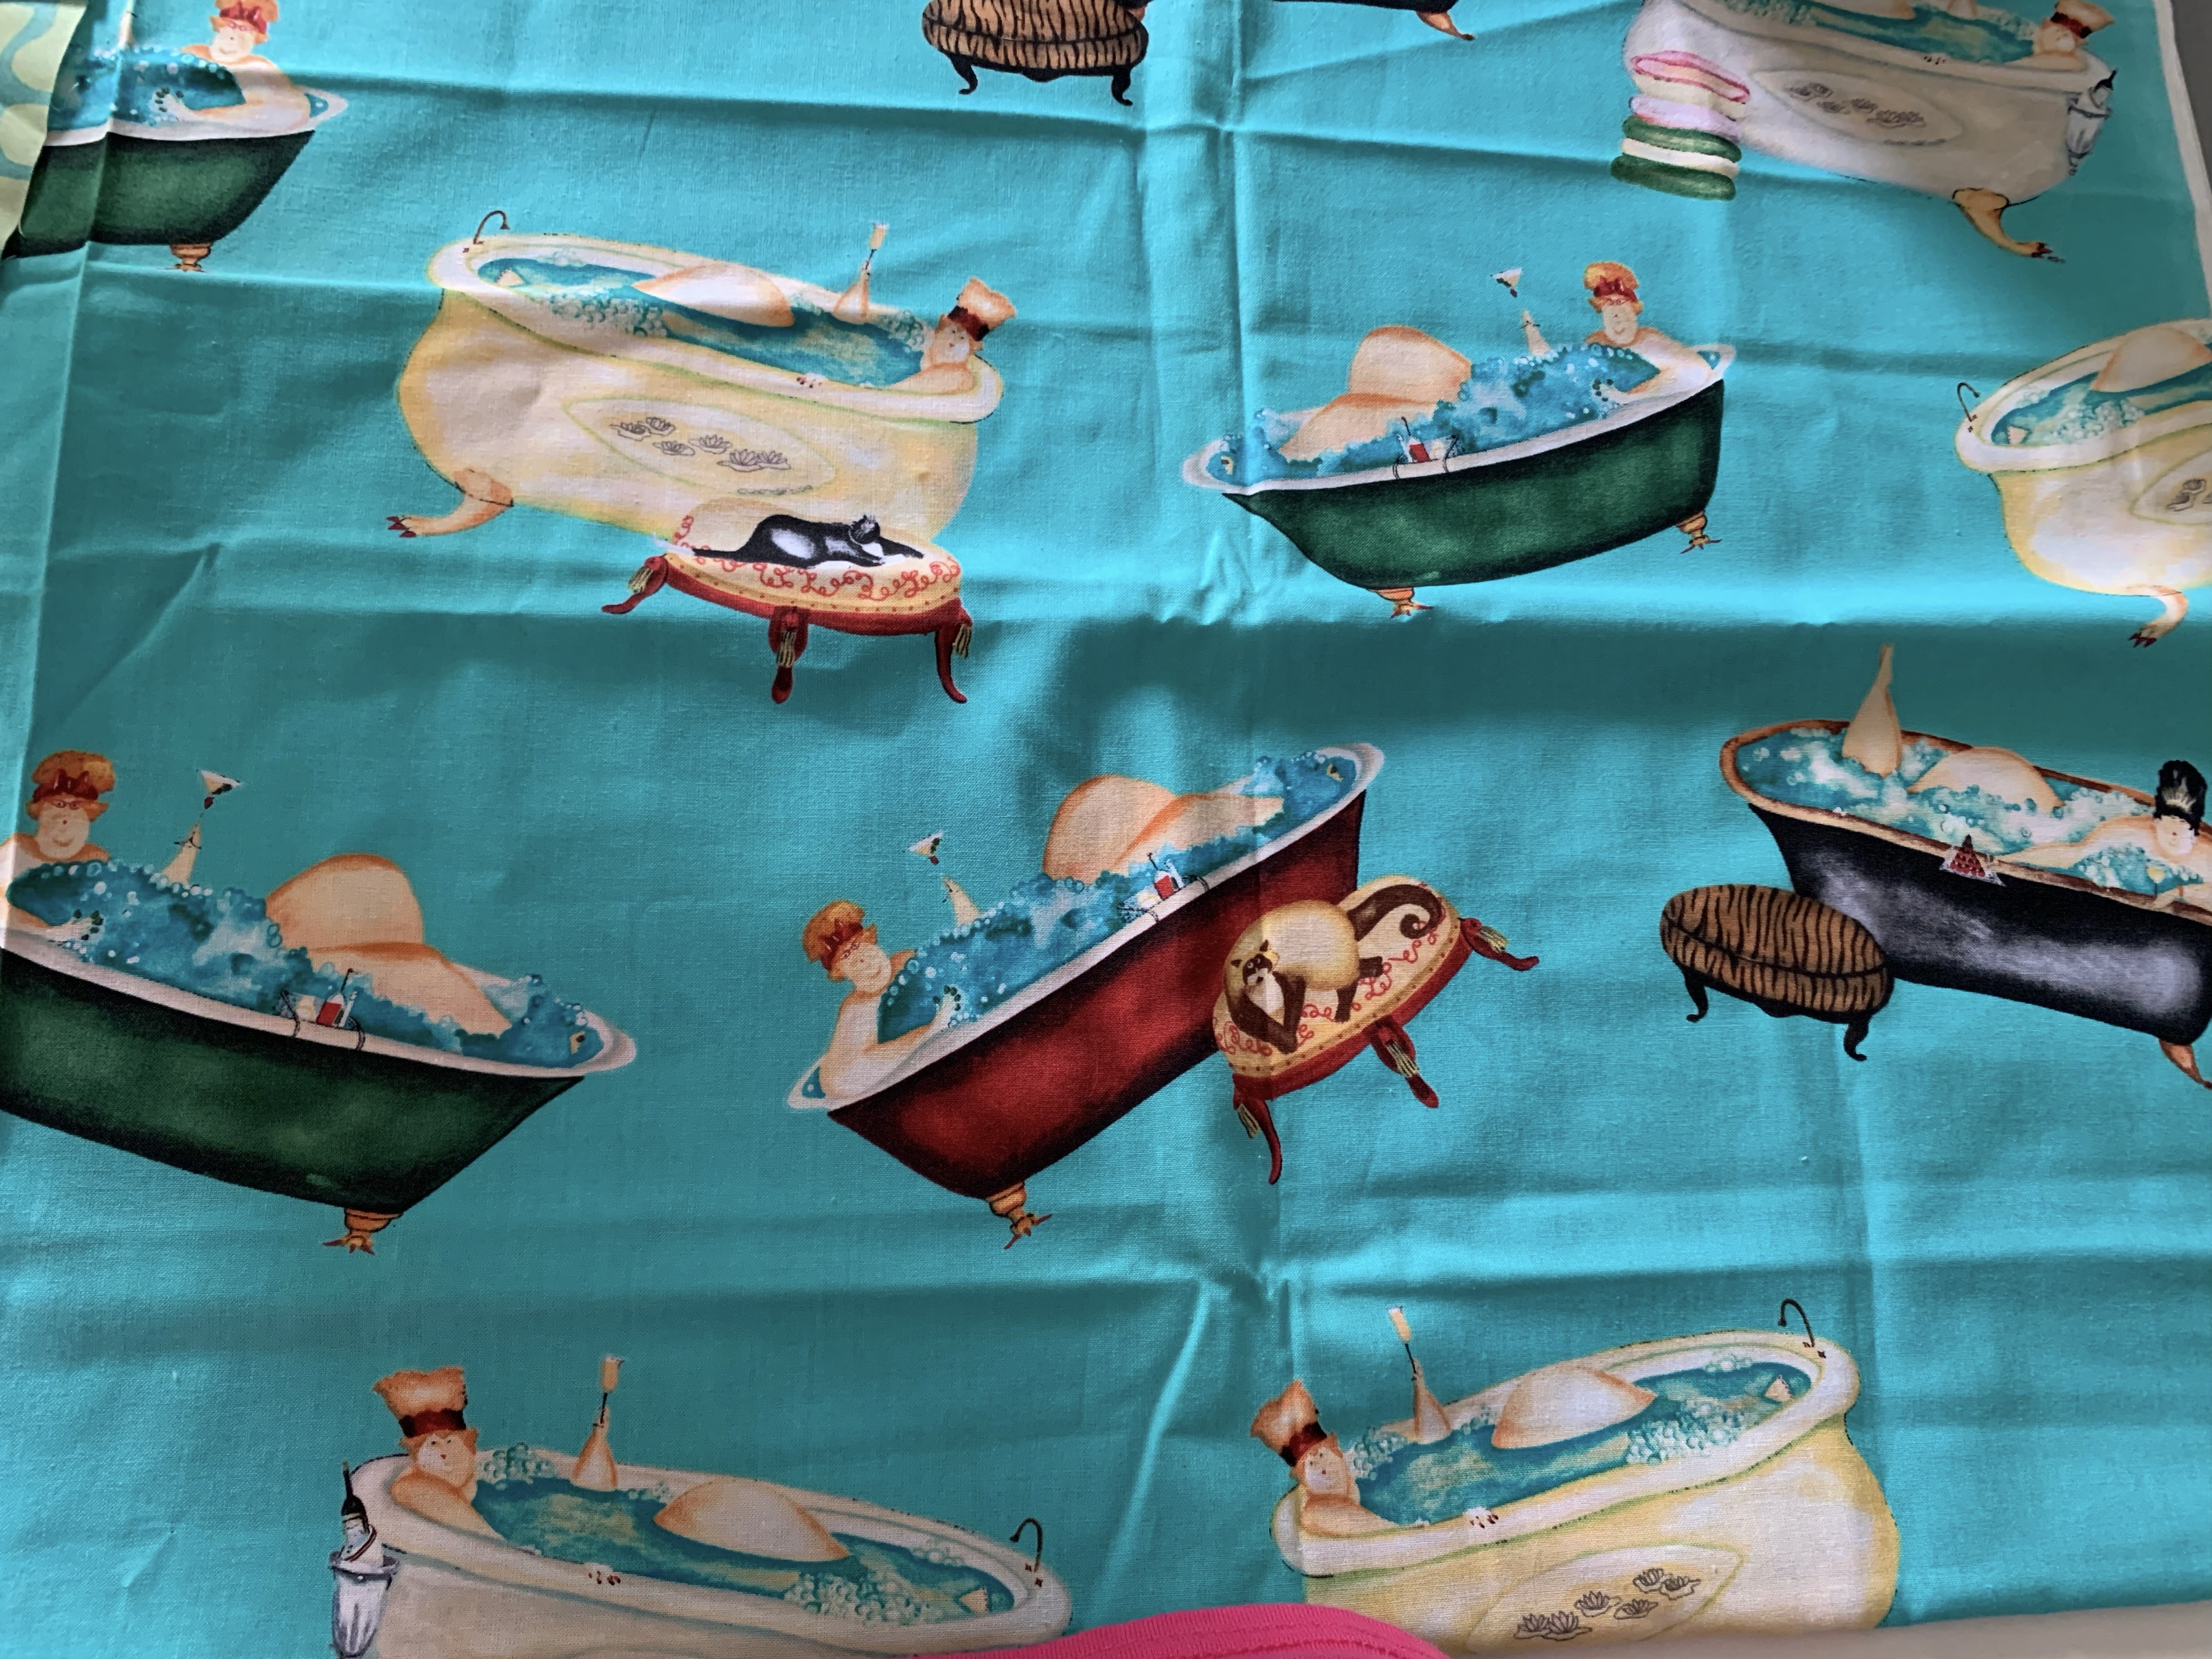
The bathing beauties of the theme fabric are so outrageously self-indulgent they seem to evoke a smile, just as one should be when pampering oneself after surgery. I chose the lining and strap fabric in a cool tone color combination of mint and aqua. The shapes reminded me of the flagstone flooring you might find in an upscale luxurious bathroom ensuite. I included the extra fabric with the tote to display the other ladies. One can never get enough of relaxing in bubble baths.

Wednesday, October 25, 2023

Mini Pillows from Extra Blocks

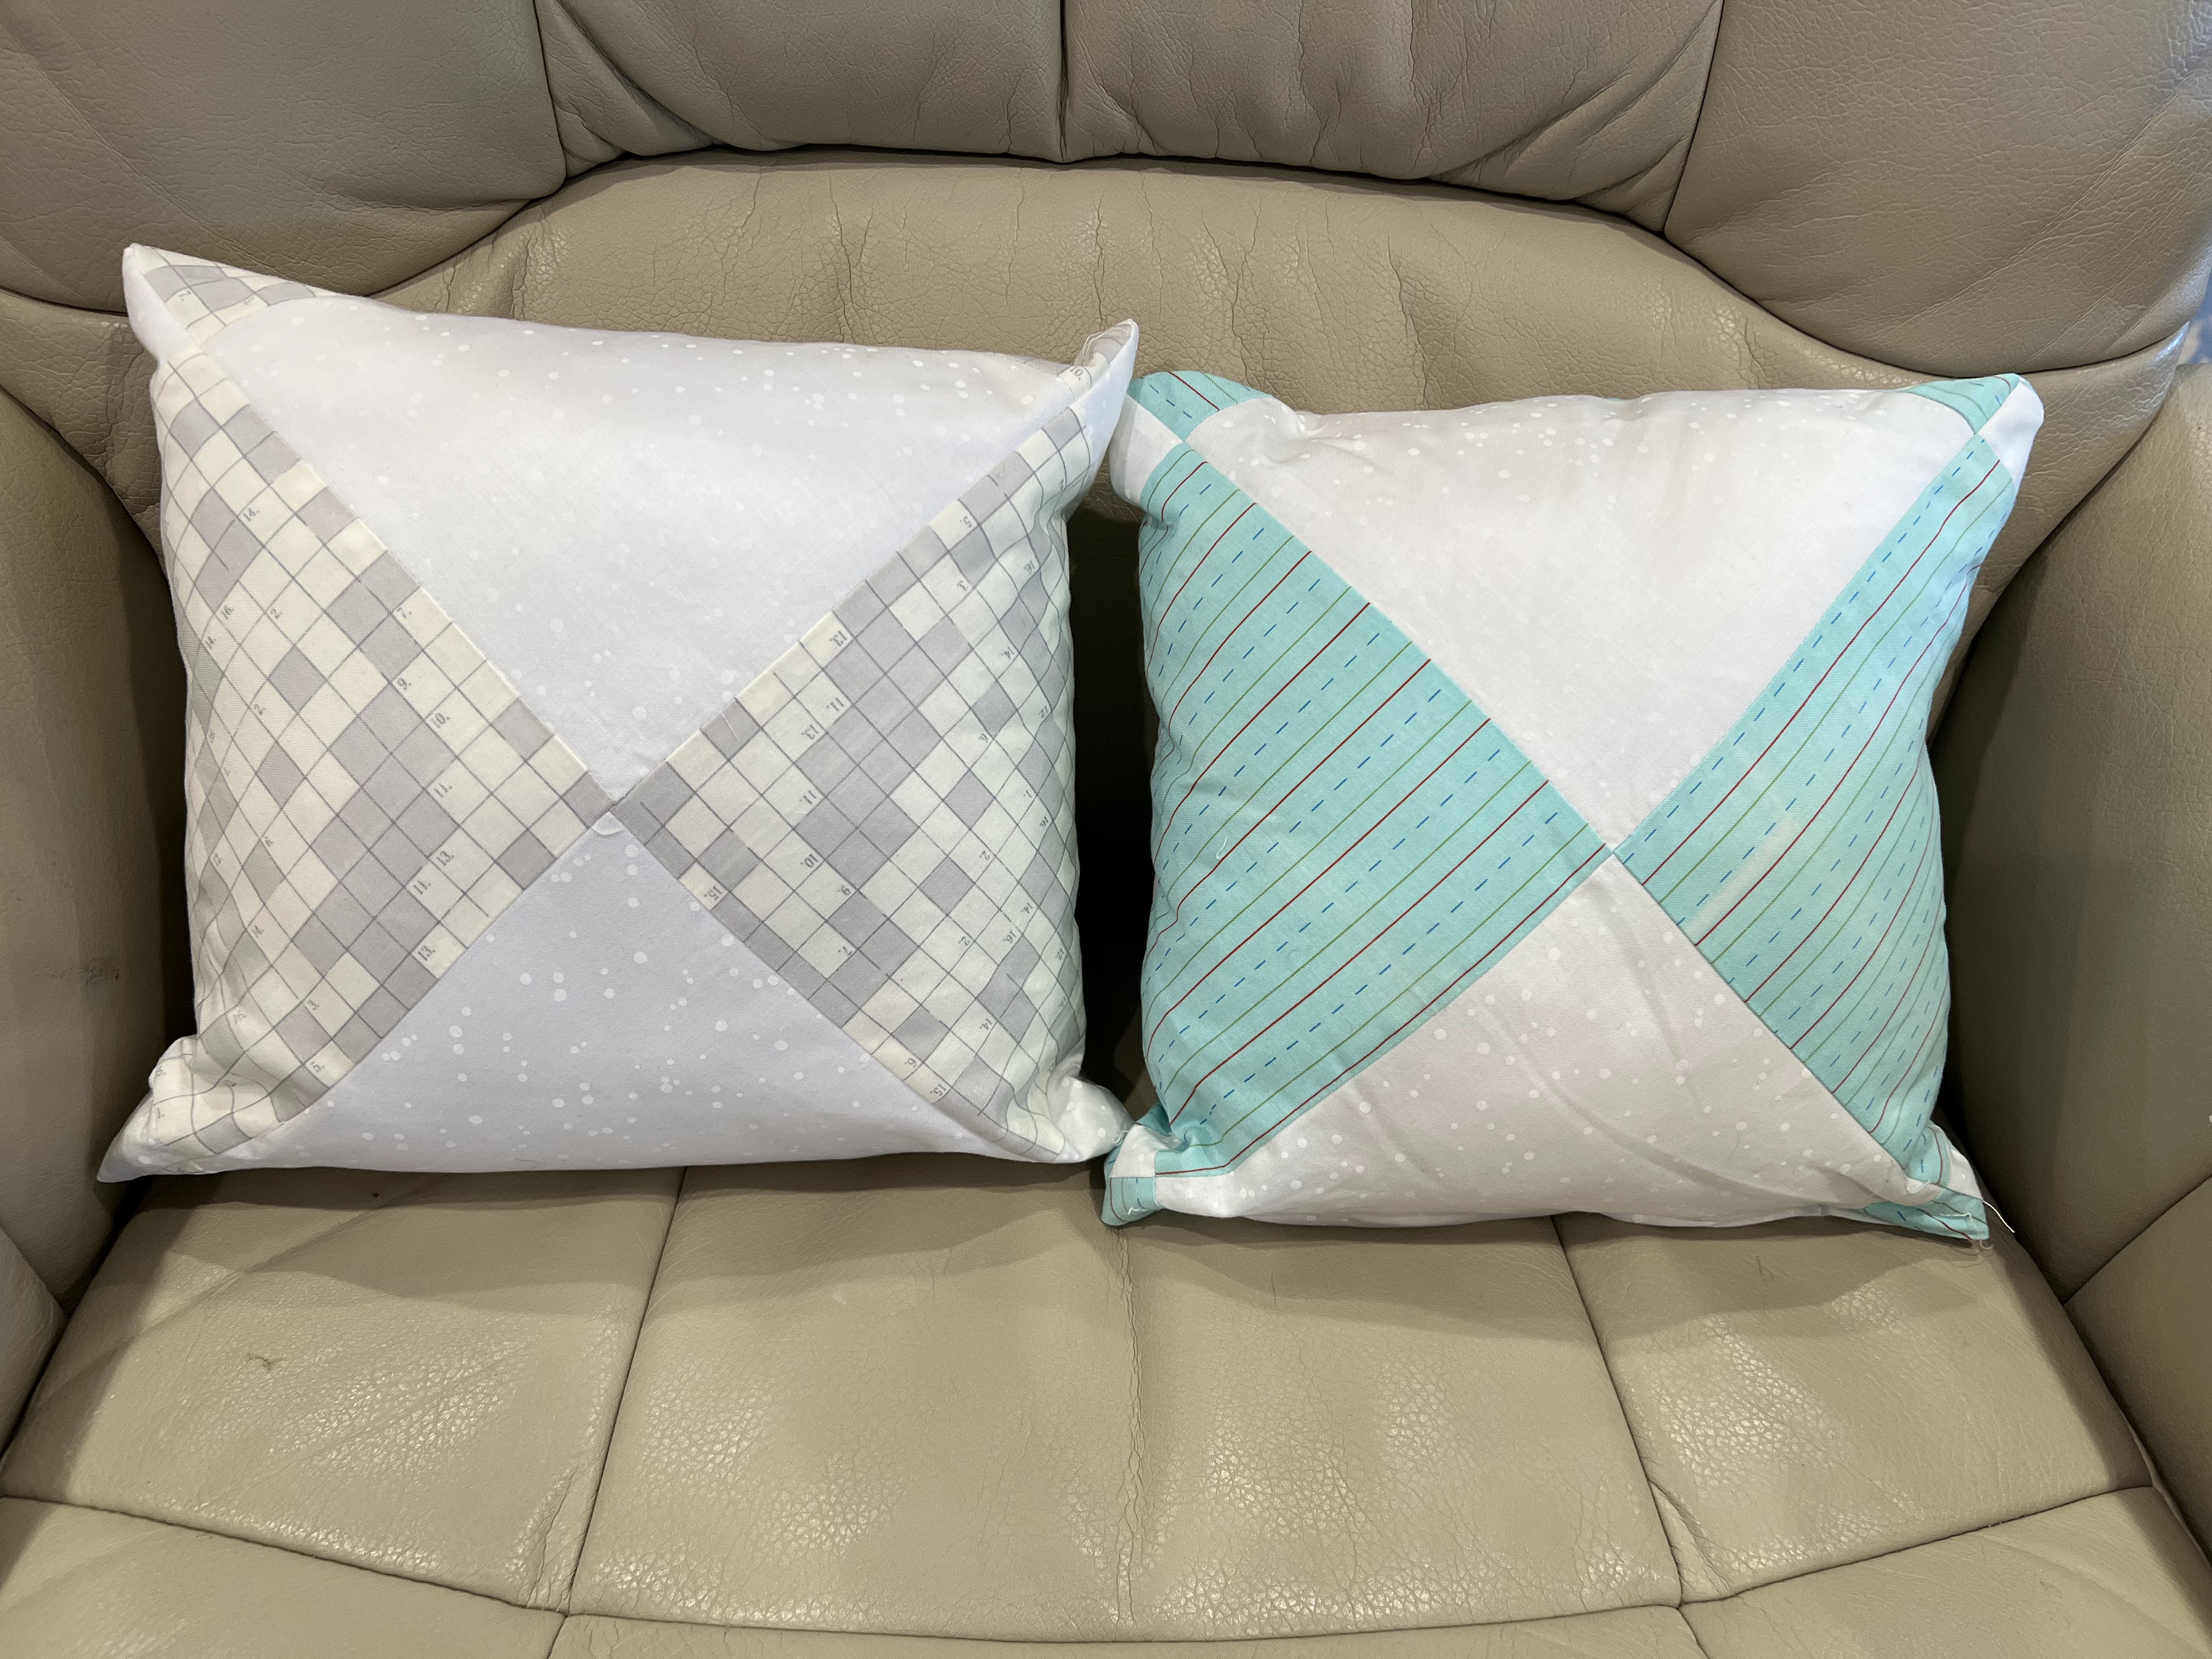
While working on a community quilt with some of my quilty friends, I had two sets of a four block quad leftover from the quilt pattern Open Options by Material Girlfriends. I could have made one two-sided pillow but it would have been rather large. Instead, I had two pillow forms that were each approximately half the square size of a four block quad. By placing a form on the diagonal and folding the quad block corners in to the center I could make two mini-pillows. I would remove half of one block and insert a zipper in that seam, carefully, since it was a bias seam and could stretch. Then there would be an access side to insert the pillow form.


I spent WAY too much time on this supposedly quick project intended to use up extra blocks, spare pillow forms, and short zippers -- all items already in my stash. I will not blog about it in detail, especially since I took minimal photos of my goofs to illustrate this trivial pillow task. In summary these are the mistakes I made:
  1. I thought I needed to add a strip to give more seam allowance and supply more fabric for overlap at the zipper. I did not. I wound up ripping it off.
  2. I underestimated the seam allowance size needed to make the pillow cover fit the form snugly. I re-seamed three times going from ¼" to ½" to ¾" before saying this is good enough. It could have been tighter still, but I wanted to declare this "quick" project done!
  3. I took the first zipper, the one in the aqua pillow, out twice and inserted it a third time due to the seam allowance change. You can guess how this warped that bias edge and how difficult it was to pick out stitches from the zipper tape. I had learned by the second grey pillow; I only inserted the 9" zipper once using the largest seam allowance.
  4. I should not have used zippers at all and just stitched the opening closed. These pillows are small enough at under 11" to be just tossed in the wash as is, without removing the covers.
When completed though, I liked the diagonal block wrap idea and was pleased at the way the edges of the pillows look with contrasting triangles peeking out.


Those triangles peek out differently for the front and the back of each pillow.


I also liked the four patch block effect on the pillow corners.


I still think this is a cute idea for leftover blocks. Remember the old adage, "Measure twice, cut once"? I need a new adage. "Measure once to avoid sewing three times!"

Monday, August 22, 2022

Delta Quilters Guild Quilt Show

Saturday, August 20th, my husband accompanied me to a quilt show in Brentwood, CA presented by the Delta Quilters Guild. The show was held at the Brentwood Community center. The quilts and vendors were on the main floor; the second floor housed a boutique. It is a moderate size show with 114 quilt entries this year – a reasonable quantity to enjoy without being overwhelmed. I like this show because the quilts are quite varied and the contributors very talented. At some of the international or national shows, I can get discouraged by seeing quilt after quilt of a complexity that is unattainable by only perhaps the top 1 out of 1000 quilters – quilts I could never, ever achieve, no matter how hard or long I tried. I can relate to this talented guild's quilts. They are real, not a fantasy, and yet still beautiful, fun, and inspirational. I am excited to take back and try some of the ideas in my own quilts. 

1st Floor Quilts
I took photos of some of the quilts that caught my eye. I also took a photo of the card that "tells its story" to give credit where credit is due. Maybe because I am now working on a black/orange themed quilt that Pumpkin Patch demanded my attention. The patchwork pumpkins are whimsical and the gray is a great addition along with the tiny spikes of green leaves. The background quilting is awesome. I personally prefer piecing to appliqué, so that was another plus for me with this quilt.


Way Up There! made me smile, especially when I noticed the details: the 3-D leaves along the bottom of the top inner border, the fluffy mane on the first giraffe, the leaf being nibbled by the third giraffe, the bird on the head of the fourth giraffe, those long curly sexy eyelashes, and those tails with tassels on the tips. Once again, the background quilting is awesome.


Not only did I enjoy this Meet the Clauses, but I also giggled at all the decor lined up at its base. The patchwork of fabric variations among the boy and girl figures of many skin tones, nationalities, and hair colors mirrors their uniqueness. No two figures are alike. I included a closeup of only one.


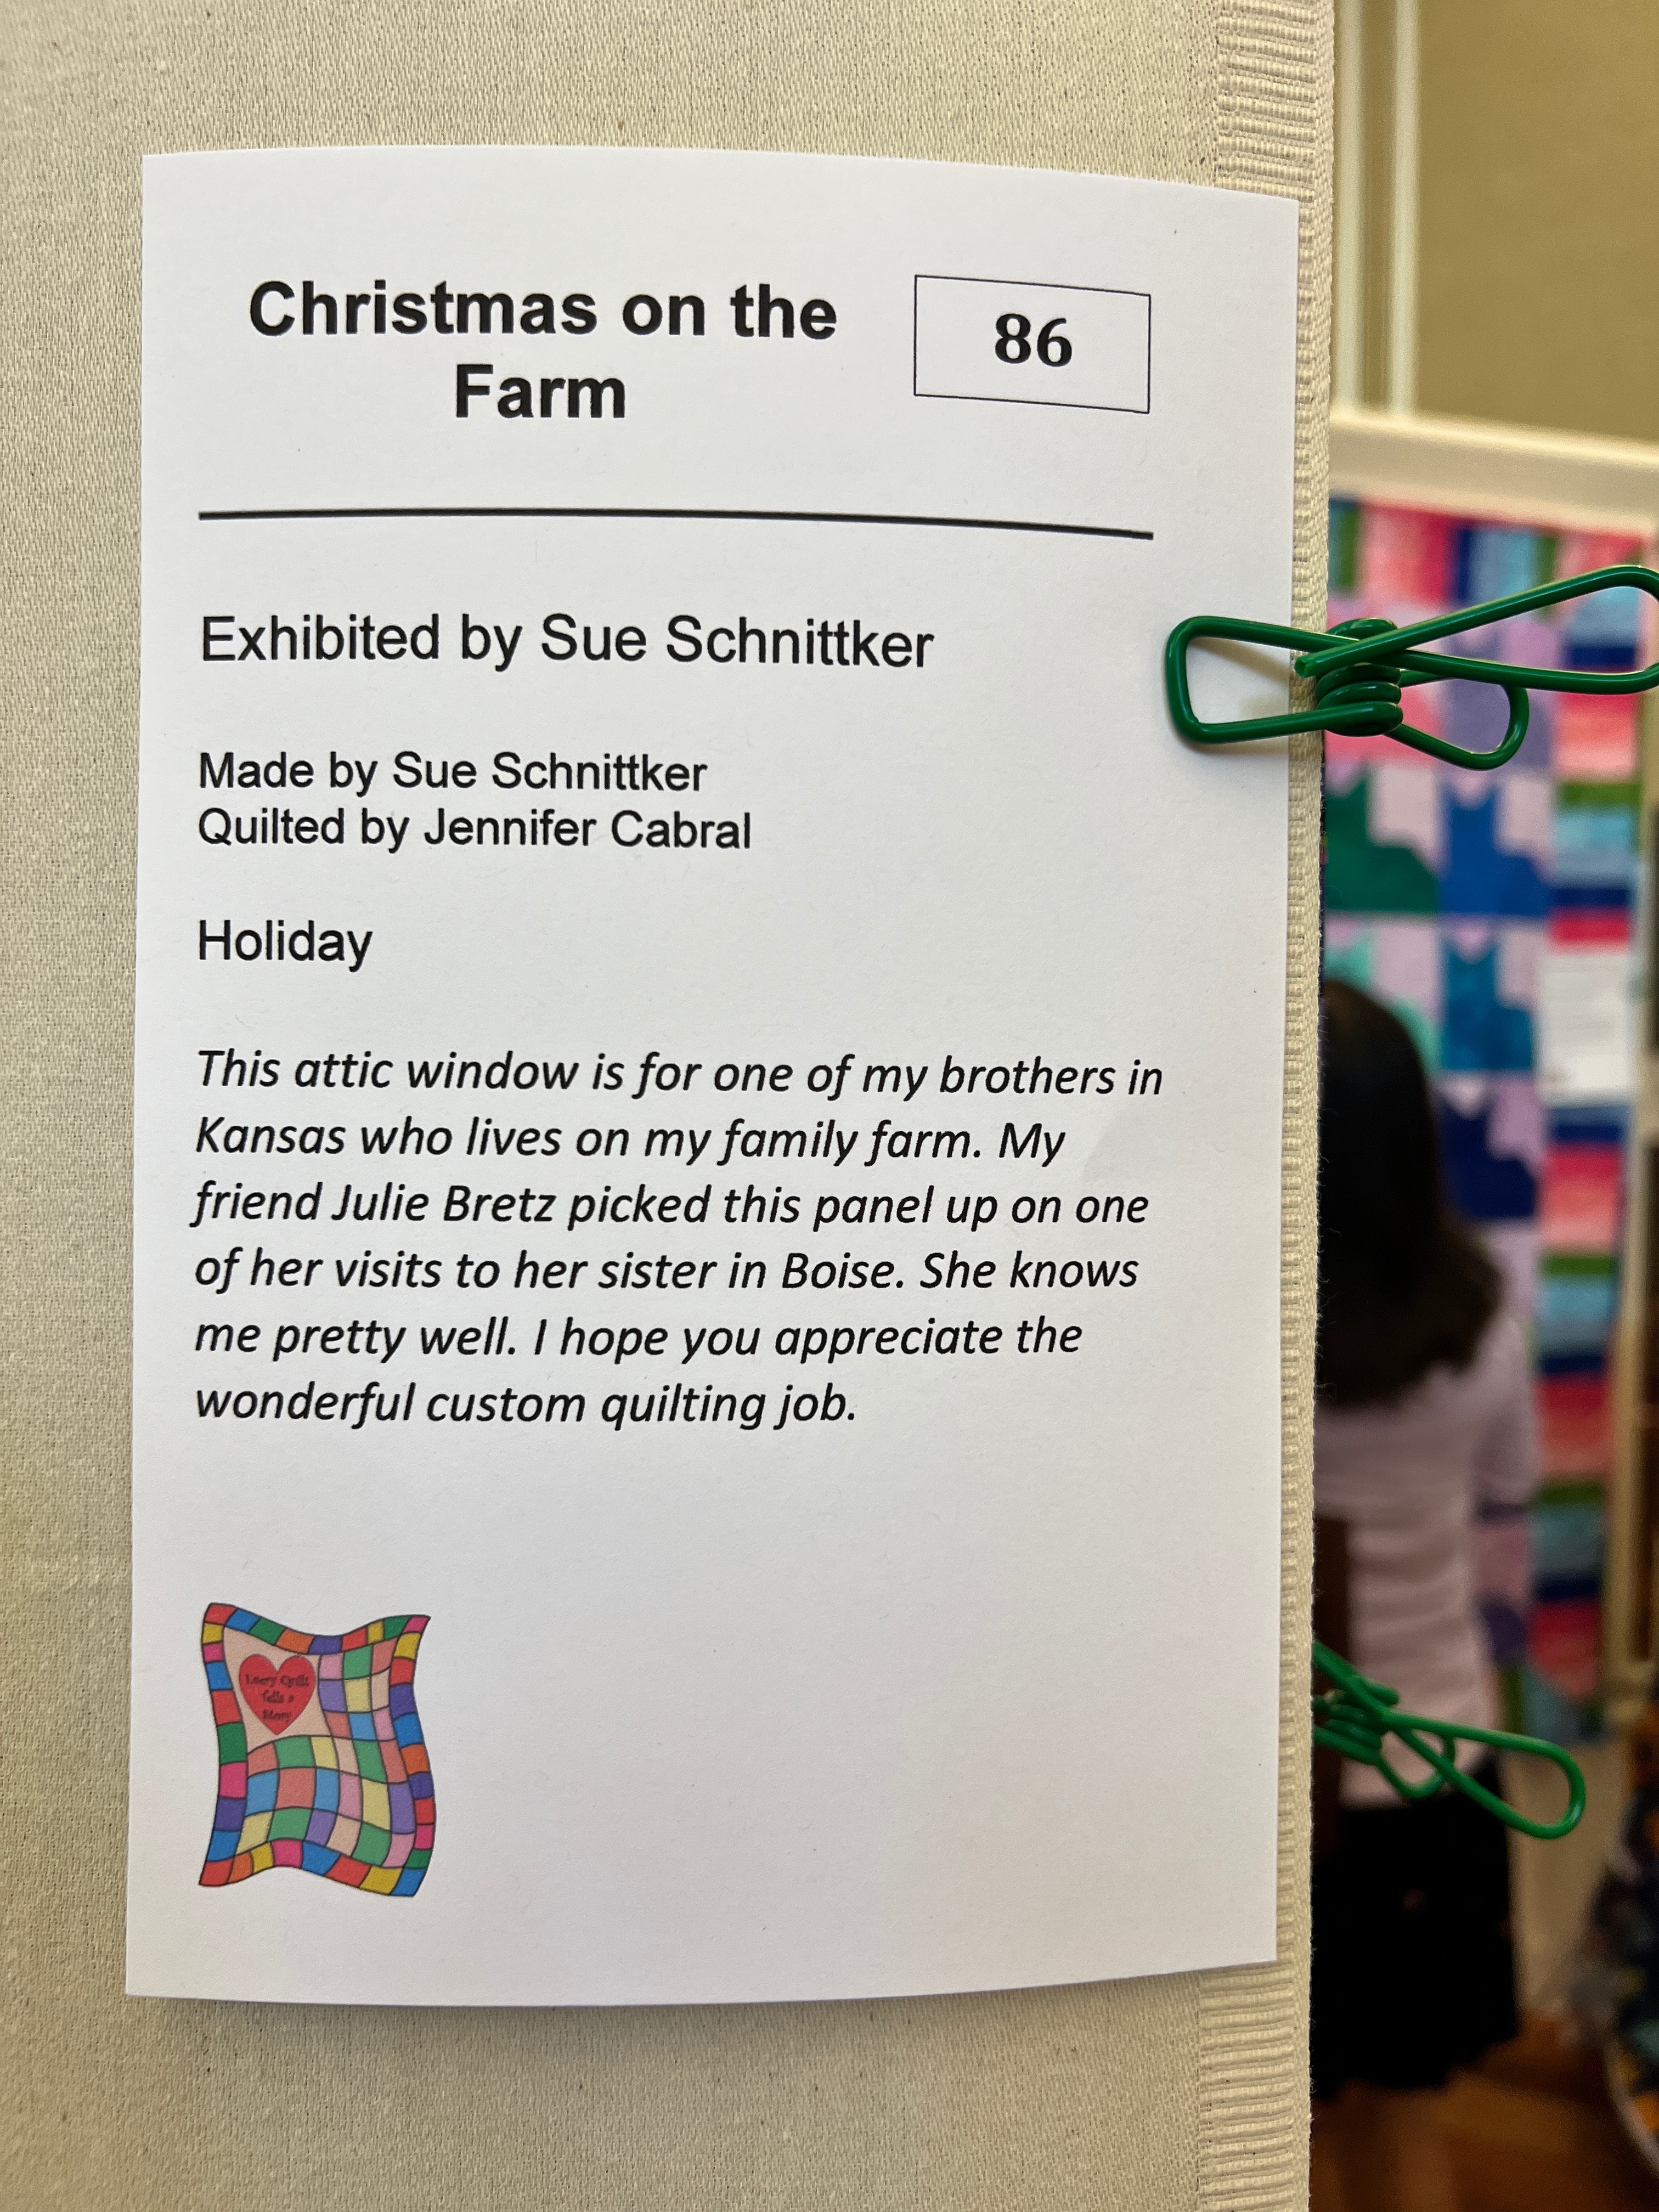
My husband really liked Christmas on the Farm with its looking through a window charm. I too liked the effect and my mind began racing though images of all the panels I already own that would work well with this attic window treatment. There was another similar quilt, later on in the show, with no card associated with it. I also liked that one and began to wonder if it was necessary to have an outdoor scene to be effective. Hmmm. Maybe not. One could be outdoors looking in.


I thought an ottoman cover was a unique and clever addition to a quilt show and to home decor. This was made in lovely shades of teal. Gorgeous. I question if the lounger would be showing an appropriate amount of respect if he were to put his feet up on it.


I learn something new at every quilt show. Today I was introduced to Kimberbell, a company specializing in machine embroidery. This bench pillow with its twinkling lights first caught my eye. Then I noticed the detailed quilt Red, White, and Bloom hanging above it. Look at a detail to see the innovation and creativity using a clear vinyl overlay to represent a glass lightning bug jar or lucite lemonade pitcher. I do not have an embroidery machine – sigh – but I am kept busy enough with my Pfaff domestic and my Sweet Sixteen Handi-Quilter machines. I did google Kimberbell, however, and there is lots of extremely intricate and whimsical eye candy to drool over. 


The quilts are in two rooms. When I entered the second room I was struck by this Marvel "The Shield" round quilt which my seven-year old grandson would love.


I was quite proud of myself that I held firm to my 2022 goal of little to no fabric purchases. From the vendors on the quilt floor I bought only one fat quarter because it called to me and cost only $1.25. It is a rather large scale print for a fat quarter but I am sure I can find a place for at Christmastime. The photo below shows the full ½ yard height of the fabric. At the least, it can be a pillow front or table topper or I can use it to wrap a gift.


From the same vendor, I bought a small paper pieced pattern that makes four 15 ½ x 18 ½ snowman quilts. A fat quarter is all that is needed for the backing.


Hanging high among the rafters above the entry tables was the winner for best of show from a previous year, 2021 I think. That is quite a colorful and eclectic neighborhood.


2nd Floor Boutique
Here I was less restrained with my purchases. Upon walking into the room I immediately spied a tote bag made from the same fabric line I had used for the quilt for my youngest granddaughter. Following are the 14" x 11" x 4" bag I bought at the boutique compared with my granddaughter's quilt from my 2/19/21 post. How could I pass up such a coincidence? It was meant to be.


My younger son is a huge M&Ms fan. I bought this zippered pouch for him. It is made from an actual candy bag and lined with M&M themed fabric.


These fat quarter lollipops will make nice gifts. Surely I did not buy these for me and tempt breaking my 2022 fabric diet.


Then there was my bargain that I am most proud of... an AnglePlay book (©2008) and four booklets (©2006) by Margaret J. Miller complete with the entire set of all thirteen accompanying templates. These acrylic templates are replicas of the paper ones on the pages of the books and will sure save time and effort from having to make some of my own. The opening page of each booklet reads
Much of traditional patchwork is based on two shapes: squares and half-square triangles. These shapes are formed by only two angles: the 90 degrees of a square, and the 45 degree point of a half-square triangle. But if you add half-rectangle triangles to this mix, a vast new world of patchwork design opens up! Quilts designed from blocks with this new shape have a lyrical quality to them; curves and nearly circular shapes are possible over the pieced surface.
This technique may be over a decade old, but somehow it passed me by. Perhaps paper piecing took off as an alternative to the same look? I am curious to try out this angled template method. The template have the corners angled off appropriately to make alignment a cinch. The book contains
 " 6 PROJECTS  •  42 EXCITING BLOCKS  •  EASY, NO-MATH PIECING". I included a photo of some of the 42 sample blocks from the book.


Each of the booklets uses a subset of the templates: Angles Aweigh A, B, C; Angles Up H, I, J, K; Anglin' Along E, F, G; Angles on the Edge L, M. I bought the entire set for less than one third what they originally cost.  Perhaps I will start out with a sample block first.


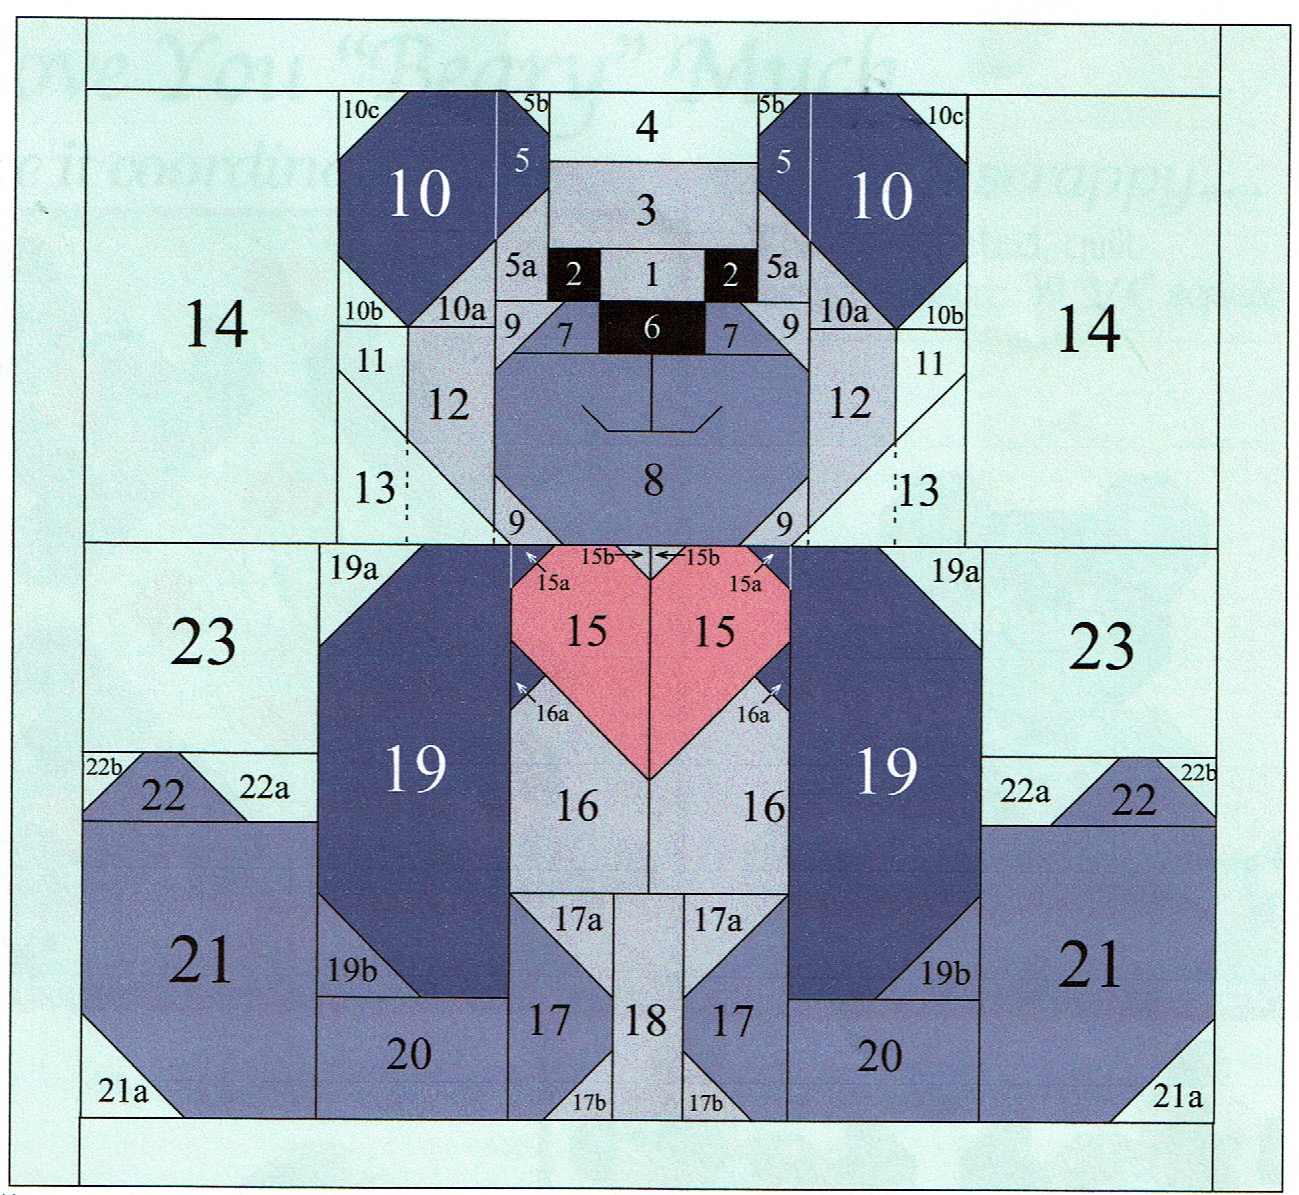
Oh, and just as I was leaving, I picked this up from the "Free" table. It makes a 39 ¾" square quilt with four bears, but even one block would be a fun, but not necessarily quick, project. Look at the number of pieces to make one bear.


I thoroughly enjoyed this day trip. My husband and I spent about three hours at the show and it was so refreshing to be out and to be inspired.