Showing posts with label paisley. Show all posts

Wednesday, April 1, 2020

King-Size Pillowcases

While face-timing my daughter in Oklahoma, I noticed Halloween pillowcases on her bed that I had made. Details are in my post titled and dated Halloween and Owl Pillowcases 6/26/2019. When I teased her about the holiday inappropriateness, she claimed that she liked them and they owned no other novelty ones in a king size. I promised to remedy the situation and I have subsequently made three pairs of king-sized pillowcases.


For each completed pair I have supplied three photos: one with the case on a pillow with its partner folded in half in front, a second with the close up of the three chosen fabrics, and a third with the pair of pillowcases folded in fourths. In each case I used a border print for the main body and selected accent and border fabrics to coordinate. All fabrics are from my stash – yay, me. The dimensions of a king-size pillow are 36" wide x 20" high. To go around the pillowcase I find 42" with a half inch seam leaves a comfortable 1" ease to slide the pillow in and out and to allow for cotton to shrink 3% – which is ~1 inch per yard. I have supplied the cutting dimensions I used for the three parts of the pillowcase. No instructions for assembly are in this post but can be found in my post titled and dated Pillowcase Sewing Tips 5/27/2019.
  • main body 37" x 42" 
  • border 10"x 42", 
  • accent strip 2.5"x 42"
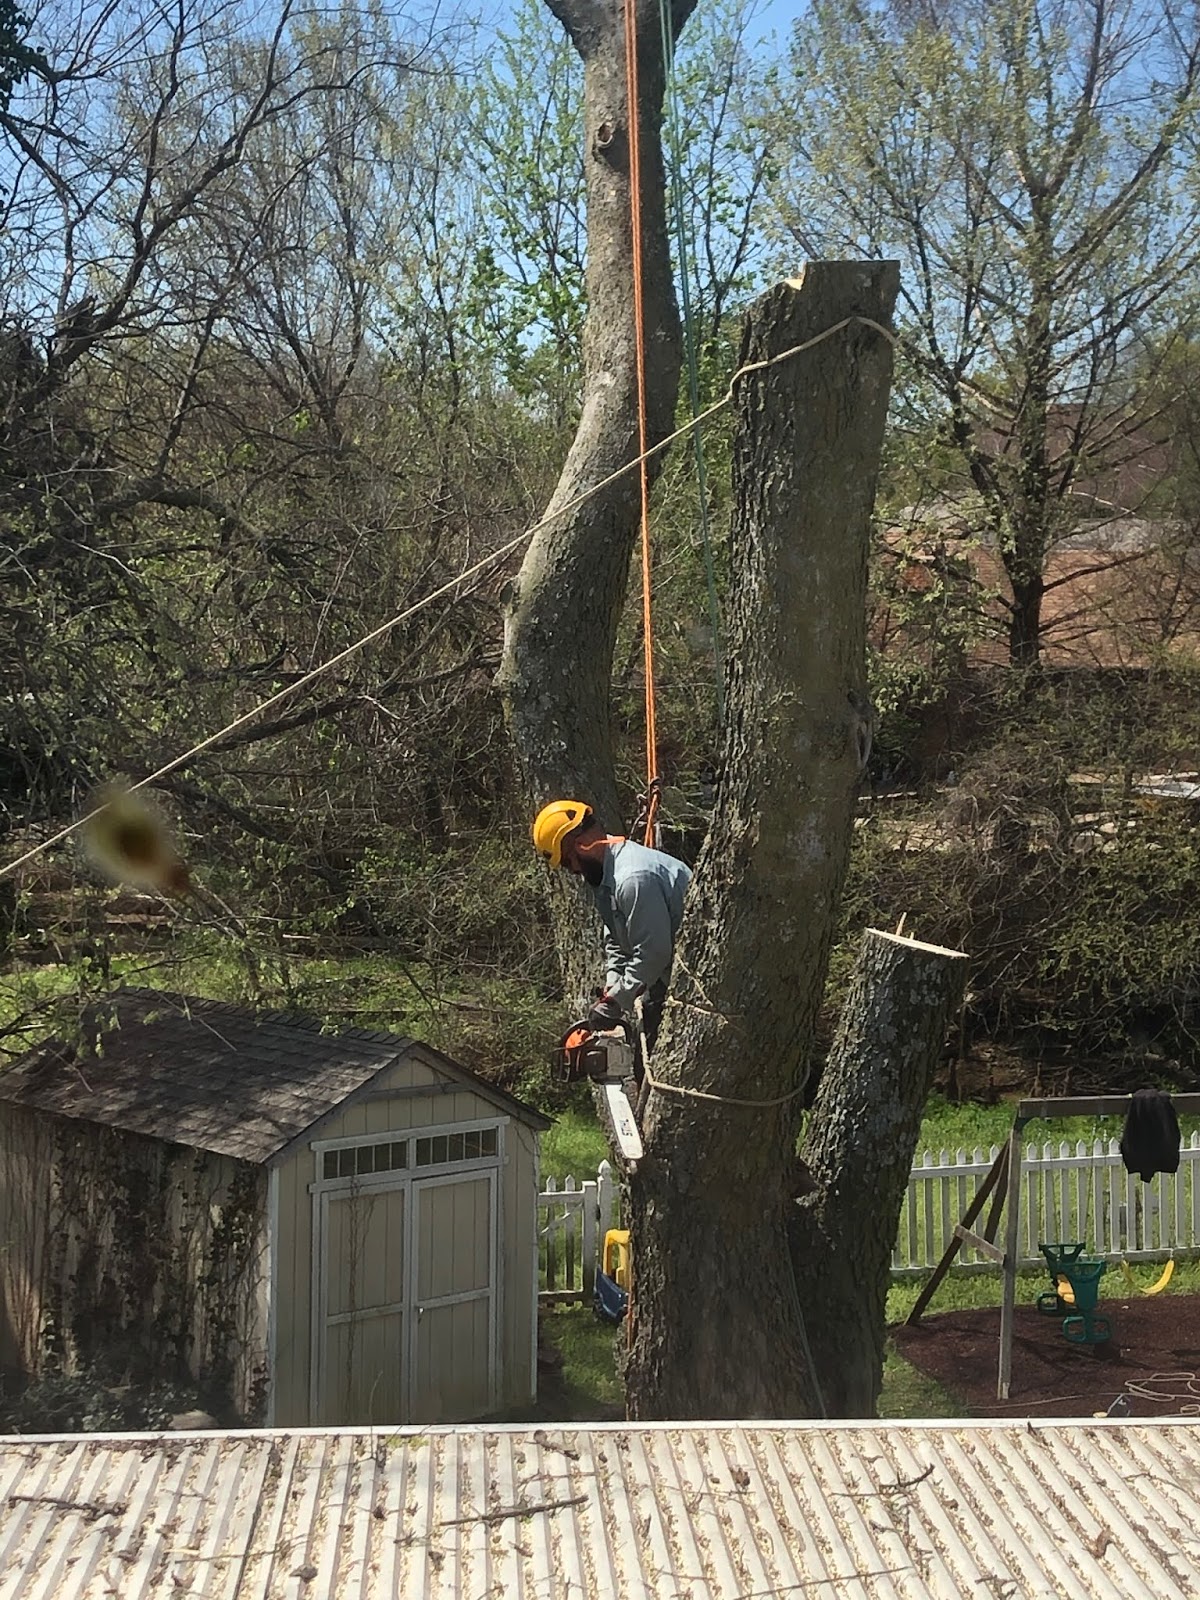
Since my daughter's family needed to cut down a large, mature, but cracked and ailing tree in her backyard within the last week, I chose tree-themed fabric to commemorate its demise. A Debbie Mumm border print seemed good. I thought my discovery of the blue/brown/gold stripe in my stash was serendipitous. It seems to echo the tree trunks and the twinkling stars. The white dotted accent strip reminded me of snow falling on a wintry day.


As a promise of better times and spring to come, for the second pair of pillowcases, I picked a floral border print. It is rather dark, rather than sporting pastel colors, so that palette keeps it masculine enough to be shared by her husband. I liked the words of affirmation in the dark navy background, too. The yellow accent strip picks up the flowers and the mottled green border picks up the shaded leaves.


My daughter loves blue and purple and used to belly dance. Somehow the border print for the third pair of pillowcases reminded me of Arabic dance. Her husband loved her dancing so hopefully these will also remind him of that. The addition of their 7½-year-old daughter and 4½-year-old son kind of put the kibosh on dancing for a while at least. The aqua border and pale yellow accent strip fabrics pick up the paisley stripes. The words love, peace, and joy subtly printed on the aqua should make for a good sleeping mantra.


I have pre-washed these six pillowcases and soon I will mail them off so all can sleep well. I will be linking up with MCM#171 at Cooking Up Quilts.

Wednesday, May 11, 2016

Nestling Owls Completed

This quilt for my granddaughter was inspired by three things:
  1. a fabric in my stash I loved, Moda's Full Moon Owls by Tula Pink, 
  2. a pattern by Quilter's Dream I have been hankering to try, Square Root of Nine, and 
  3. a desire to expand my FMQ bravery with a stitching path from Angela Walters book Shape by Shape.


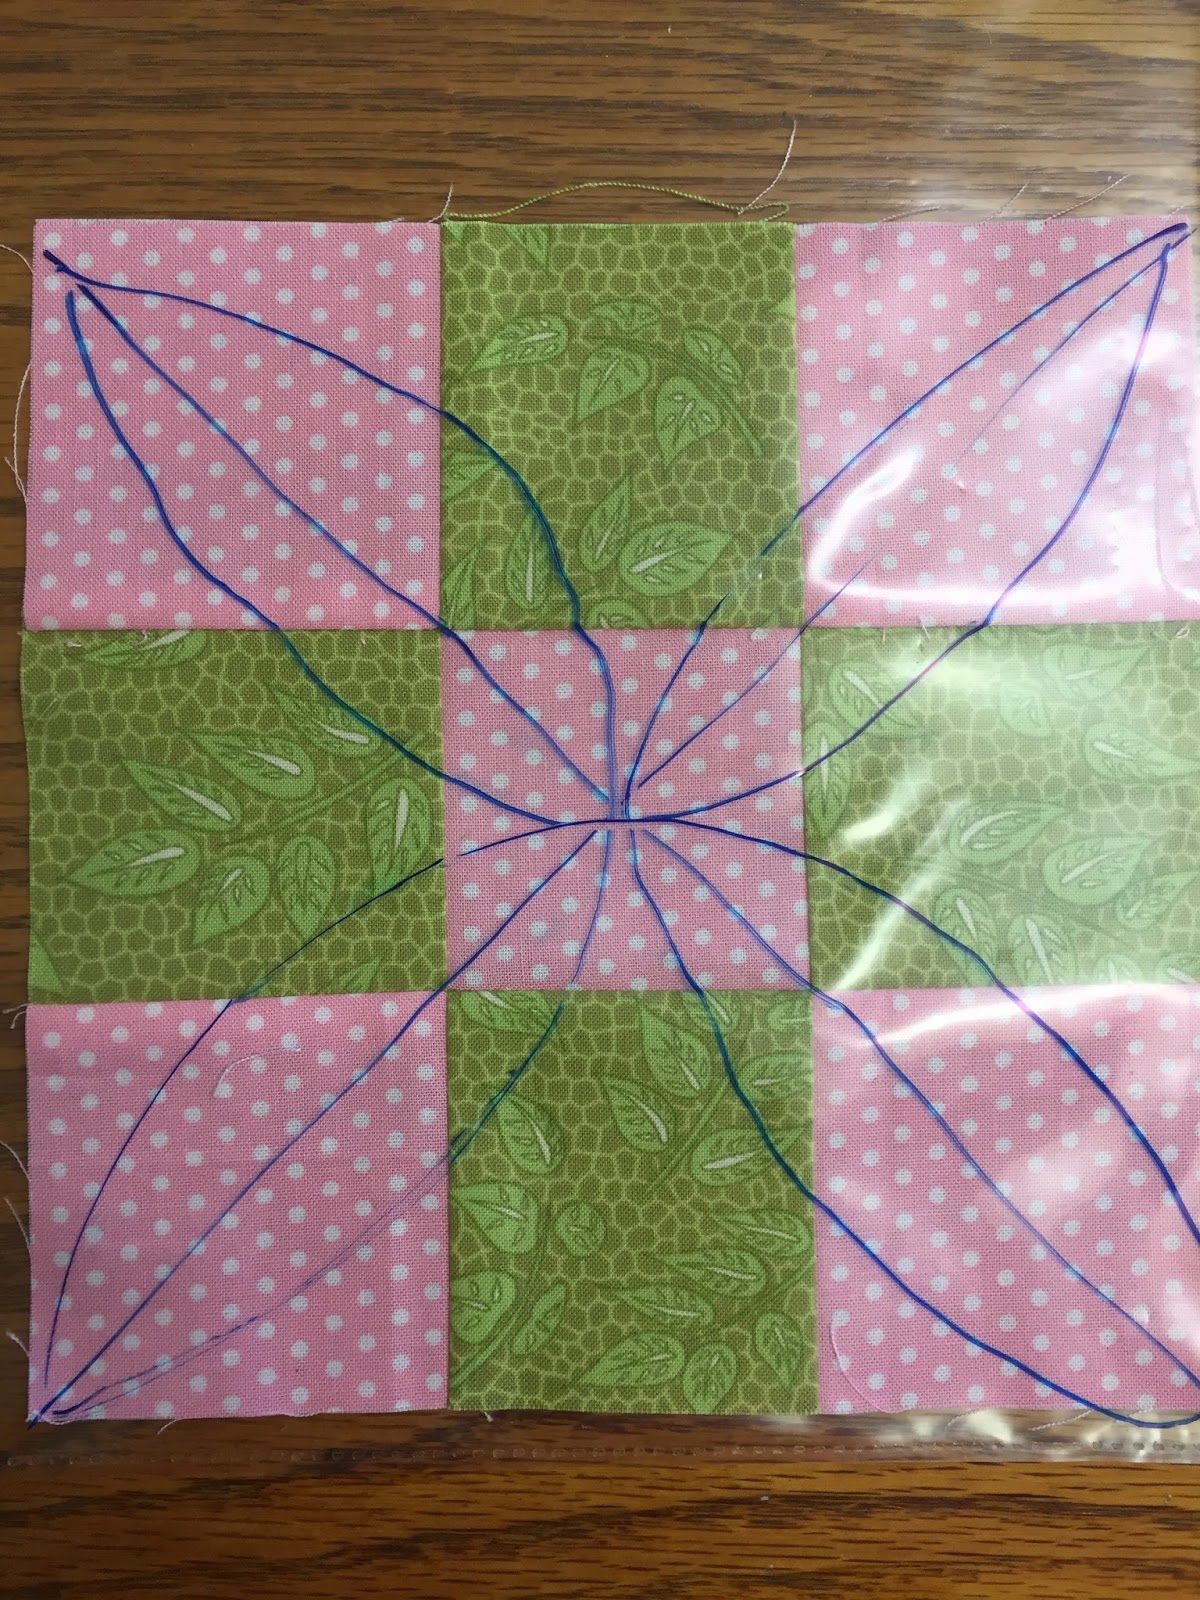
Previous posts discussed the color selections, block placements, and border. What was left was the layering, quilting, and binding. For the FMQ I chose an Angela Walters quilting suggestion for squares, a four petaled pattern based on two diagonals within the square. I drew it below on a plastic sheet protector with a same block inserted inside.


It shows up better on some blocks rather than others depending on the fabrics, but it fills the space nicely.


For the square within a square blocks I wanted to accentuated the offset diagonal nature and so only did a four petal pattern in the very center. I intentionally quilted down only one of the diagonals (not both) to add some interest but I did stitch in the ditch around each square. My original idea was to add loops along the diagonal but they looked more like a chain link fence rather than flower petal or leaf and were distracting so I omitted them in favor of a simpler approach.


I am glad I am getting enough braver to quilt in a non-matching thread color. It shows up so much better, adding visual interest as well as texture.


On the quilt top I mixed it up a bit and added the four lobed motif in different sizes throughout. This is my overall plan. I printed a photo of the assembled top and drew my proposed path on it. Note where there was not a complete nine patch I chose to break it up into a four patch and two singletons. This four lobe pattern scales well and easily.


I did the lobes free hand but I did use a ruler on my Handi-Quilter sit-down to get the diagonals straight and to help stitch in the ditch neatly.


I repeated the four lobe pattern in the border, keeping it the scale of three motifs to one block. For the square in a square blocks that did not have the natural seaming dividing it in thirds, I marked a piece of masking tape, using as a guide. It is low tack tape and I just peeled it and moved it to where I needed it. I do not mark my quilt tops, both because I am lazy and also because I fear I could be unsuccessful in removing the marking medium.


Having a border the same width as a third of a block helping in quilting around the corners. There were no cornerstone problems needing adjusting or fudging.


The motif blended very well from within the quilt top to along the borders


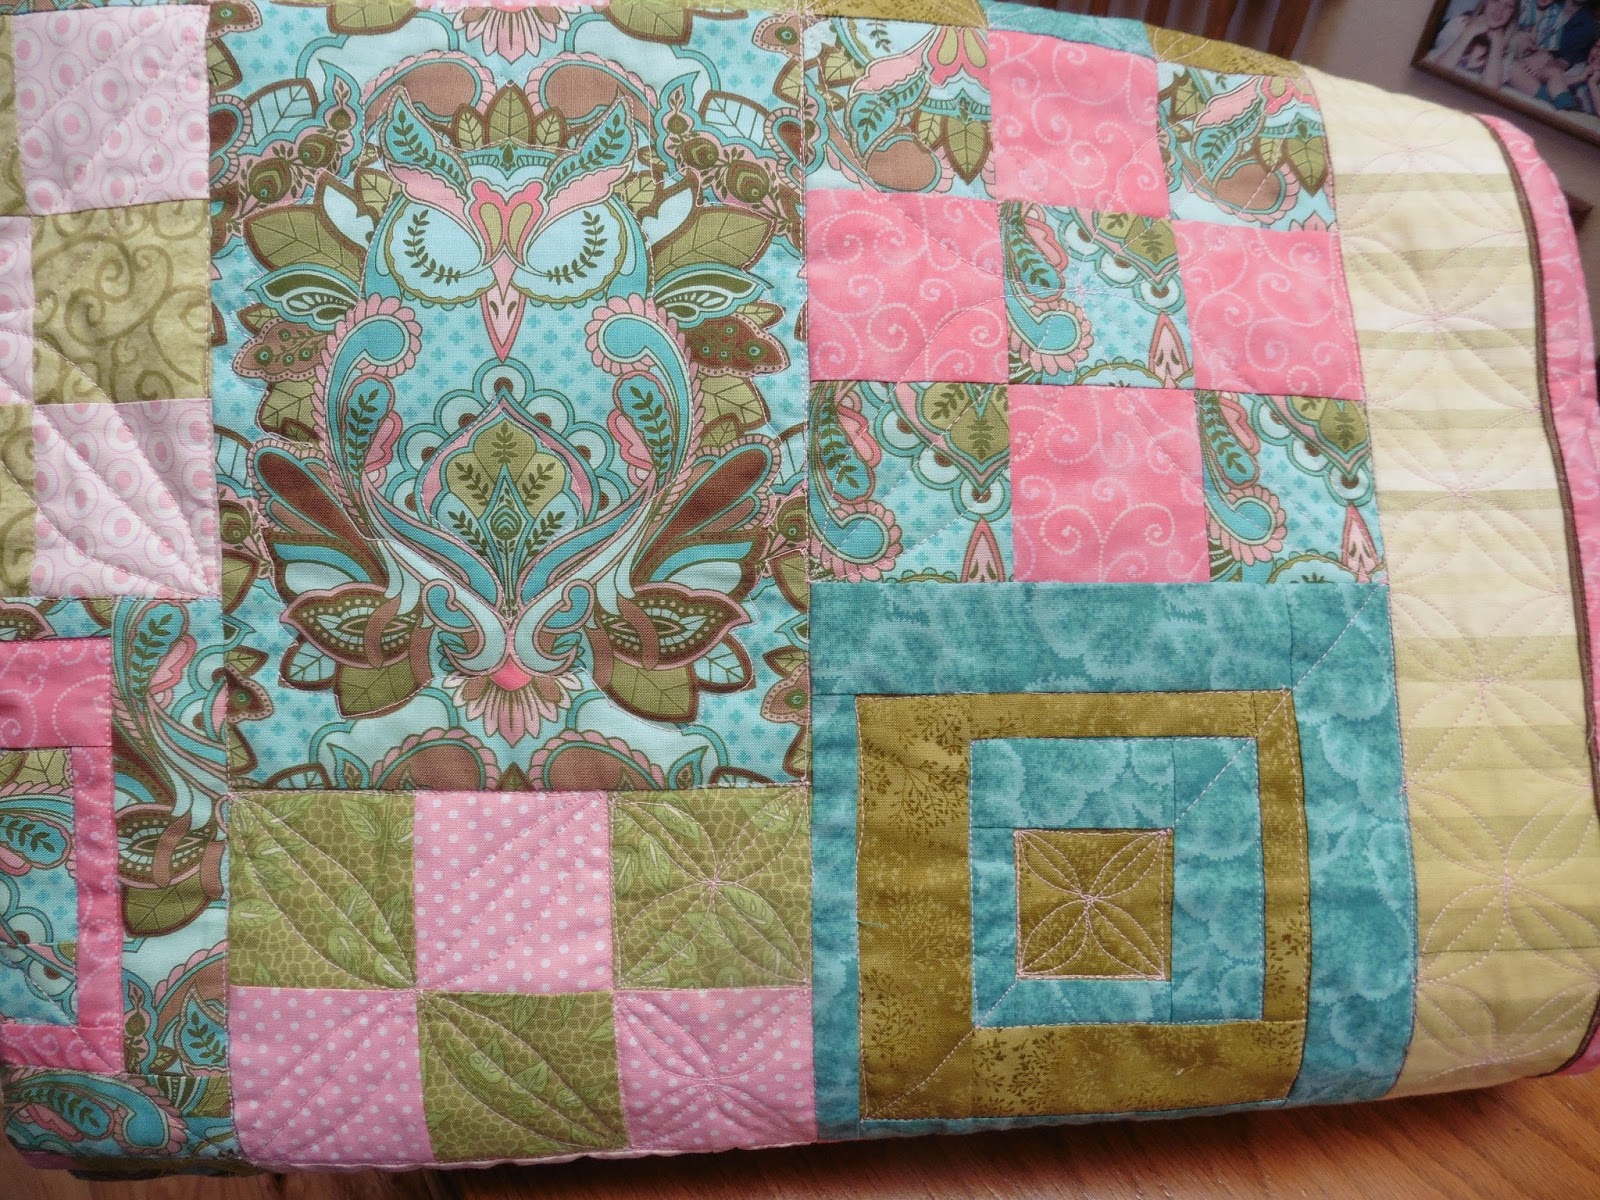
The following photo illustrates the six quilting regions, clockwise from top left.

  1. I sort of "winged" it on the owl blocks, pretty much echoing the owl's shape and the leaves surrounding. I was considering doing "feathers" but decided I wanted the owls to be puffier rather than flattened by excessive stitching.  
  2. Next is a large four lobed motif on a nine-patch block. 
  3. The border has a series of the motif lined up and scaled to one third the dimension of a block. 
  4. The two-tone magic binding has a stitching in the ditch along the chocolate accent flange. 
  5. A square in a square block has a diagonal, stitch in the ditch around the squares and a single small central motif. 
  6. Two-thirds of a nine-patch  block has a four patch medium size motif and two small individual motifs.


As the final touch I added labels to the quilt back. On the left is the quilt name Nestling Owls, and on the right, my initial and the year. I intentionally chose Nestling Owls not Nesting Owls because in my mind it conjures up images of cuddling.


Holding the quilt outdoors give a fair overall display, but colors are a bit muted in the shadows. Sunlight photos looked washed out. I keep gaining a growing appreciation for the photographers out there who can capture the essences of a quilt. Can you find the eight owls camouflaged in this quilt? I hope my granddaughter will enjoy looking for them.


Hanging the quilt indoors gives a bit more shadowed view that reveals the stitching. Yup. There are still eight owls there. Perhaps they are easier to spot now. Once you spot them will they be "spotted owls"? Groan...


Without seeing the stitching detail, the back side of the quilt looks quite flat and frankly, a tad boring, even though I do love this paisley-esque fabric.


Photographing in the sun at an angle show up more of the stitching and lends more interest.


I have washed it twice before gifting, and it did soften. I use 100% bamboo batting because I like its drape. Too much quilting makes for a quilt like flexible cardboard. Nestling Owls snuggles nicely into this chair.


The blog posts chronicling Nestling Owls creation and progress are as follows:

Pink and Green (March 31, 2016)
Paisley Owl Nesting (April 14, 2016)
Paisley Owl Rearranging (April 22, 2016)
Border Detail (April 27, 2016)
Nestling Owls Completed (May 11, 2016 - this post)

Now I will link up with Let's Bee Social #124 so I can share the good news of this quilt's completion.

Wednesday, April 27, 2016

Border Detail

The blocks of the "pink and green" quilt for my granddaughter-to-be assembled to be 33½"x48½". I usually like to keep baby quilts just under a width of fabric wide so I do not need to piece the back, but 33½" was a bit too narrow. This quilt needed a border, both to widen it and also to set the binding apart from the busyness of the blocks in the center. I had selected the binding fabric right away. I definitively wanted just the right pink – rosy, not pastel, not loudly shocking, but medium-toned and strong – and I wanted to set it off with just a fine line of chocolate brown as was in the feature print. I had used brown nowhere in the blocks, but thought this accent, used in moderation as inset piping on the binding, would be attractive. I had a green striped fabric I very much liked for the border that would separate the binding from the quilt blocks.


The stripe was just the perfect blend of soft tonality of greens - or so I thought. I had been unknowingly previewing the fabric folded up and so the full range of color intensity was not so obvious. I knew the darker stripes were there because I had accepted the tones as blending with the greens of the feature fabric, which also has tones more intense than pastel; but, I do not think I fully appreciated the dominance of the dark stripes once deployed in the quilt.


I cut 5" wide trial strips and placed them around the quilt top. The colors themselves were fine but that border looked like a traveling set of lights as on a neon sign outside a Las Vegas casino or as part of a garish Christmas display in a holiday light fight competition. Both of these were interpretations I did not expect nor did I want to promote. I had intended to subtly camouflage those owls, steeped deep their diurnal slumber, but I never intended to distract the eye so much that the viewer was blinded from discovering those nestled birds. Making the border narrower would decrease the distraction, but I needed more of a solution. I tried folding and pinning the dark stripes out of view on the left and bottom borders. Hmm... somewhat better.


I doubted the success of going on a quest for different fabric in just the right shades of green and I had my mind set on a green border. Then it occurred to me that I could surgically remove the offending dark stripes from the fabric and reassemble it into a subtler, less contrasting ombré. I cut a template so I would excise only the stripes I wanted to remove along the cut strips of the border fabric.


Ignoring the usual wisdom of seaming borders on a diagonal, I seamed the strips along the line of the stripes. They will be more hidden that way, especially when pressed and quilted. I now have all these squares in the middle remaining from the sections of dark stripes I cut out and of course I will not be able to throw them out!


There were two other things I did to calm down the border and make it less of a competitor with the central quilt. I made it narrower and I aligned the stripes so they looked a bit more orderly. The border width is that of one of the squares of a nine-patch block. I was lucky in that the stripe repeat was very, very close to a multiple of the block size. I centered a pale set of stripes in the top and bottom borders and centered a darker range of stripes in the side borders. The colors still vary along the edges but to less of an extreme and they no longer look like they are marching around the outside. The corners came out as medium dark squares. I confess, I did not plan it that way, but I liked those pseudo-cornerstones there!


I am often conflicted when making a gift quilt on whether to blog about it or save it as a surprise. This granddaughter is due to make her appearance into this world in May. How much should I "reveal"? Surprises last only a few minutes, seconds even. My blogging gives me hours of pleasure while I am doing it. Explaining my choices and seeing them displayed on a computer screen, crystalizes my thinking. The voice of my posts is like I am talking to an audience, but more likely I am talking to myself. Since my hobby is about process, often even more so than product, I choose to write info about it before it is complete. Besides, a quilt is not a quilt until it is quilted!

The top now measures 39" x 52½" before quilting. The quilt I'd made for this little girl's big sister, Paisley Pearl (post for February 8, 2014), had finished at 39" x 45" so this is comparable. My next step is to prepare the backing, sandwich with batting, and (gulp) "quilt as desired". Oh, and I have to name it. I am toying with Paisley Owls, or Nesting Owls or Nestling Owls. I have a leaning toward Nestling Owls. It conjures up cuddling.

Remember those two groups of eight blocks I decided to leave out? Here they are along with some partial blocks. I will have to do something with these, too! Eventually. Not now.


Linking up now with Let's Bee Social #122.

Friday, April 22, 2016

Paisley Owl Rearranging

I completed making all my blocks for the nesting owls quilt for my highly awaited granddaughter. I made 48 blocks in total for a crib size quilt. Two fat quarters yields 8 blocks so I had tentatively picked six pairs of fabrics per my post for March 31, 2016 titled simply Pink and Green. I knew I was going to omit some of those blocks to make space for incorporating the paisley owl fabric. My post for April 14, 2016 titled Paisley Owl Nesting was devoted to sizing those full owl inserts.

Along with the big owl blocks, I was going to insert some smaller snippets of the owl fabric. I decided to make the blocks first, place them on the quilt top, and then choose which ones to unstitch and inset an owl head. Squares within squares blocks would lend themselves to an off set central owl.


The nine-patch blocks lent themselves to a central row substitution.


Swapping out one of the checked rows looked better to me so I did that even though that makes the nine-patch "wrong". It avoids drawing the eye in an up-down direction. I like that the owls are nestled in there and somewhat camouflaged. I also used some of the owl paisley fabric in the nine patch and squares in squares blocks.


All this talk of nine patch and squares in squares blocks and I have yet to give credit to my inspiration pattern! The design I am using as my basis and springboard is the pattern Square Root of Nine by Quilter's Dream.


I love this women's patterns. I have these that I am itching to try: Box of StarsA-MazedThe-Space-BetweenGood-Grief. The hourglass like Hokey-Pokey might be too much work with angles but if I ever work on scraps I plan to give it a try. Most of the patterns are shown in sombre neutral like colors but they make up great in more vivid tones. I made a friend's quilt from the pattern Dash-in-the-Box in a combination of jewel-toned batik fat quarters pirated from a kit with a totally different French braid pattern. It was real fun to play with using triplets of fat quarters. See my post for July 13, 2013 titled Color Play of the Day CompletedThe designer is an interesting lady. I have spoken with her at the quilt fairs. She used to be a chemical engineer and so loves the math and the angles. Her cutting instructions are awesome and little to no fabric is wasted. Very few seams need to line up so the patterns look complicated but are beginner forgiving.

So here are my 48 blocks all grouped together, awaited some creative, artistic, awesome arrangement. Here officially ended the honeymoon stage of this quilt. I spent two days arranging and re-arranging those 48 blocks with proposed owl accent inserts on my design wall, from one ghastly, choppy, configuration to another.


Then my daughter said something very wise to me. "You know, Mom, random and balance are not the same thing." Her statement made me aware that I first needed to balance the weights of the colors and then I could randomize. I realized that much as I loved that whimsical pale pink with aqua dots fabric (central bottom), it was really throwing everything off. It made me think of the wizards' duel scene in the Disney movie the Sword in the Stone where Merlin gives Madame Mim a virus and she breaks out in spots. Once I had that visual it was far easier to let that fabric go.


I omitted the distracting owls, just for the moment, and arranged the blocks with darker tones in the outer columns. The result was calmer but the eye still traveled around.


Some blocks would need to be set aside to make room for the owls. I kept the darker tones at the outer edges. The larger, darker toned, centrally-located owls would balance this. The aqua and pale olive blocks were blaring, so they would selectively leave to make room for the owls. Besides the request had been for a predominantly pink and green quilt and that aqua was squawking. I also downsized to 5x7 blocks instead of 6x8 blocks reducing the pieced top size to roughly 35"x49" from 42"x56". It is still an adequate size for a child and I am considering adding a border to set it off. I thought I had a right fabric to frame it but, after auditioning it, I am not so sure now...


 While I ponder my next conundrum I am linking up to Let's Bee Social #121.

Thursday, April 14, 2016

Paisley Owl Nesting

I'd set aside working on the "Pink and Green" quilt for my eagerly anticipated granddaughter for nearly two weeks. I had paused to digest and figure out how I was going to incorporate the feature owl paisley fabric I loved so much. That yardage had been my jumping off point for color selection but it was too pretty to not have larger uncut sections of it somewhere. I wanted it to appear as if the owls were nesting amongst the quilt blocks. My introductory post on this quilt was March 31, 2016. The basic block size was 7¼" and the vertical repeat on the owl was 7½". I initially thought that these dimensions were serendipitously close enough that I would simply substitute out a pieced block for an owl square several places.


This plan seemed adequate but once ¼" seam allowances were taken, I was concerned that the owl might look a bit crowded. What if I shortened the "nine-patch" blocks above and below to be only two rows high and had 11¾" tall owls? Somehow this option seemed disproportionately tall to me and I did not like the partial repeat of an adjacent owl.


There was alway the compromise of removing a row from just one block and having a 9½" tall owl. This looked better height wise and the neighboring owls were not so obvious. But if I centered the block vertically this approach would would entail partial rows of the nine-patch. Partial rows did not appeal.


Then I realized I could offset the owl block vertically and reduce only one nine-patch block by one-third in height. This asymmetrical arrangement also offered me the freedom to put a square-within-a-square block above or below. The outermost strip size of a square-within-a-square block is not a multiple of the basic 2¾" grid of the quilt top so I thought trimming it smaller would look odd. I decided to forge ahead with the vertical offset design, cutting the owl paisley fabric into 7¼" wide by 9½" tall rectangles. Final quilt assembly will need to be by columns rather than rows but I can handle that. An owl rectangle will always need two-thirds of a nine-patch above or below but that is not too restrictive.


My next step is to make a couple more sets of nine-patch and square-in-a-square blocks from other pairings of fat quarters. For now, I am hooking up to Let's Bee Social #120 before heading back to my sewing room.