I started this quilt last Christmas so I would have it finished by Christmas 2020. Last season I even bought accessories to go with the completed quilt, whether that was forward thinking or wishful thinking can be debated. In my 12/20/19 post, I designed and assembled the quilt top, except for some indecisiveness about the borders. Then Christmas Cars lay in limbo for half a year until I completed the border. In July, I decided and prepped the backing and binding per my post for 7/21/20 and even made dalmatian pillowcases (7/28/20 post) from the backing leftovers. After I made my quilt sandwich, once again indecision set in while I mulled over the quilting pattern. One thing for certain, I wanted to make the vehicle images standout and the background recede, so I started out with close parallel lines in the background only of these blocks.

Since it is mid-December and I want the quilt for this Christmas, it was finally time to move forward. First, vertical lines ¼" apart, up to near the cars made the vehicles and their tree cargo stand out. I can almost imagine these long thin lines as being strands of tinsel. I used a straight ruler for this part, my favorite being Slim by Angela Walters because it has markings in both white and black so they stand out. It has a non-slip rubberized back but I find I need to supplement the roughness with sandpaper Handi-Grips by Handi-Quilter. While quilting these straight line I mused on other FMQ patterns for elsewhere.


SCALLOPS
In the red and yellow triangles that surround the car blocks, I put scallops, partly because I wanted to try out my scallop ruler. On the red triangles, I oriented the scallops to look like garlands on a Christmas tree. Due to how the markings are on the ruler, this meant working from the triangle's tip toward its base. On the sideways scallops in the yellow, I worked from the base toward the tip. The yellow scalloping shows up better in a later photo.


NEAR-THE-DITCH ARCS
For the seminole diamonds at the top border of the quilt I did orange peel type curves within the red and the yellow. They were free-form with no ruler assist. I swooped across toward the right on the top and swooped back toward the left on the bottom. My muscle memory did not seem to last from one end to the other, so the swooped swags look "organic". Hmmm... maybe if I had stitched one diamond at a time they would be more consistent within each diamond.

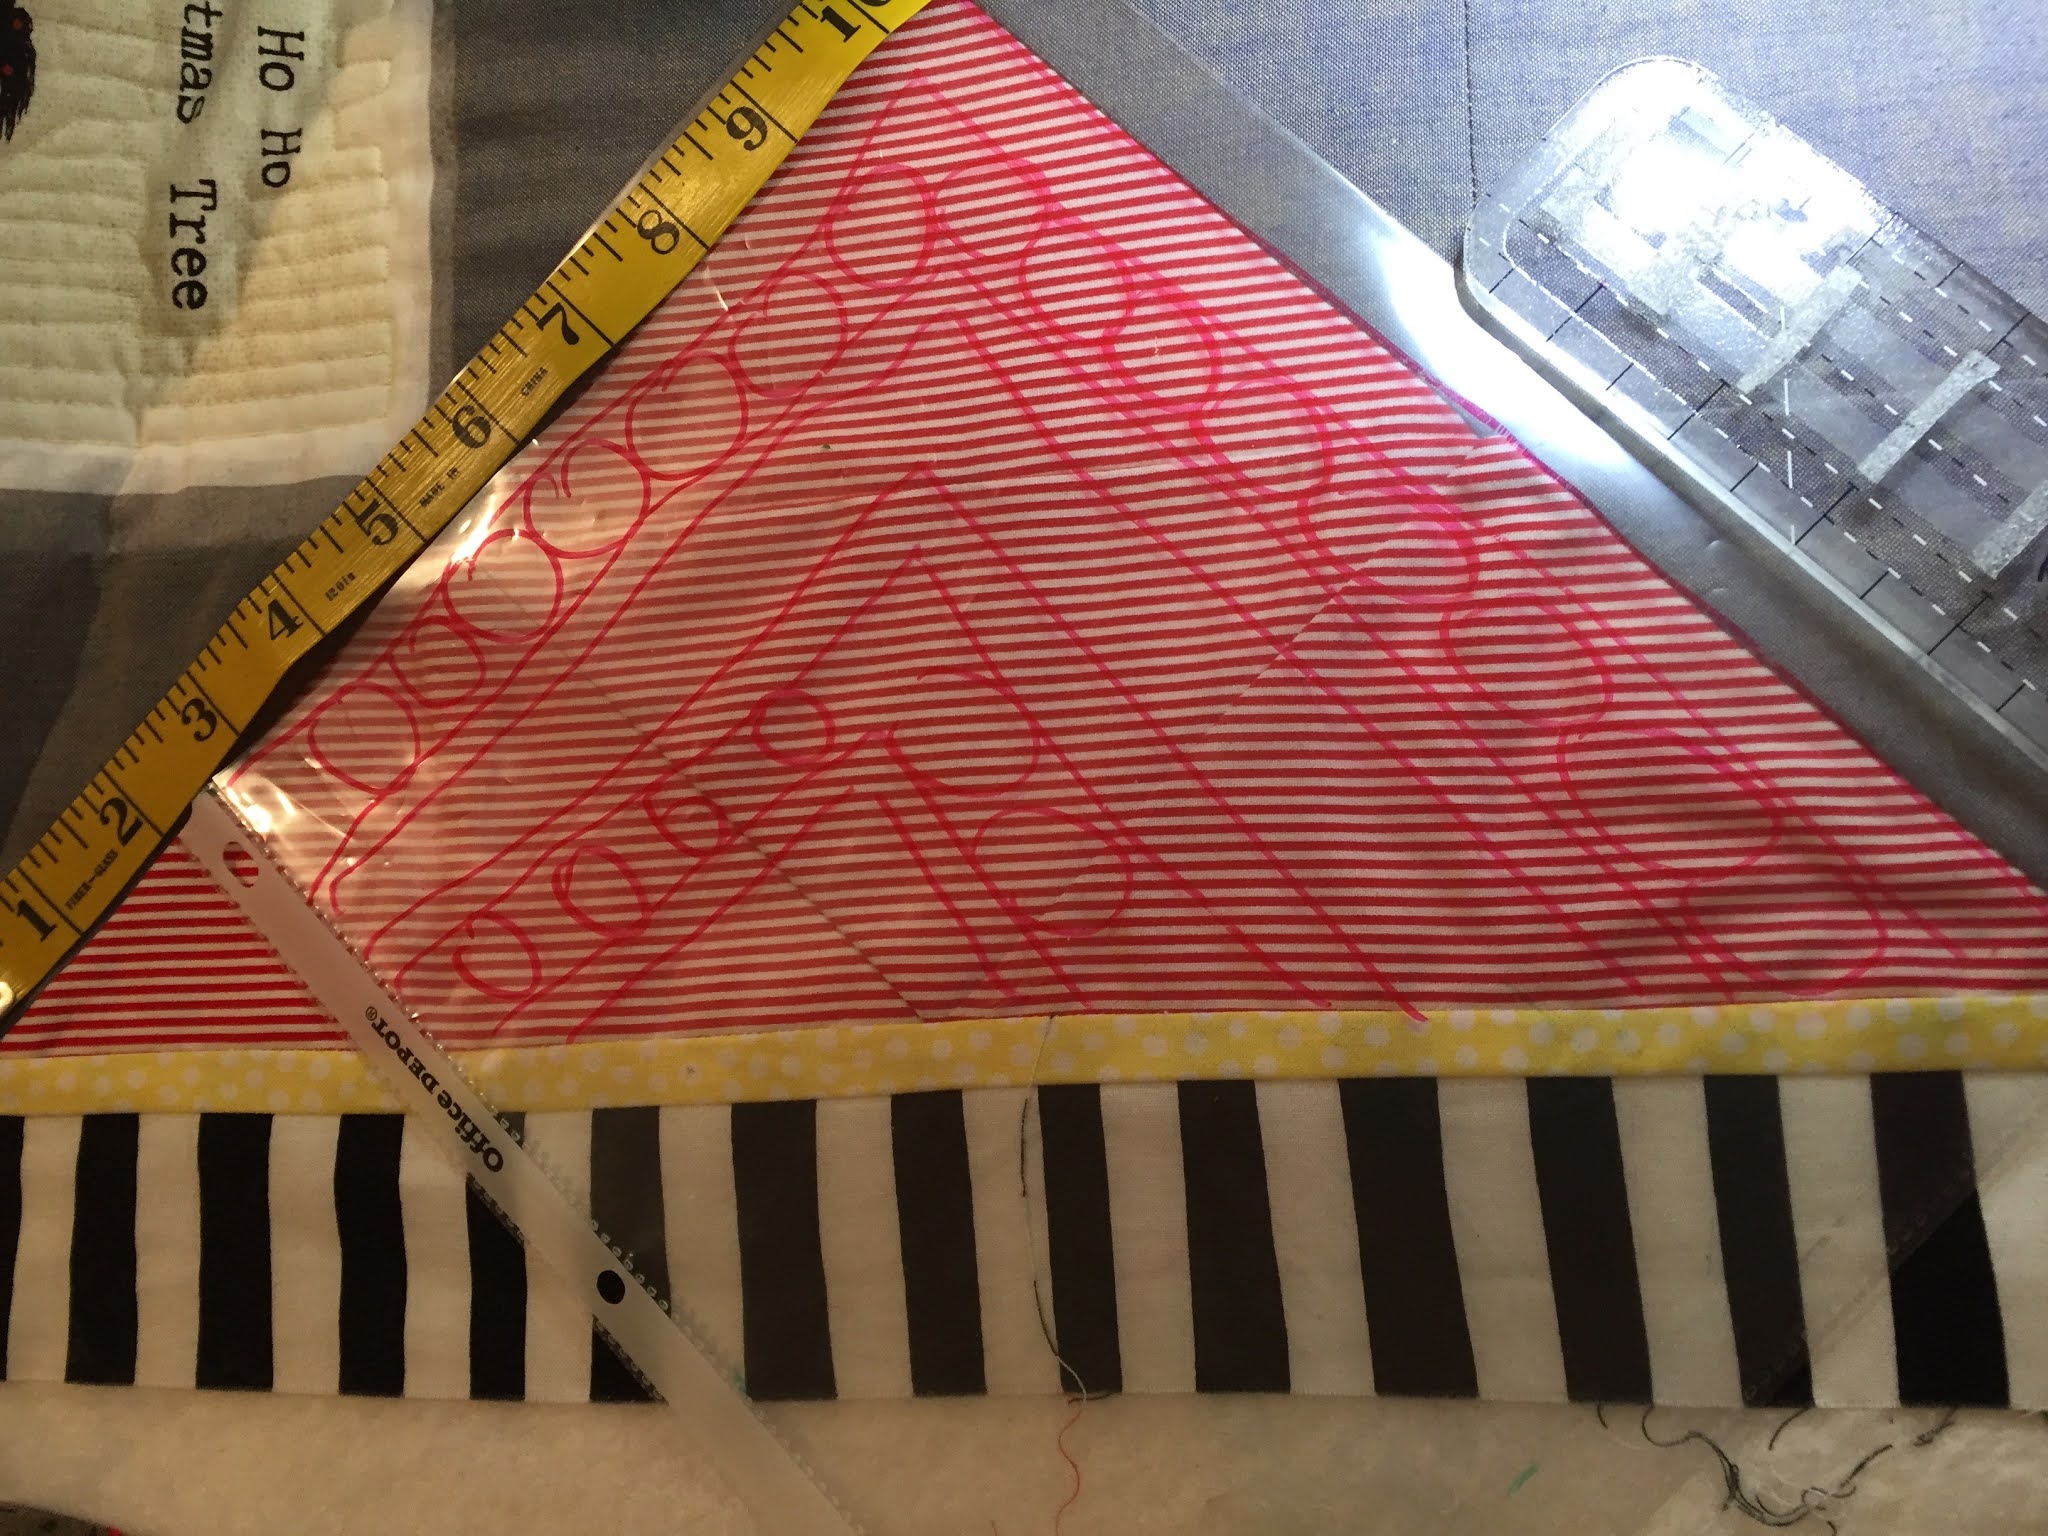
Next I had to deal with those big red half-triangle insets along the vertical edges. They had never sat well with me, so I chose to use them as more ruler practice, hoping to make them prettier at best, or less obtrusive, at worst. I have always like pebbling and circles but lack skill in that area. I had a Hand-Quilter ruler I had not tried yet, called HQ Swiss Cheese Template. Besides, circles would carry through on the Christmas theme with ball ornaments


No comments:
Post a Comment