The spirals that I worked so hard to appliqué in
my previous two posts are five pair of antennae to top the heads of some crawly critters. But, these critters needed faces! The pattern I was using called for 1/2" blue buttons for eyes. Since this quilt is intended for a baby, I did not want it to have any potential choking hazards so I decided to add embroidered eyes instead. I used 1/2" plastic rings to draw around. I laid my ruler on my block to place the eyes at approximately the same height and same distance apart for each critter. I drew lightly around each ring with mechanical pencil then set the rings aside.
I do not have an embroidery machine so instead I dropped the feed dogs on my Pfaff and filled in the eyes free motion quilting style. First I stitched over the circle I had penciled in and then spiraled inward and back outward until no more of the green background fabric peeked through. I'd practiced first on a scrap and, just as I suspected, without a backing of some sort this dense embroidery would pucker the area around the eye.
I cut out generous size circles of batting. I used bamboo batting, but Warm & Natural or felt or any other batting that does not shred easily when pulled should work. I wanted the circle to be large enough that I could hold my fingers on it as I moved the eye about under the pressure foot. Afterward I trimmed it really close to the embroidered area.
To cut out these circles I used a new tool I'd bought at a craft show a few months ago. This is an Olfa cutter that cuts circles. I was fascinated watching the vendor demo it for me, He helped me learn the technique and with a bit, but not a lot, of practice I could swing circles like a pro. The motion is different from cutting a straight line or even a gentle curve since this works like a compass with a central ratchet. I was pleased with the results. I could have just cut square or rectangles for under the eye embroidery but where is the fun of learning a new tool with that?

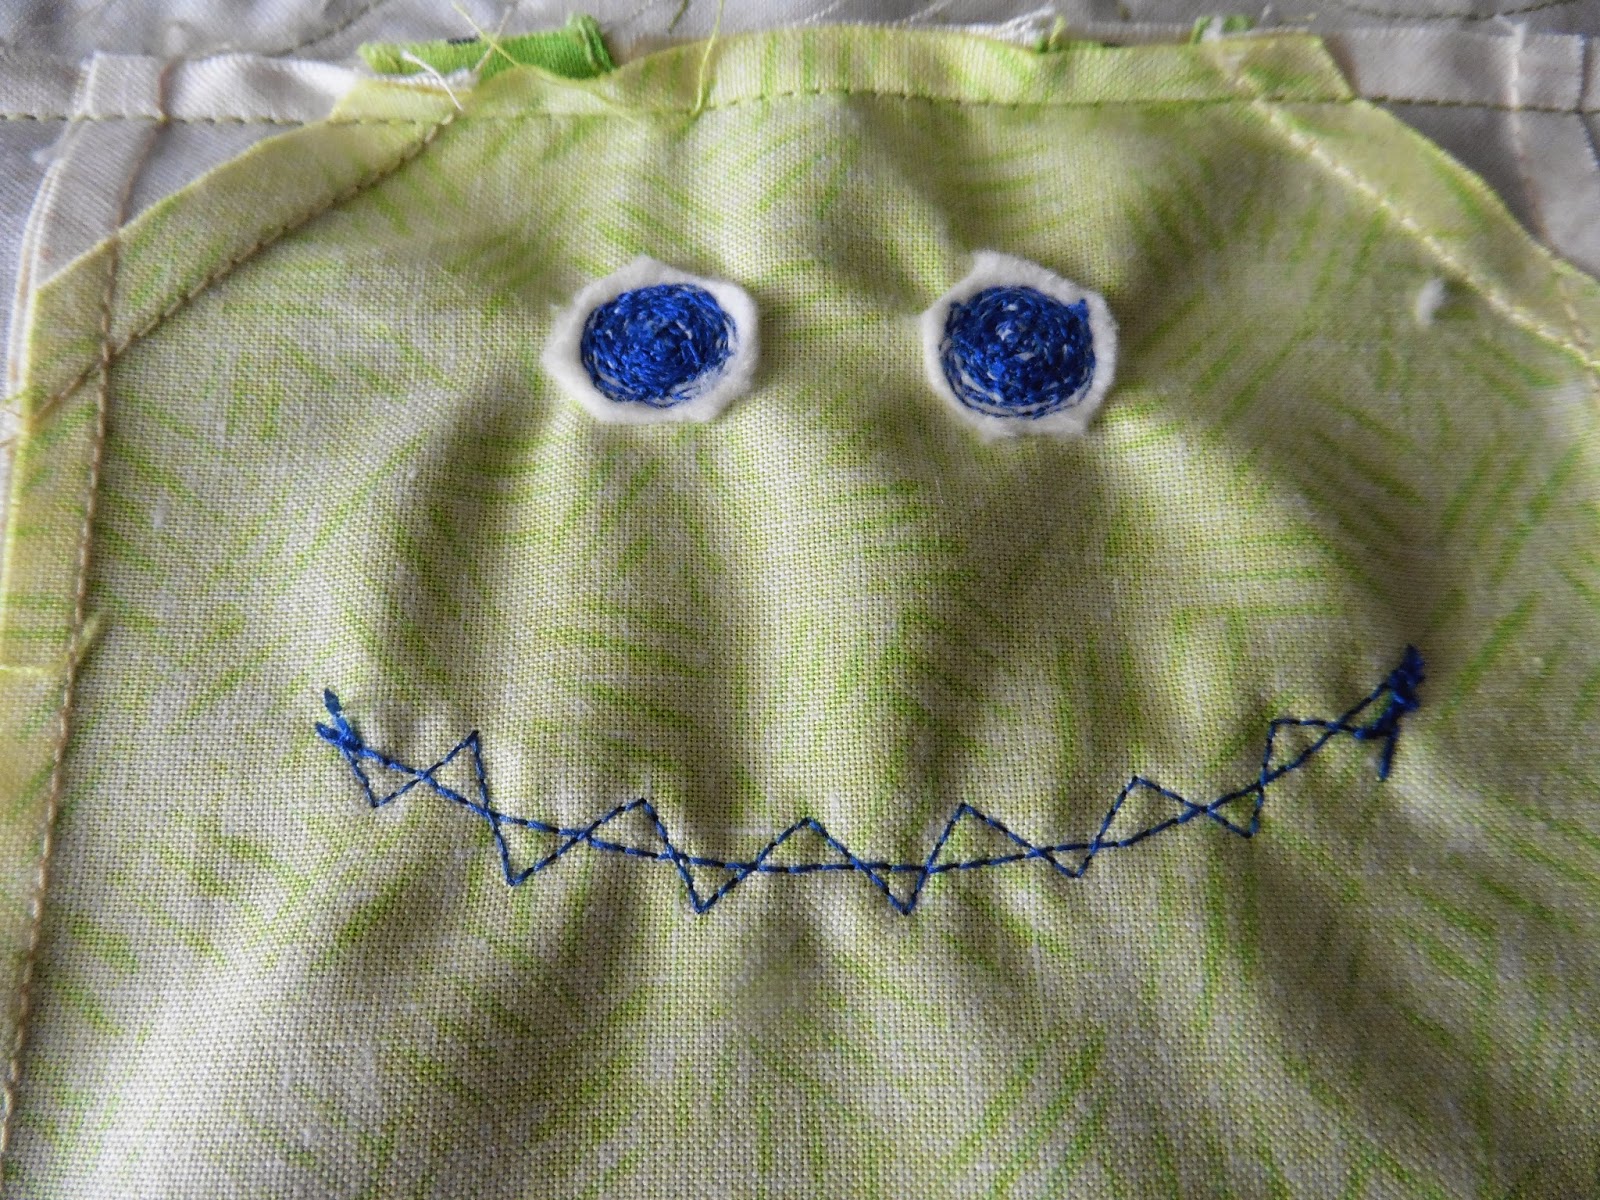
A face needs a smile to go with those eyes. Purple rickrack was suggested but I chose a blue instead, the better to match the eyes. I rejected red because it looked very garish and almost blood-like - not really the friendly vibe I was going for. I wanted a consistent placement and curvature for the smile so I pressed into service part of a set of longarm quilting rulers I got as a Christmas present this year from my son and daughter-in-law. This was not their original intended use but, hey, I try to take advantage of versatility wherever I can. I set the height at either end by the intersection of the block piecing and choose a radius that gave me a smile that I liked. I drew a light line with a mechanical pencil at the bottom edge of the arced ruler. I counted eight peaks for each length of rickrack smile. I lined the peaks along the drawn line and turned under the raw edges at the corners of the mouth when I sewed it on.

It annoys me when rickrack is washed and curls up at the peaks and valleys. To avoid this I set my machine at a short stitch length and went back to slowly sew up and down along the rickrack to secure the tips. I chanted "1, 2, 3, 4, 5, turn, repeat" across the smile. The next photo shows the detail on the backside once the eye backing was trimmed down and the rickrack was secured zigzag fashion.
Here is one of the embellished bug blocks.
What is the saying, something like "putting a face to a name?" Now I need to name this quilt so I guess I will be "putting a name to a face." But parents do that all the time with new babies, right?


Well, there's the answer to my eye question, how adorable! And that is a pretty cool Olfa tool - I'd be challenging myself to learn it as well. But those faces are just darling, and I agree with you that royal blue was the way to go on the faces. Even the backside of the face is cute with your stitching (and yay for a practical if "off-label" use for a specialized ruler!). Honestly, it sounds like those faces were a blast to make, and I love the way they turned out!
ReplyDeleteThey were fun to make. Part of the reason is that there were only five of them so I did not get bored and subsequently sloppy and suffer from grin chagrin.
Delete