Two posts ago I blogged about a Halloween pattern by Dorie Whipple (shown) that had lost its appeal to me, purely because of my poor fabric selections. I had made one cat that came out awful and never even began to assemble the other cat, the two bats, or the witch. I had a lovely comment from Ginette encouraging me to finish the pumpkins saying my granddaughter was sure to love them. A wee bit of encouragement goes a long way to spark inspiration. Today I repurposed all those precut 2" blue squares and created a wall hanging with just the Jack O' Lanterns and I am back to liking the results.
First I laid out the three Jack O Lanterns and figured out just how many blue squares it would take to make a rectangle. It was not overwhelming. Here are my calculations. I needed 6 strips of 6 joined squares, 1 strip of 7 joined squares, 2 strips of 13 joined squares for top and bottom. (How Halloween-y a number!) Arrows are pressing directions of the pumpkin blocks.
Then I made strips of the needed length from the blue squares. Before ironing those strips, I laid them out among the pumpkins and noted which way to press the seams to reduce bulk with the pumpkins.
The technique for the flying geese border in the original pattern was a method I had not used for quite a while. Instead of sewing two squares on adjacent corners of a rectangle and then slicing off the corners, in this approach I was directed to cut all the triangles before sewing them together. Doing this means you really have to have a light touch when running them under the pressure foot to avoid stretching the bias. But this project has been around a long time and I had already painstakingly cut all the many, many, many triangles. I used what I'd already cut. I like the rectangles and square method much better. It wastes a bit more fabric but is much less touchy to assemble.
Borders on only the top and bottom helped elongate the wall hanging so it does not appear as if it just missed being square. So here is what the downscaled top looks like after I assembled it.
I thought I would swap out the beige pumpkin stems for bright green ones and bind it in the same bright green. I mentioned this to my husband and he just said "Oh", a bit glumly. He liked the beige stems and doesn't think green will go. He has a point. The green could add a pop of color and show off the stems more, but then it could also distract from the key players, the Jack O' Lanterns. Stay tuned. And yes... my bottom left corner is crooked. Blame it on the bias.
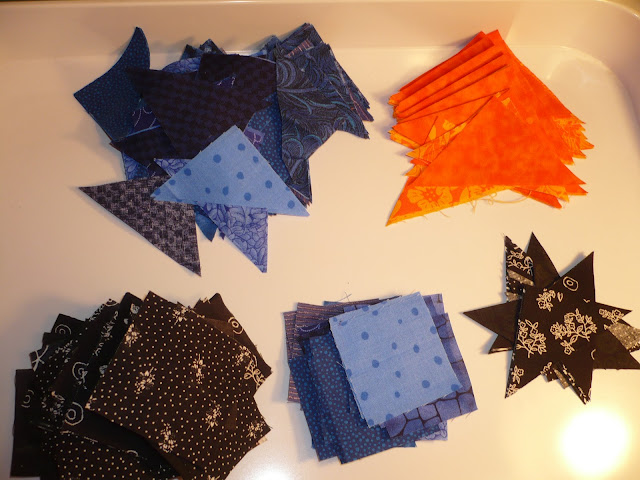
Here are the cut pieces I have left. Just look at all those blue and orange triangles and all those blue and black squares! I counted 46 blue squares remaining. Other piles outnumber that figure. All will go in baggies and take up less space in storage. I do not have the heart to throw them out.
And the camouflaged black cat? I think I am going to throw a backing on that kitty just as he is and use him to practice my free motion quilting. Maybe if I cover him in black thread the distracting white will take back stage.


I think it looks great Diane! So glad I could inspire a bit of creativity!
ReplyDelete